This process allows you to create a certification in the system.
1. Introduction
It guides you through setting up a new certification and configuring its details.
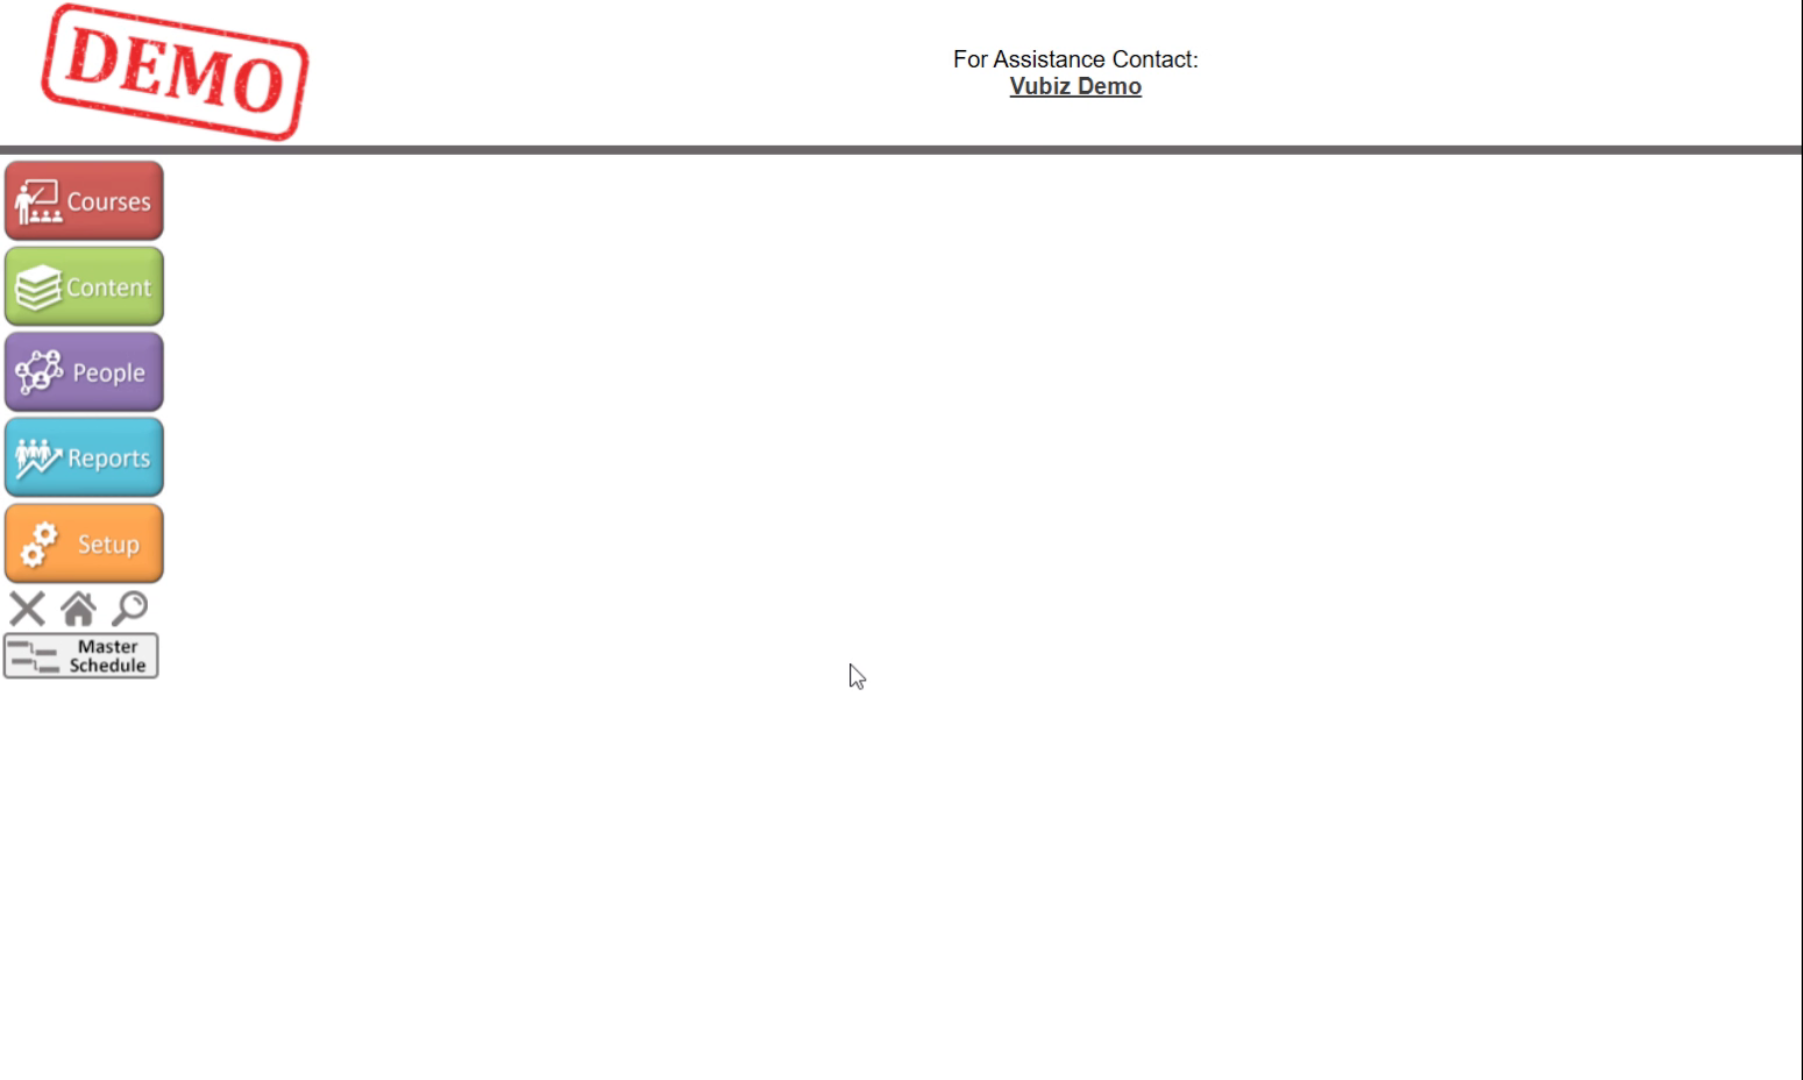
2. Access People Section
Once you've logged into the administration site, click on people.
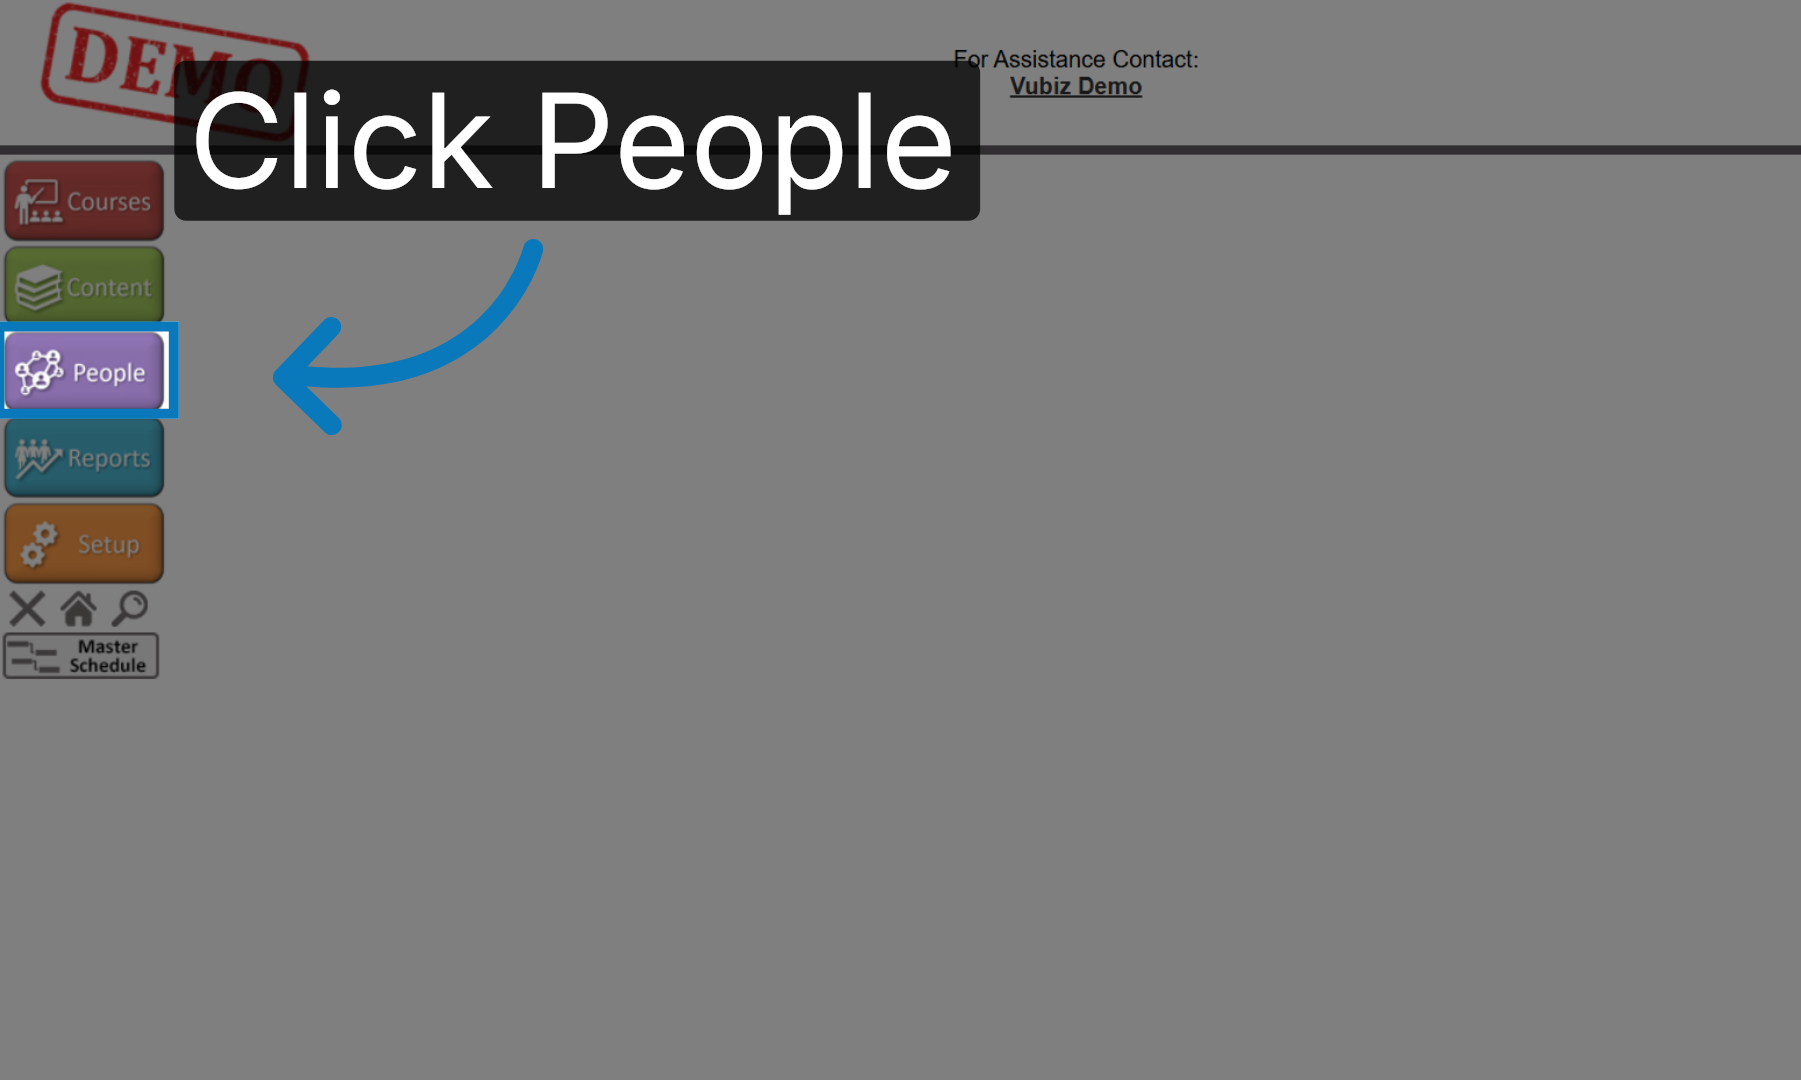
3. Open Certification Insert Menu
Under the categories and certification dropdown, you can click on Review Certification Record to review an existing Certification
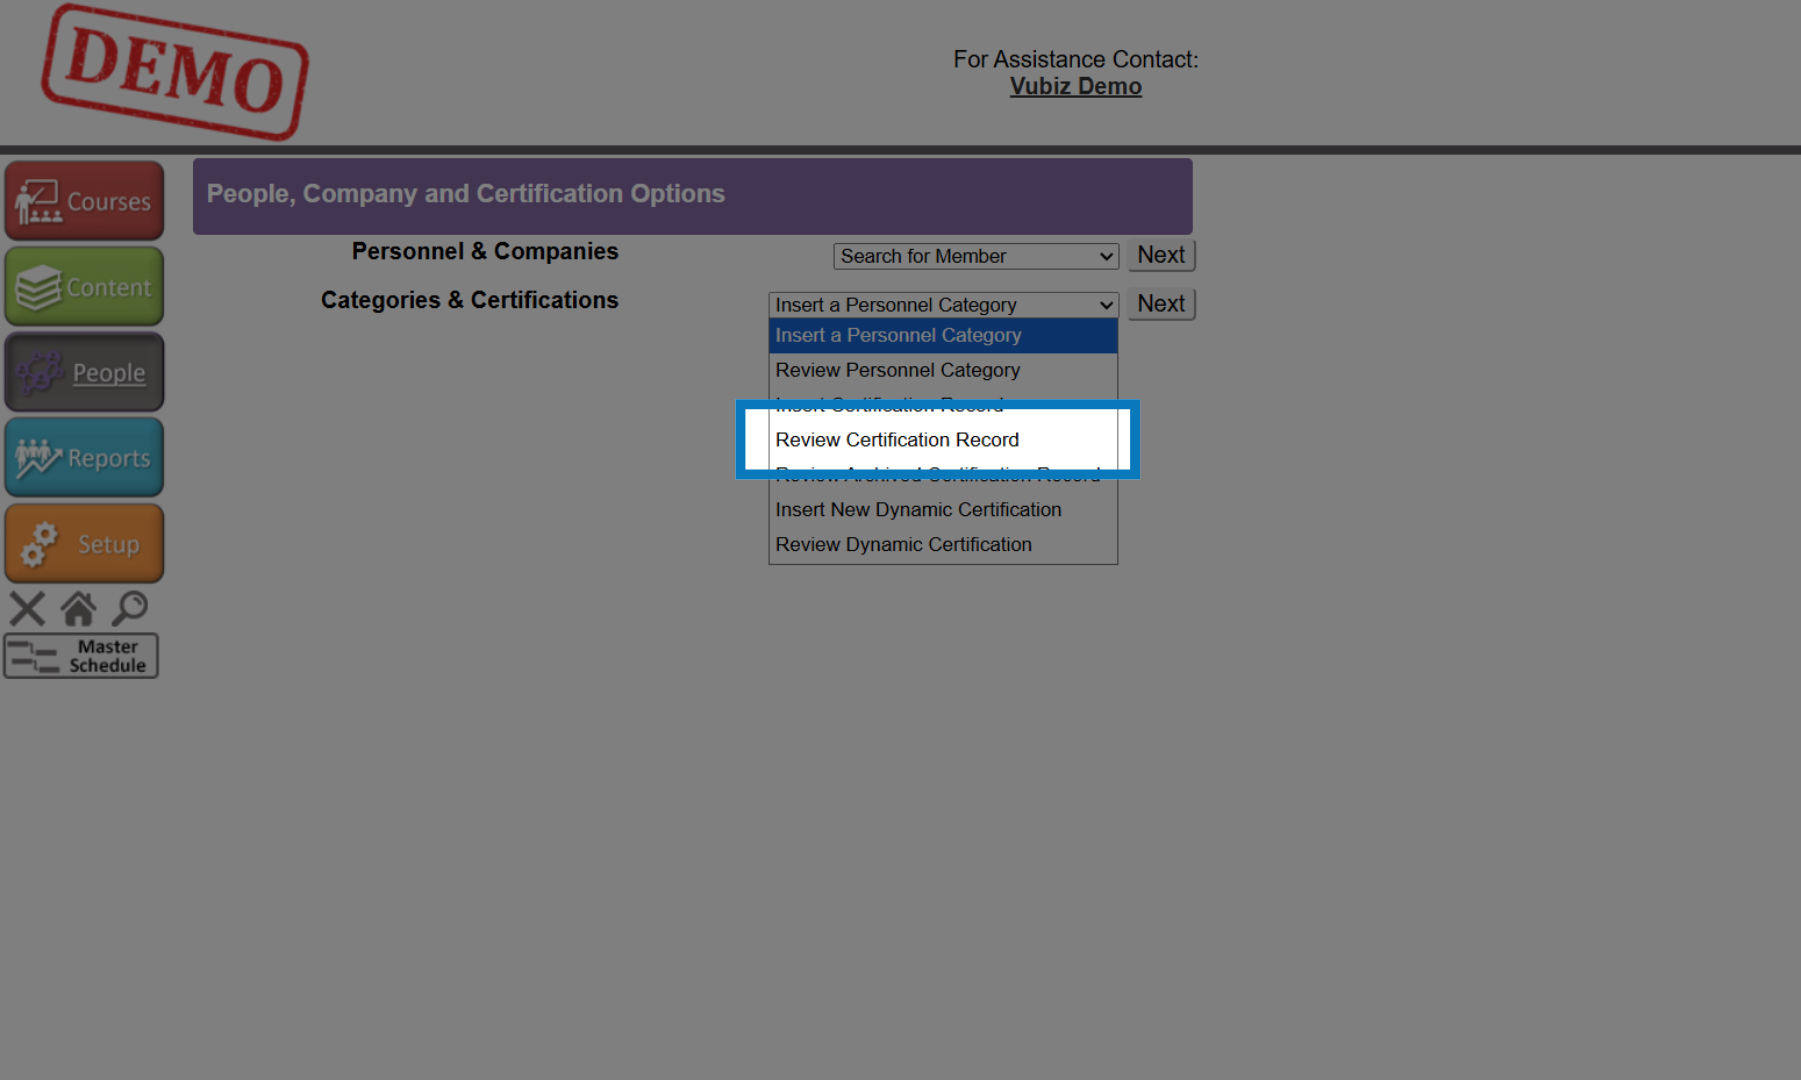
4. Insert New Certification Record
Click on Insert Certification Record to create a new certification.
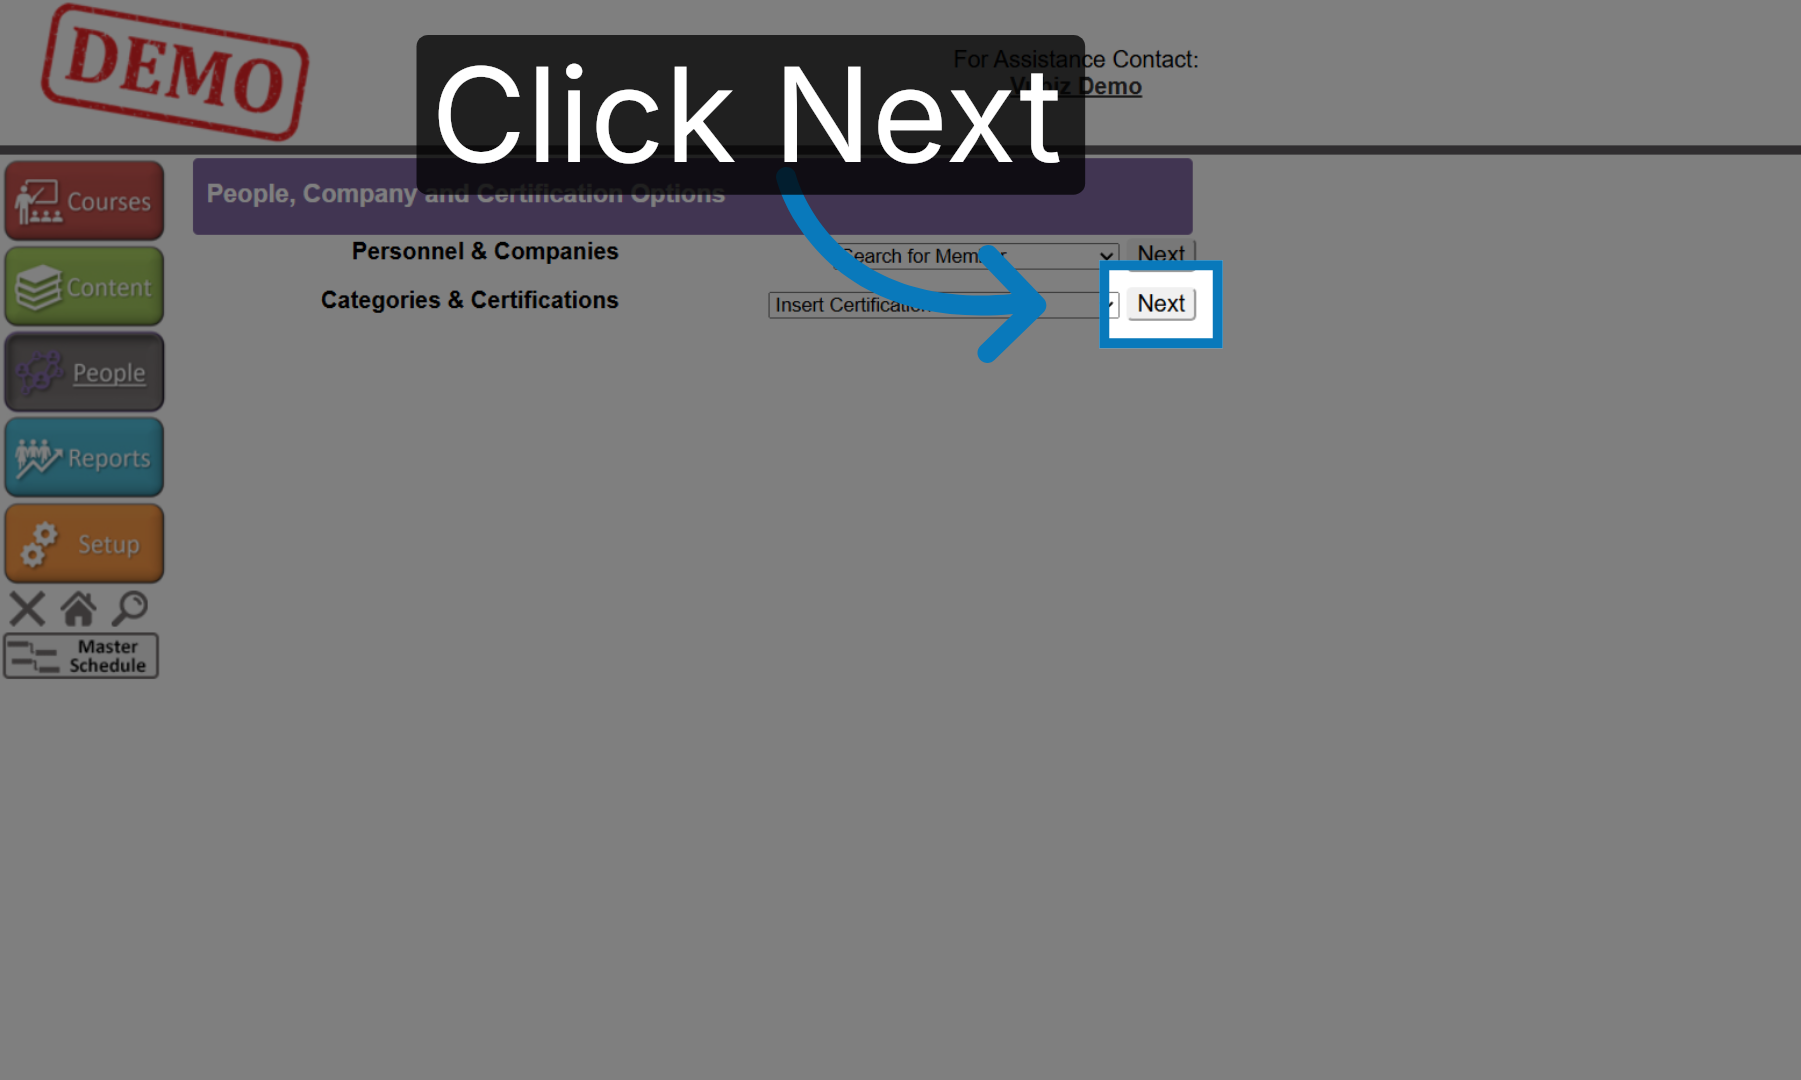
5. Proceed To Next Step
Click Next to continue with the certification setup.
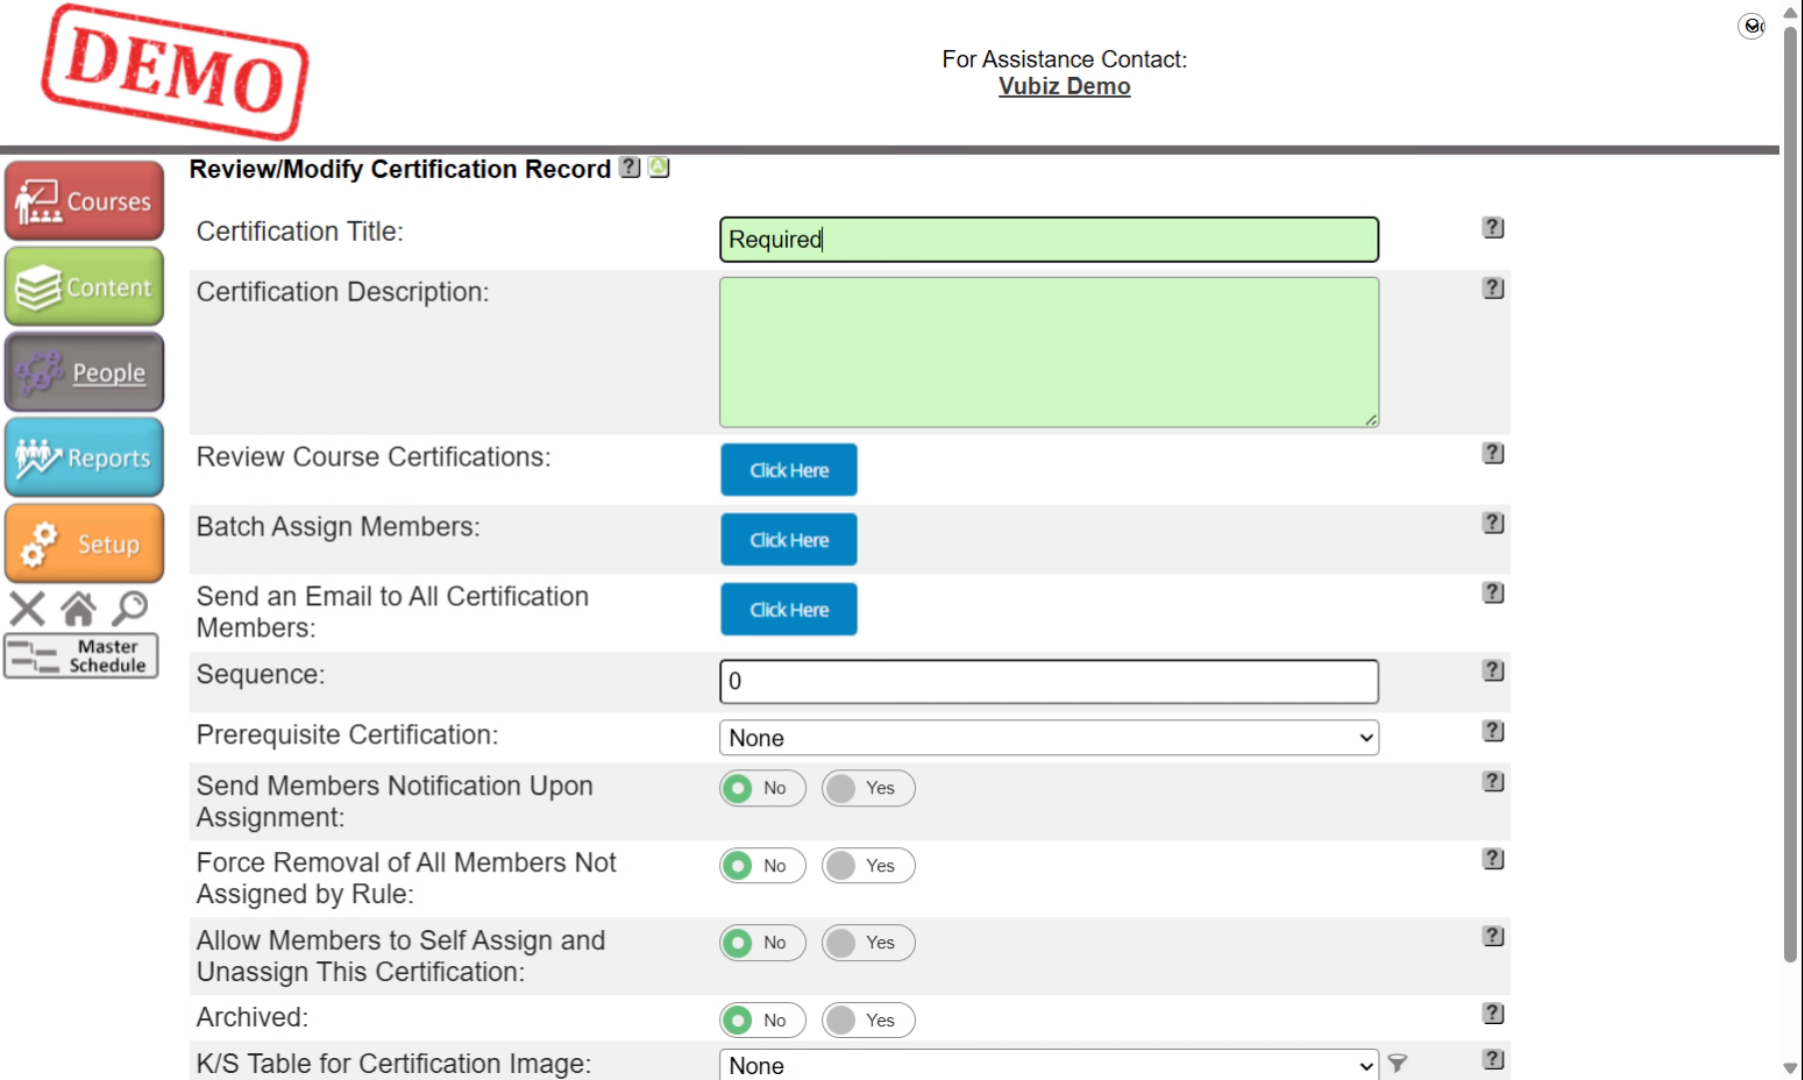
6. Enter Certification Title
Enter the title for your certification.
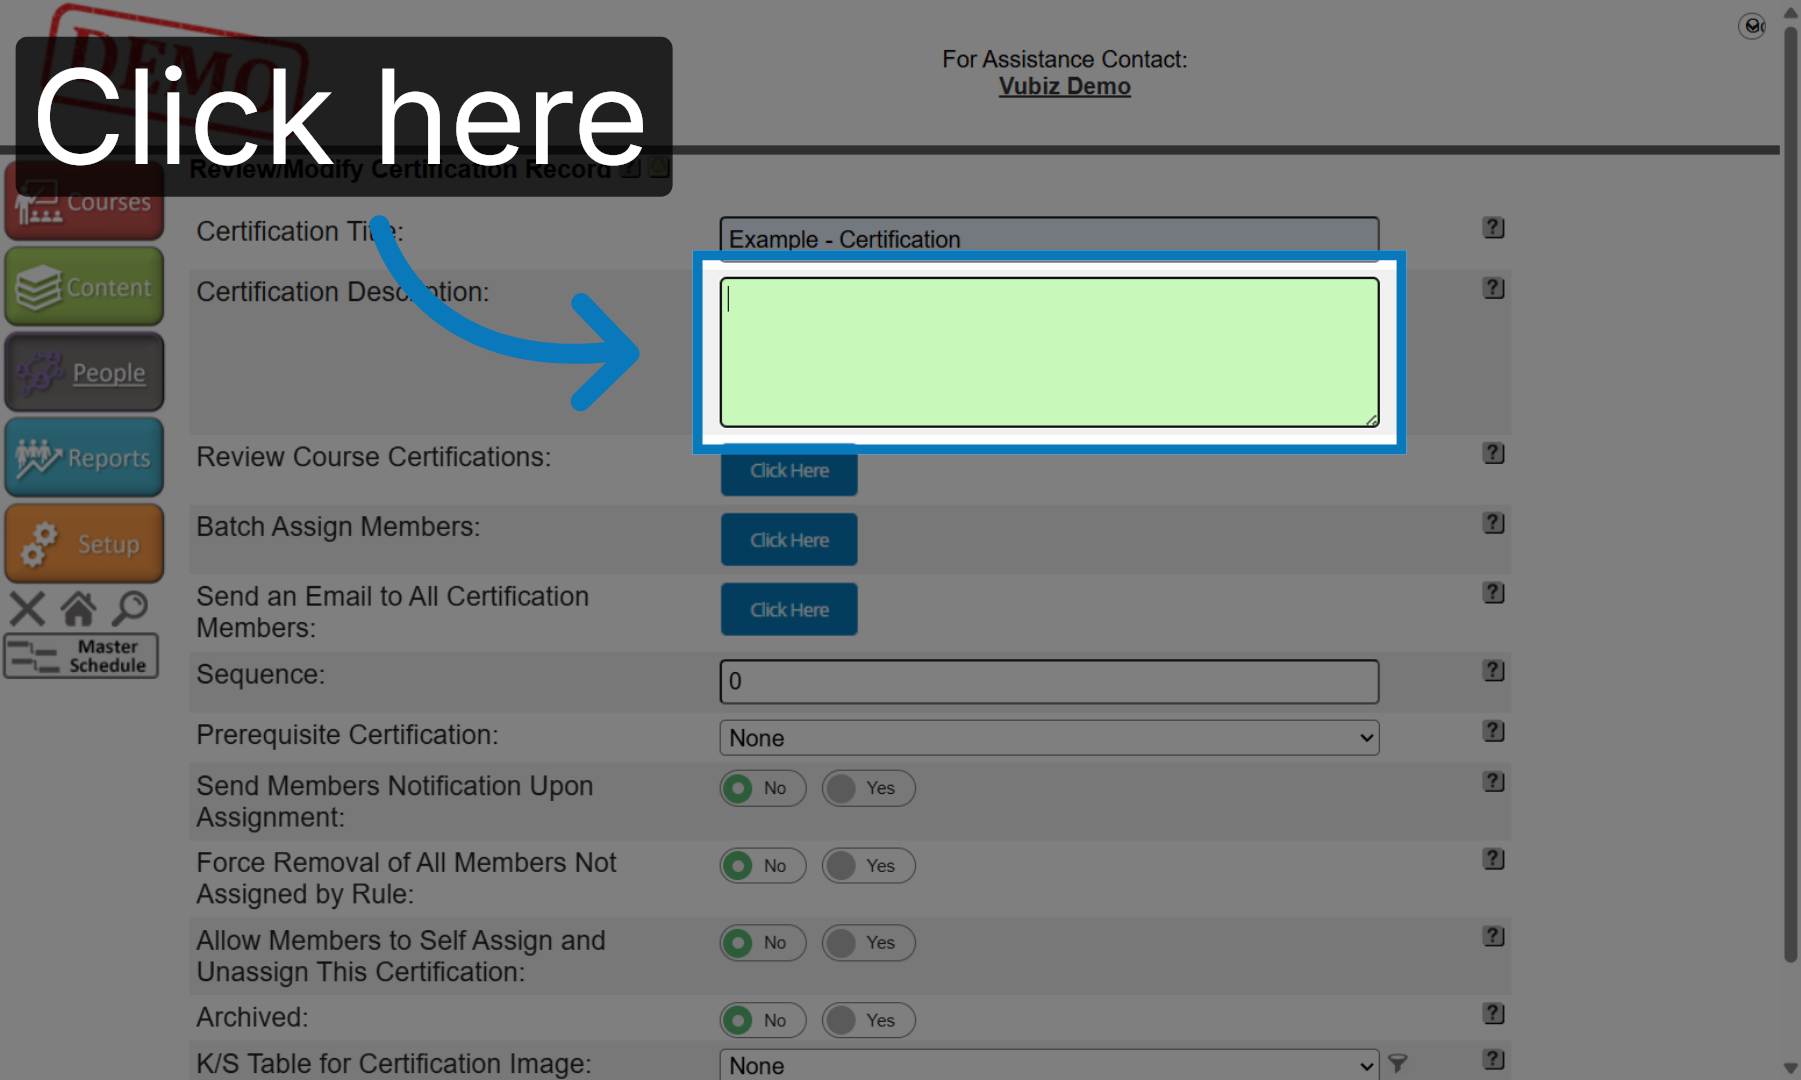
7. Select Certification Description Field
Click here to select and enter the certification Description .
8. Enter Certification Description
Enter a description for your certification.
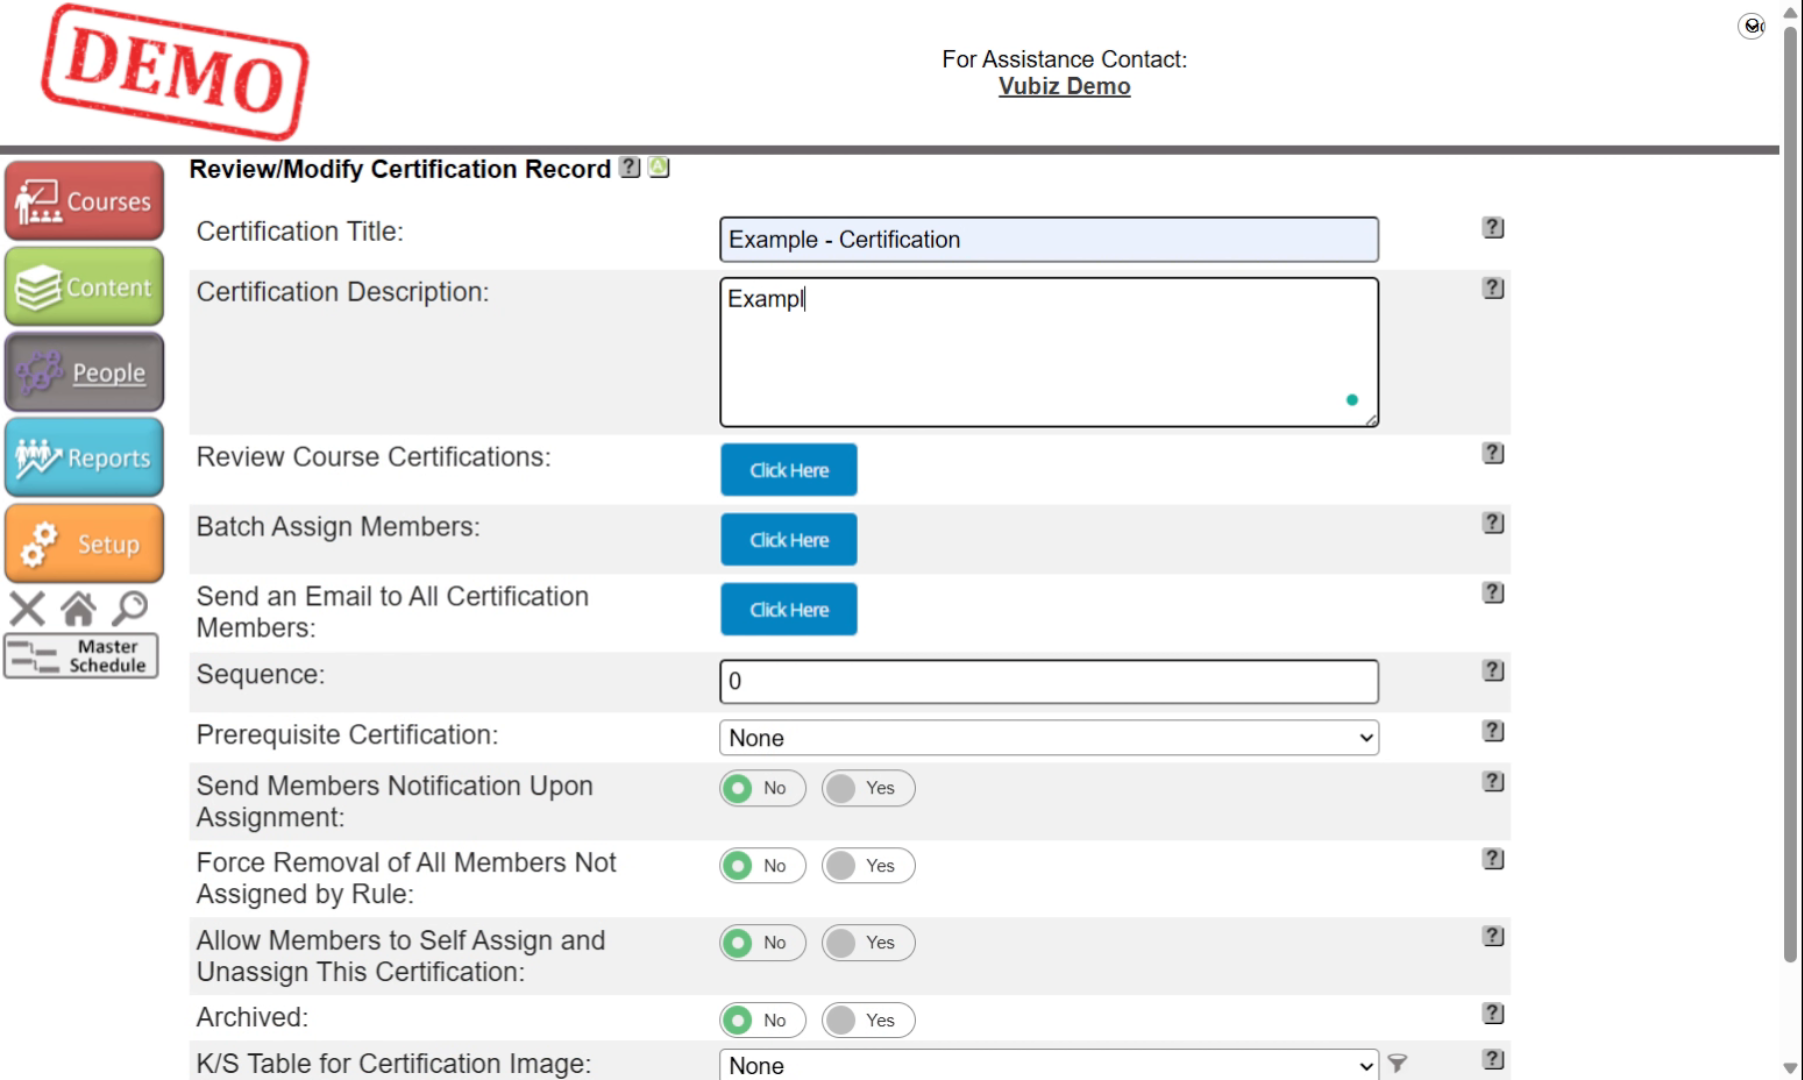
9. Toggle Member Notification
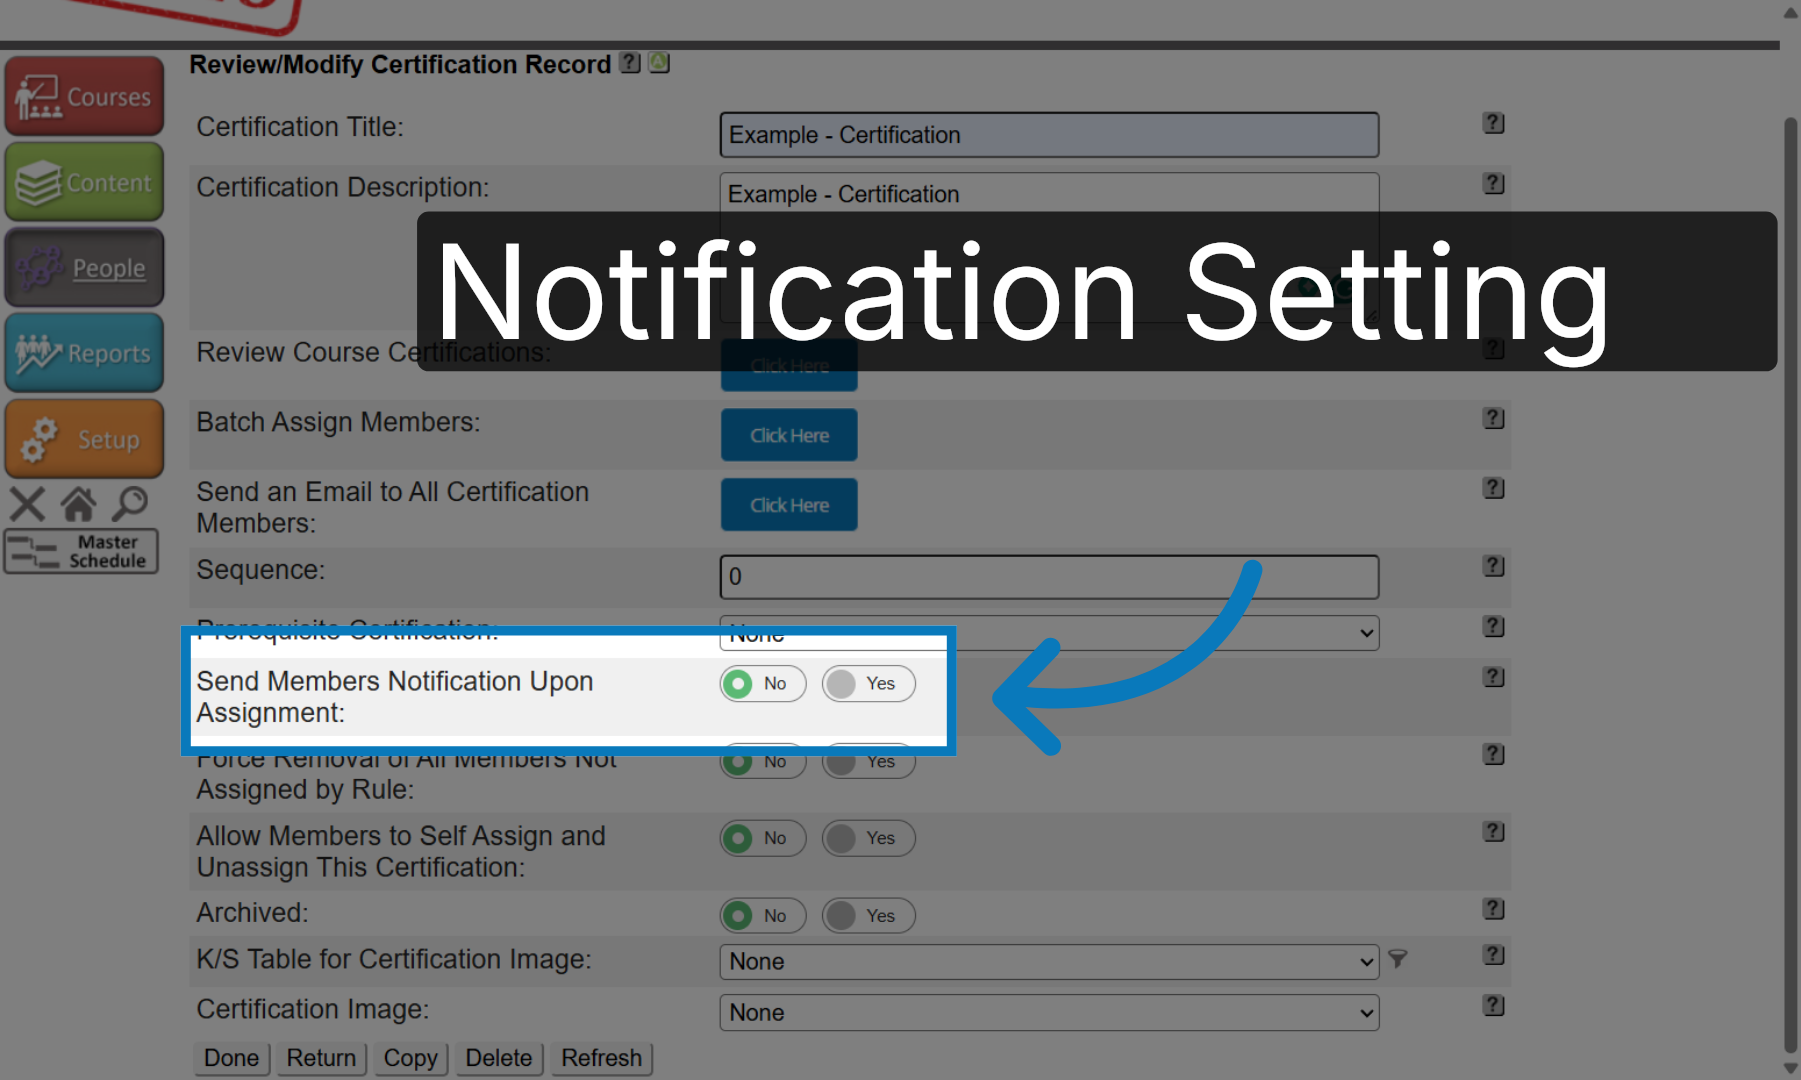
These are the optional settings: The Send Members Notification Upon Assignment will enable or disable notifications when the Certification is assigned
10. Force Removal Options
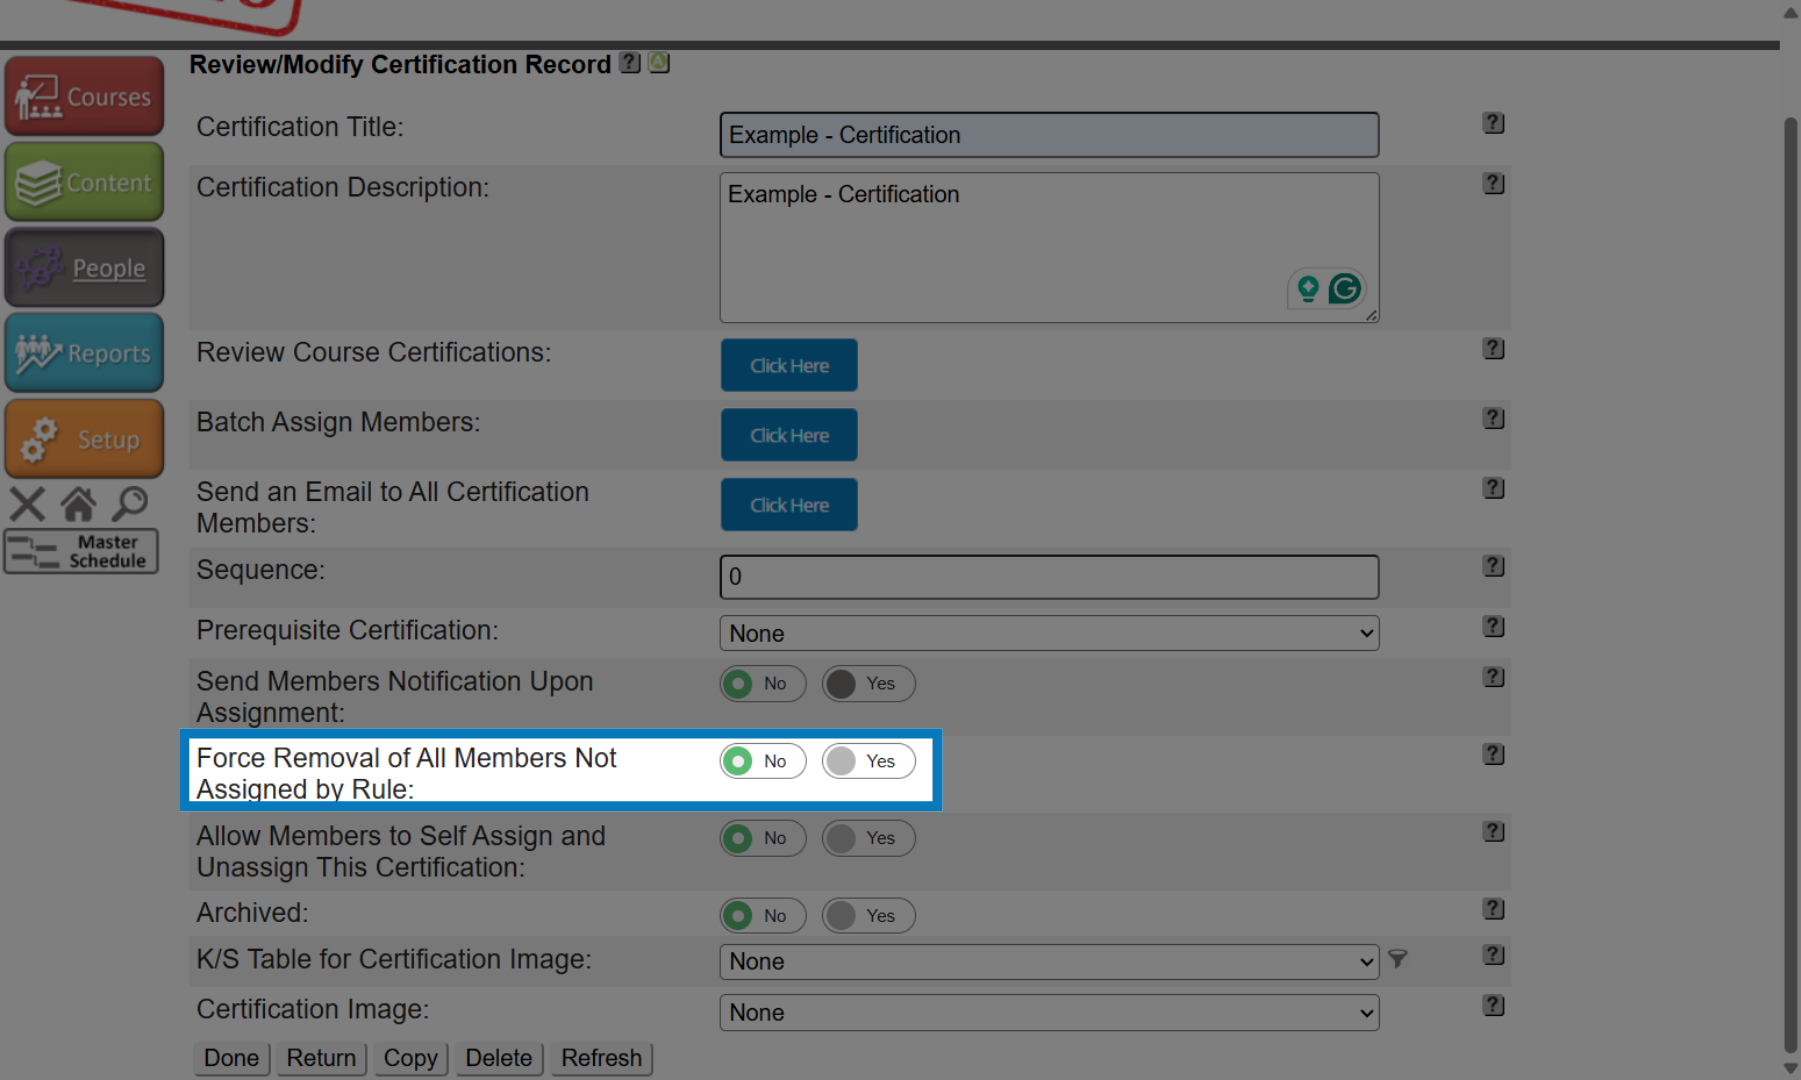
The force removal option is used when you are using specific rules to assign and remove certifications; default this to No.
11. Allow Members to Self Assign
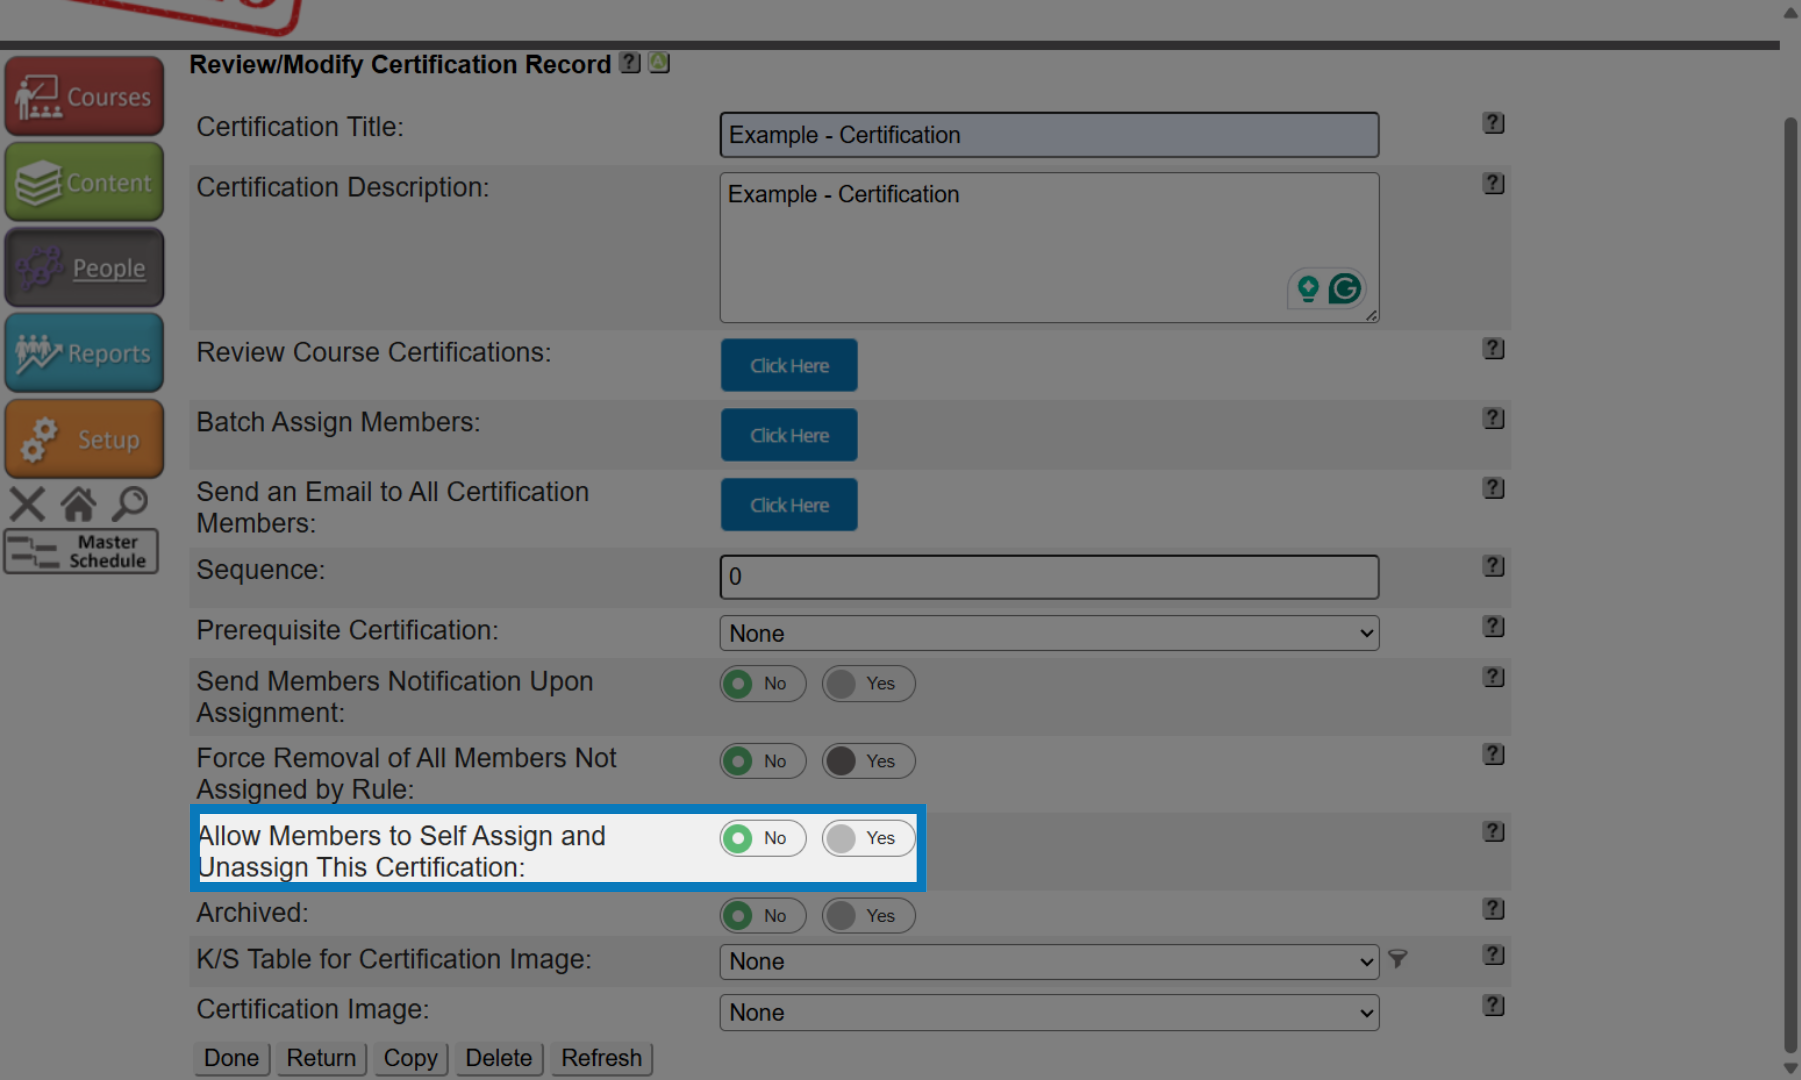
This option allows you to set the Certification to be self-assigned, allowing employees to assign the Certification from the Catalog. Default this to No.
12. Access Course Addition
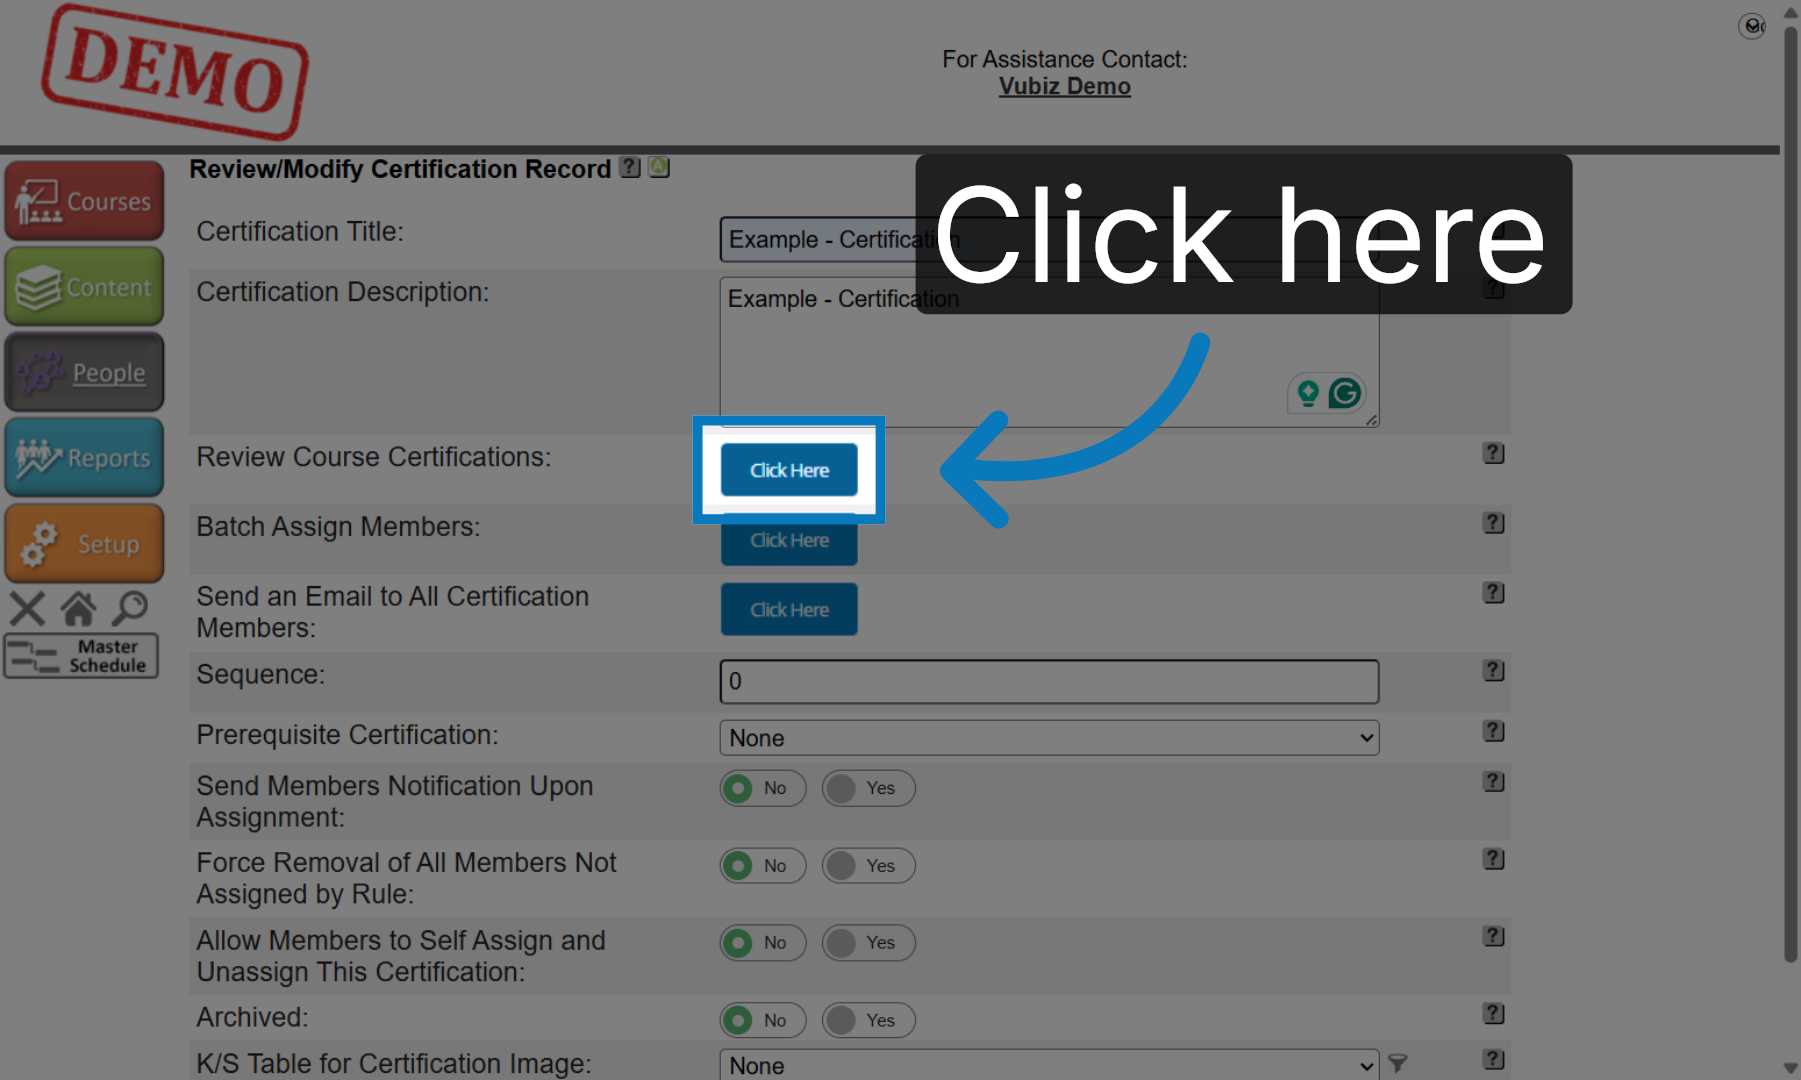
Click here to begin adding courses to your certification.
13. Add New Course
Click Add to add your first course to the certification.

14. Select Course From List
Click the desired course from the list to include it in the certification.
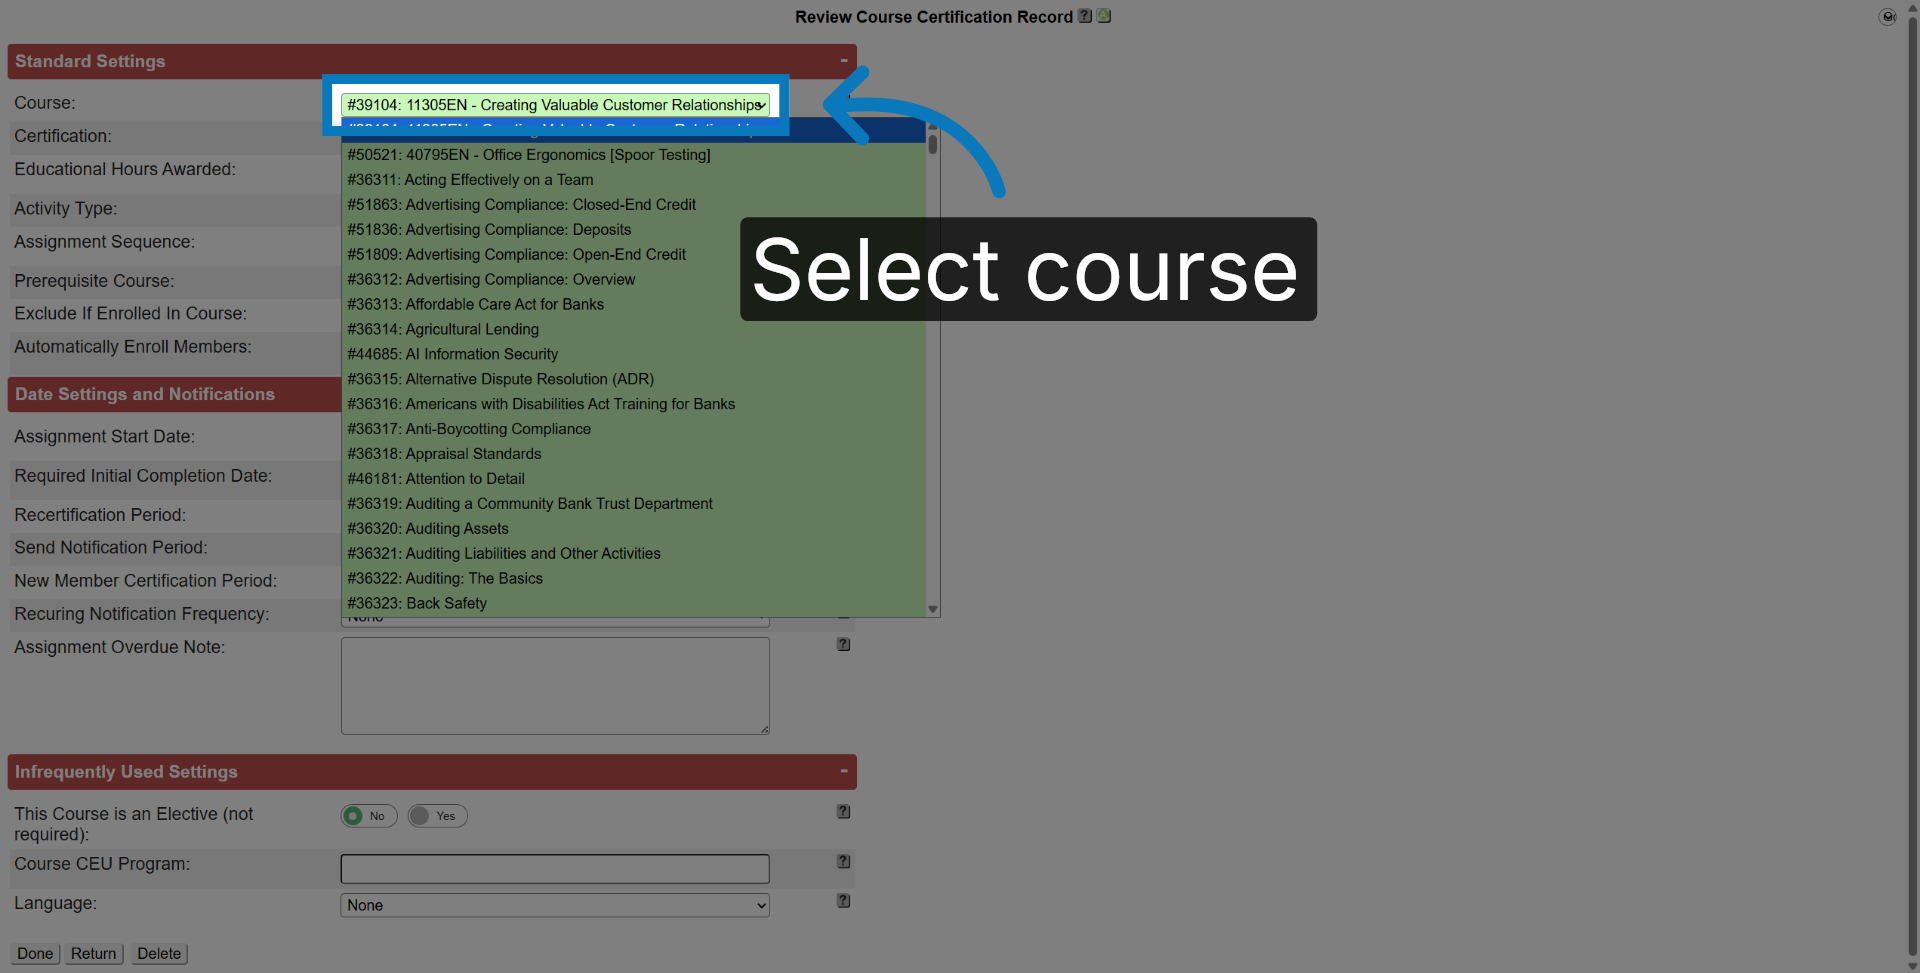
15. Choose Activity Type
Click the activity type for the course.
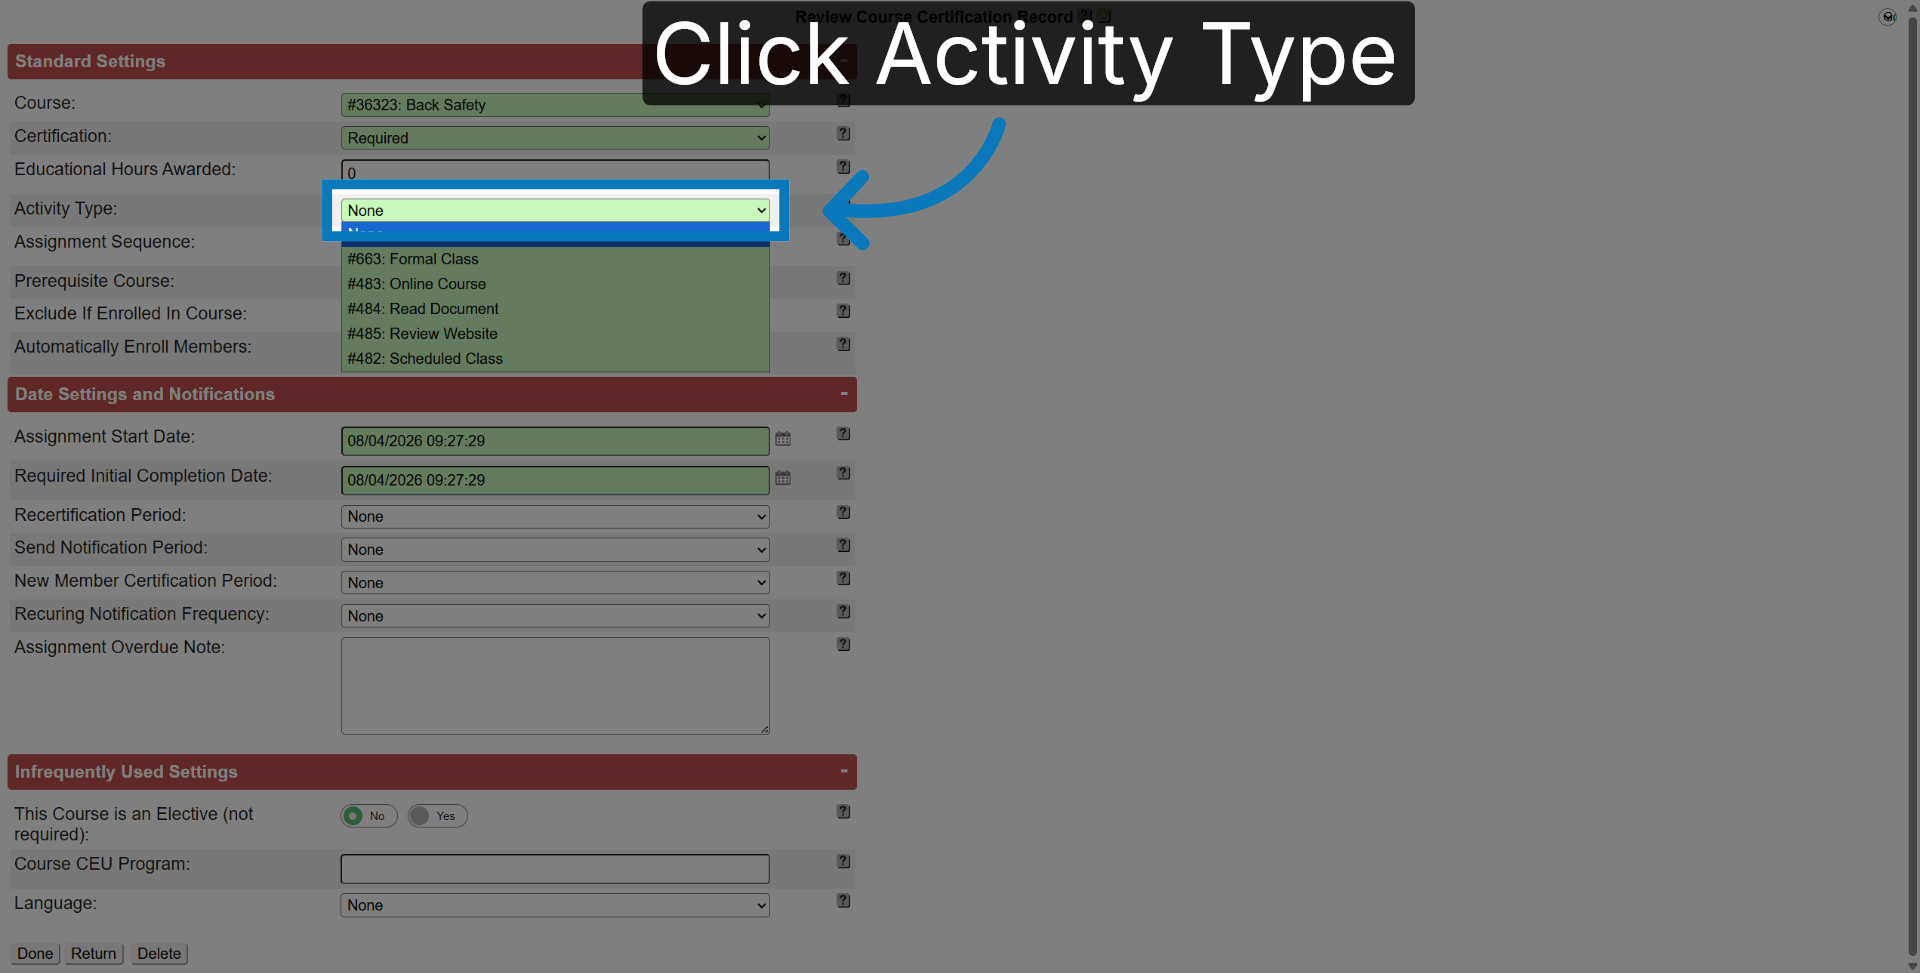
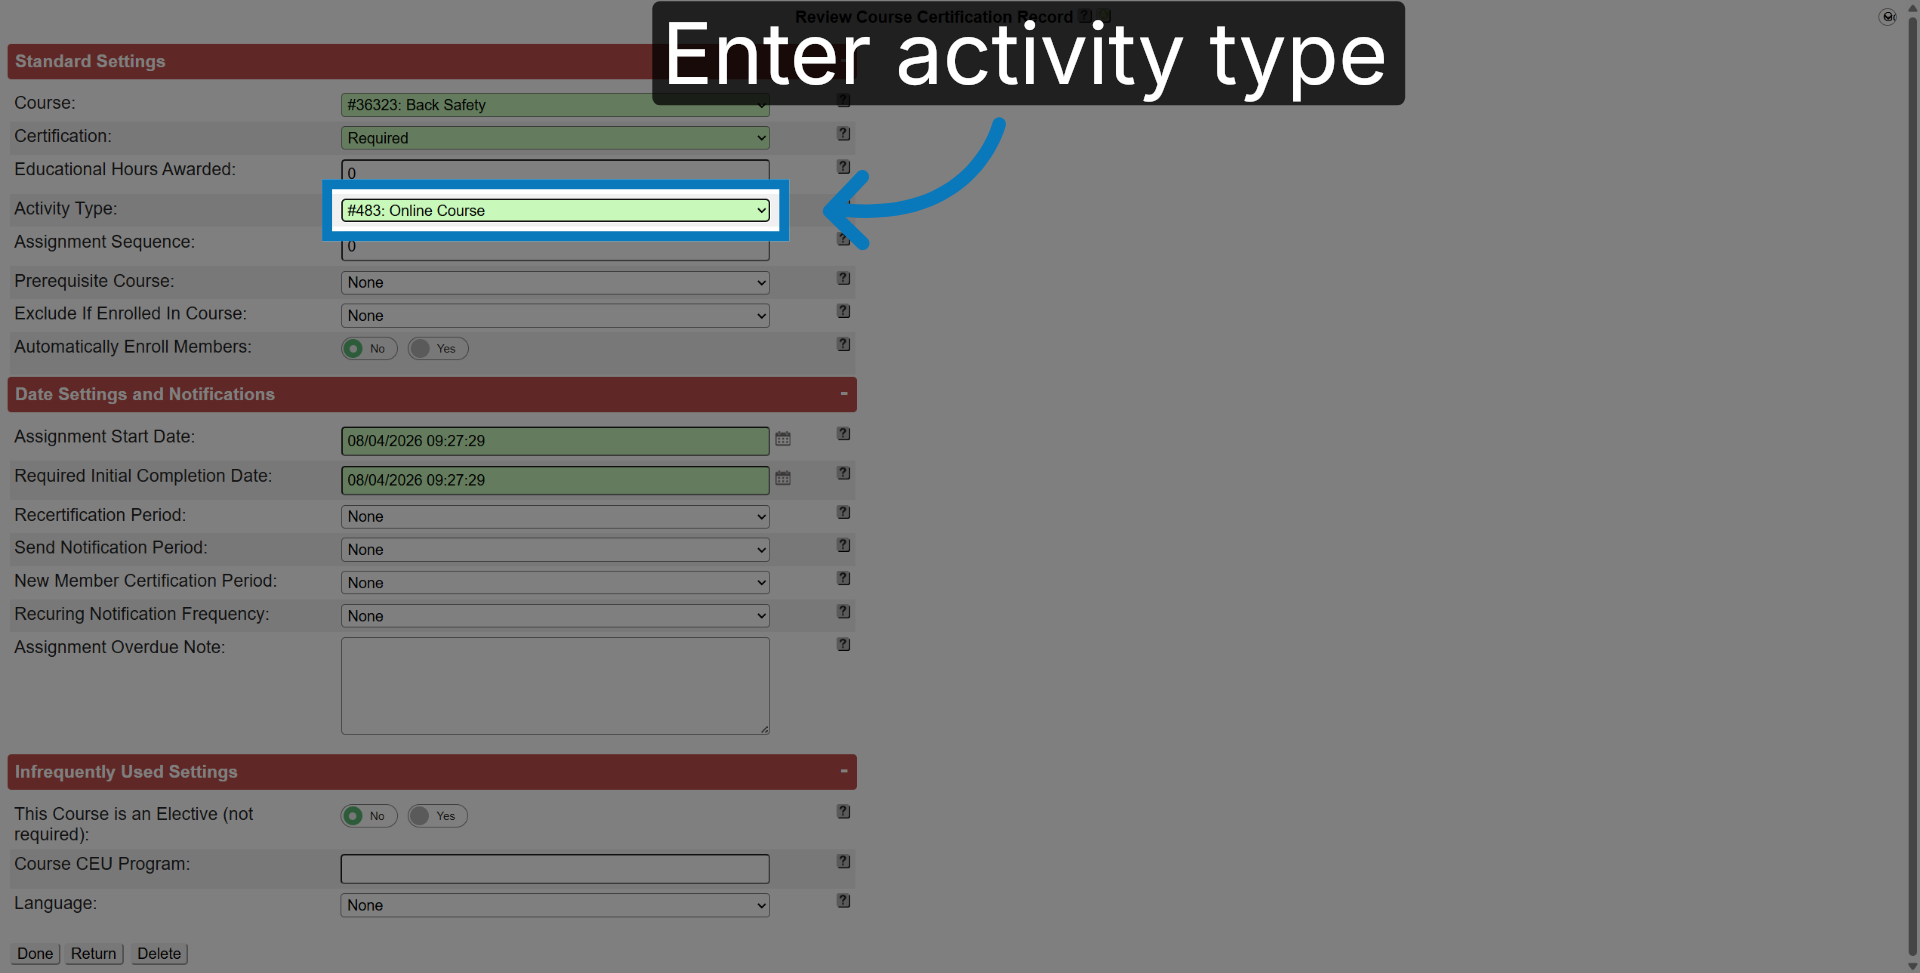
16. Fill Activity Type
Select Online Course
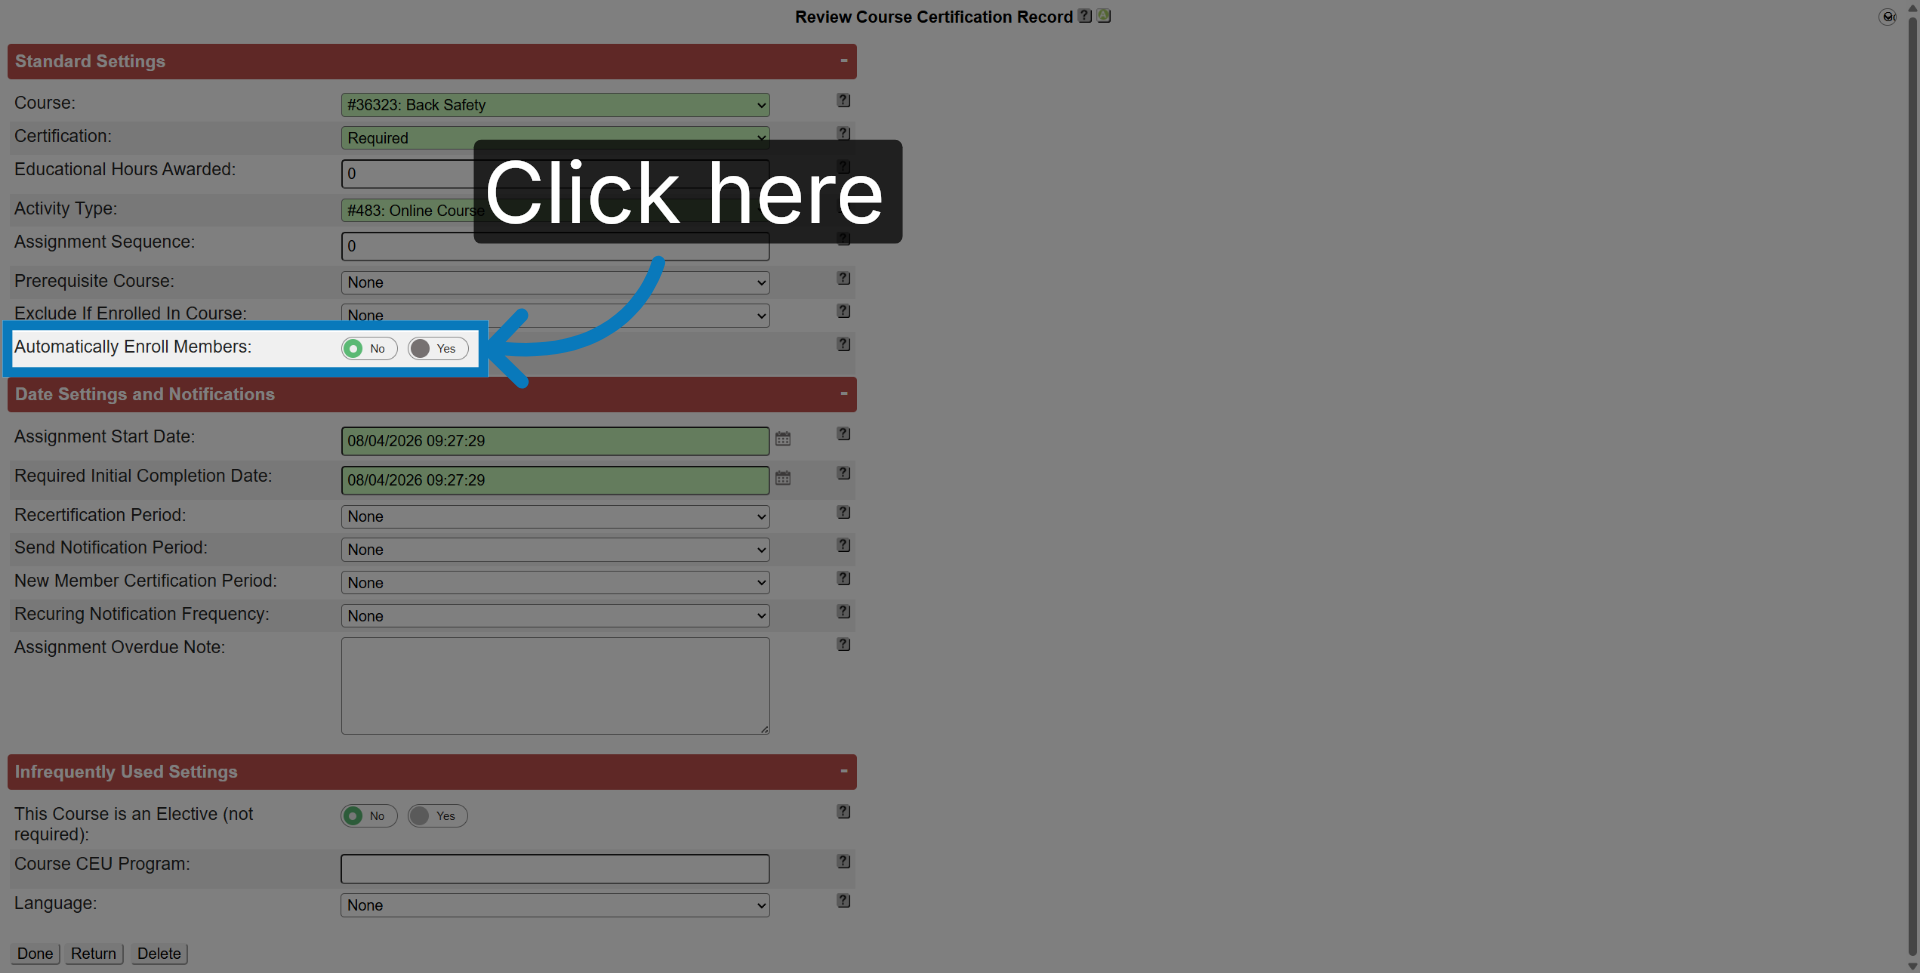
17. Automatically Enroll Settings
Automatically Enroll Members should be set to Yes to allow the system to enroll the course.
18. Select Assignment Start Date
Click the start date to set the assignment start date.
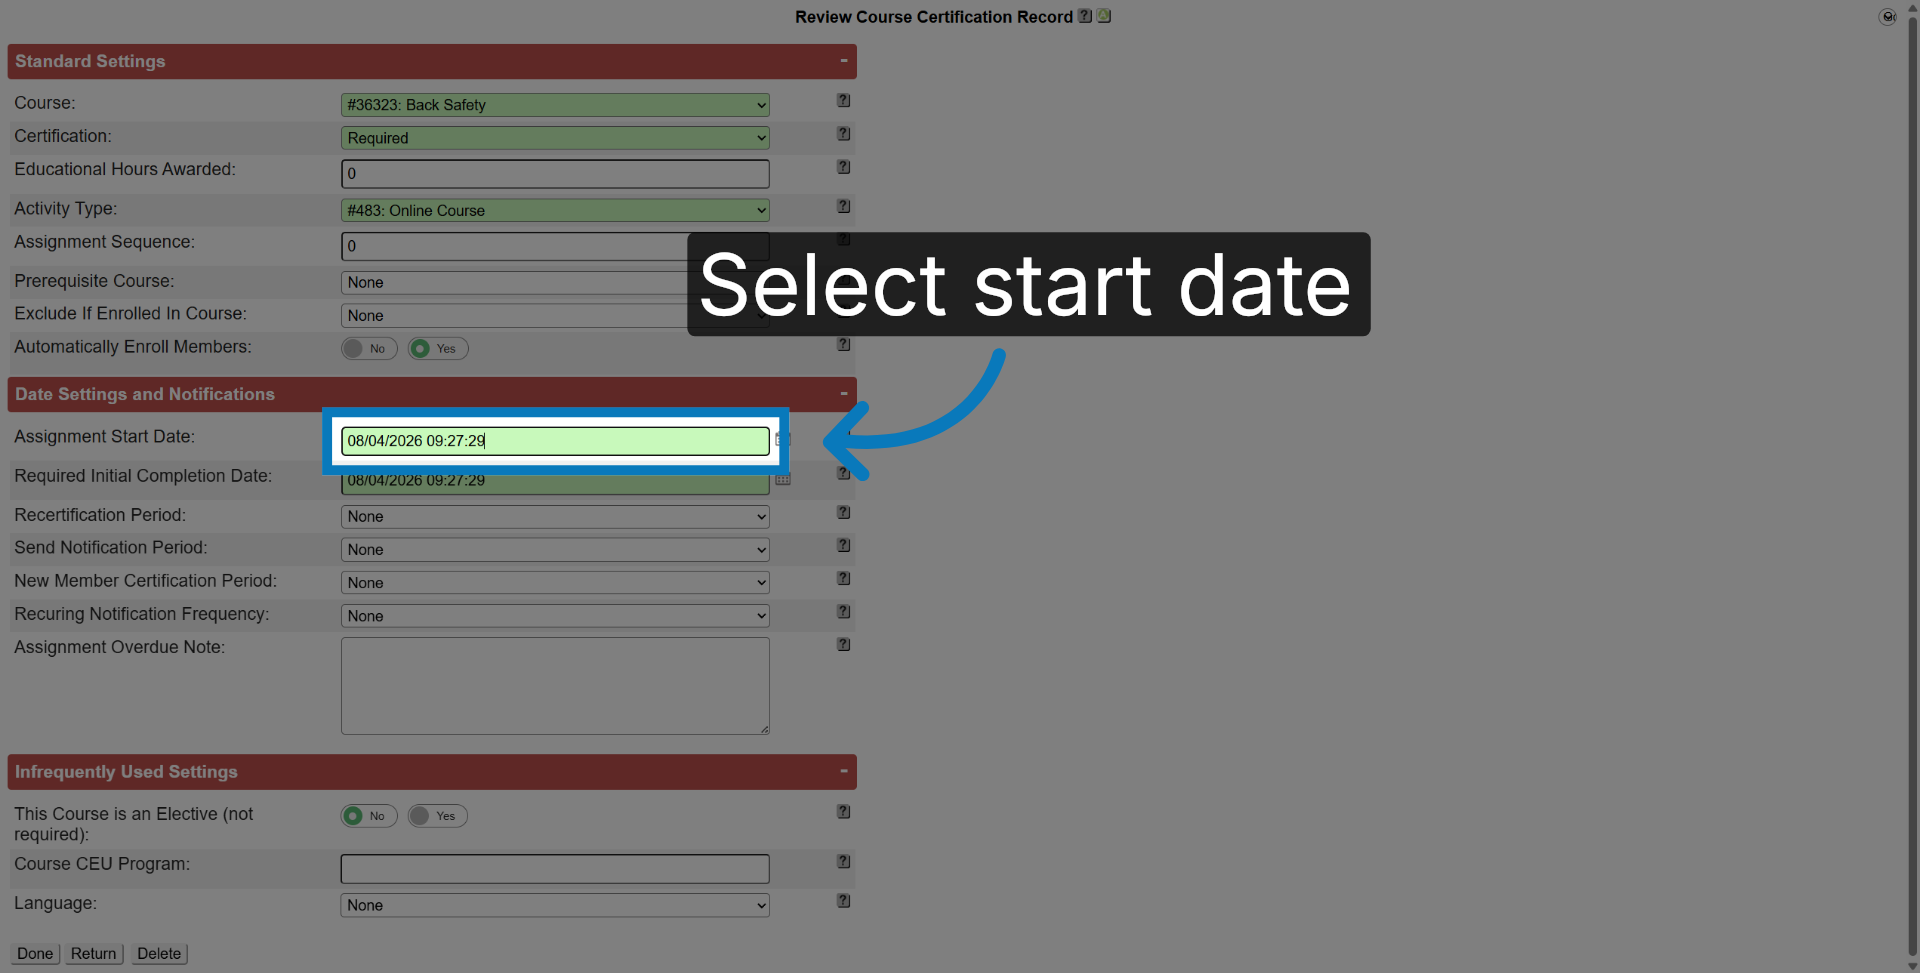
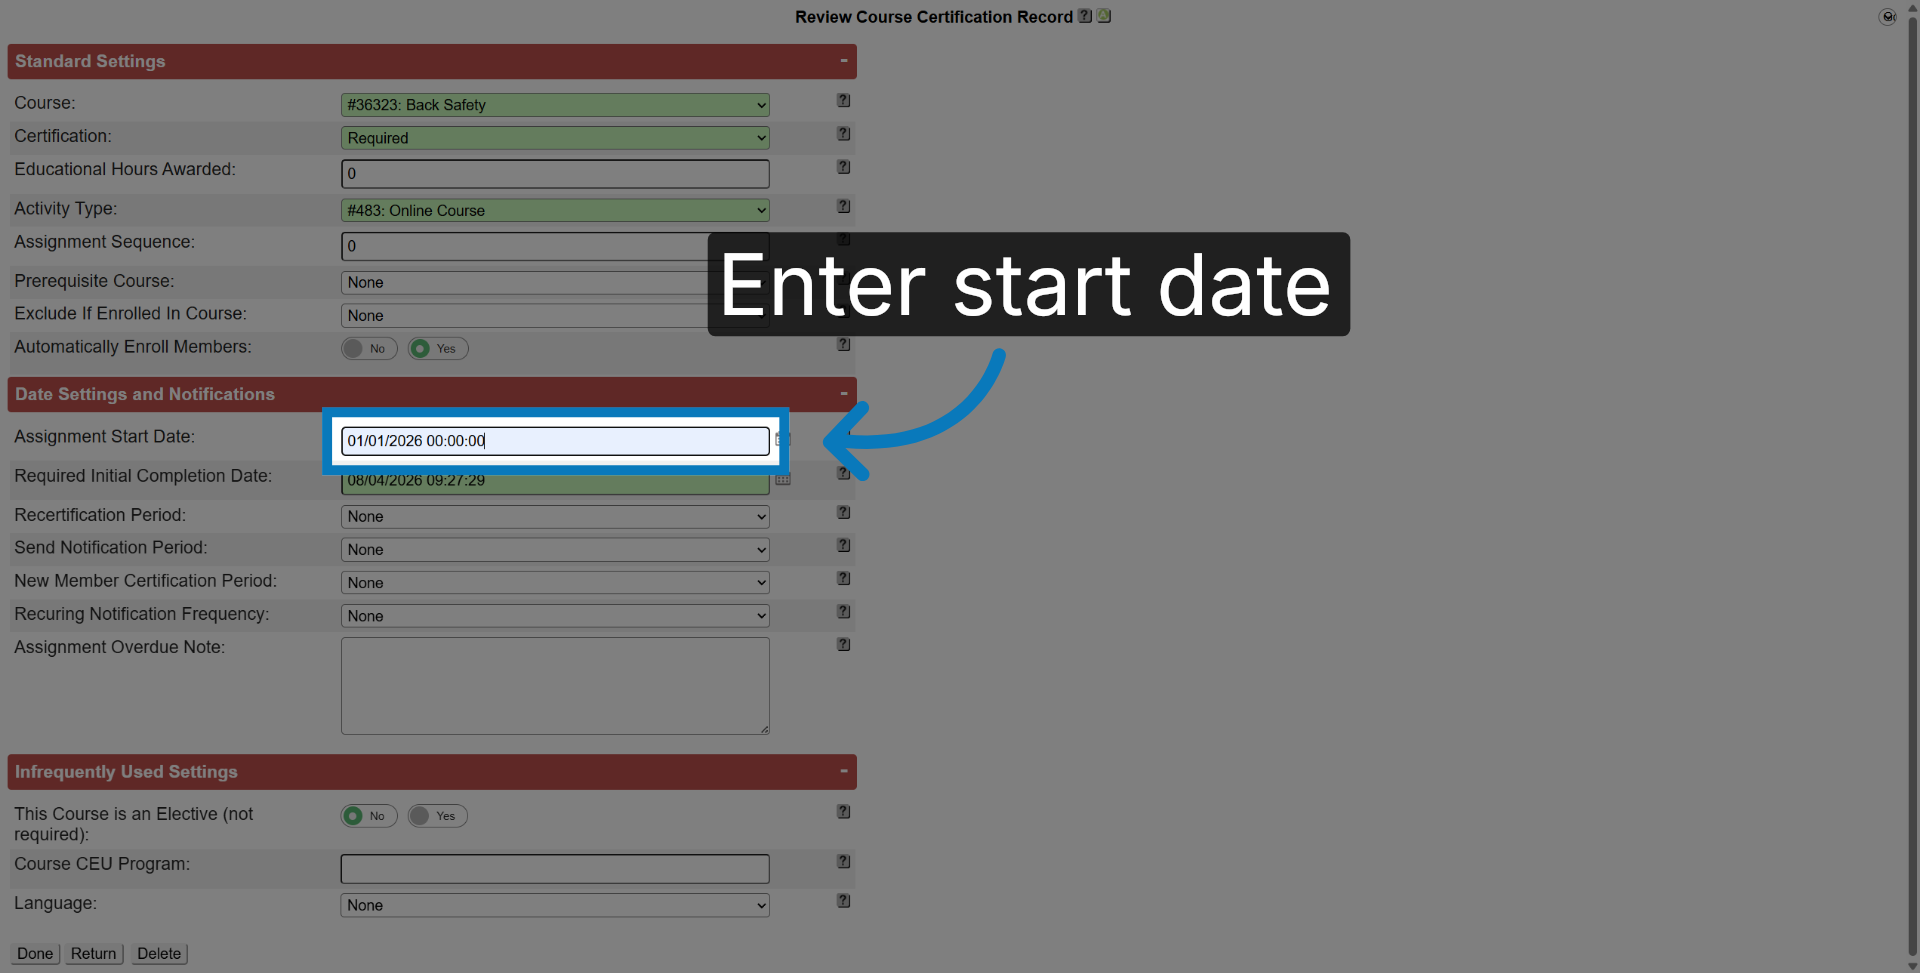
19. Fill Assignment Start Date
Enter the date you wish the course assigned. As a best practice, remove the time.
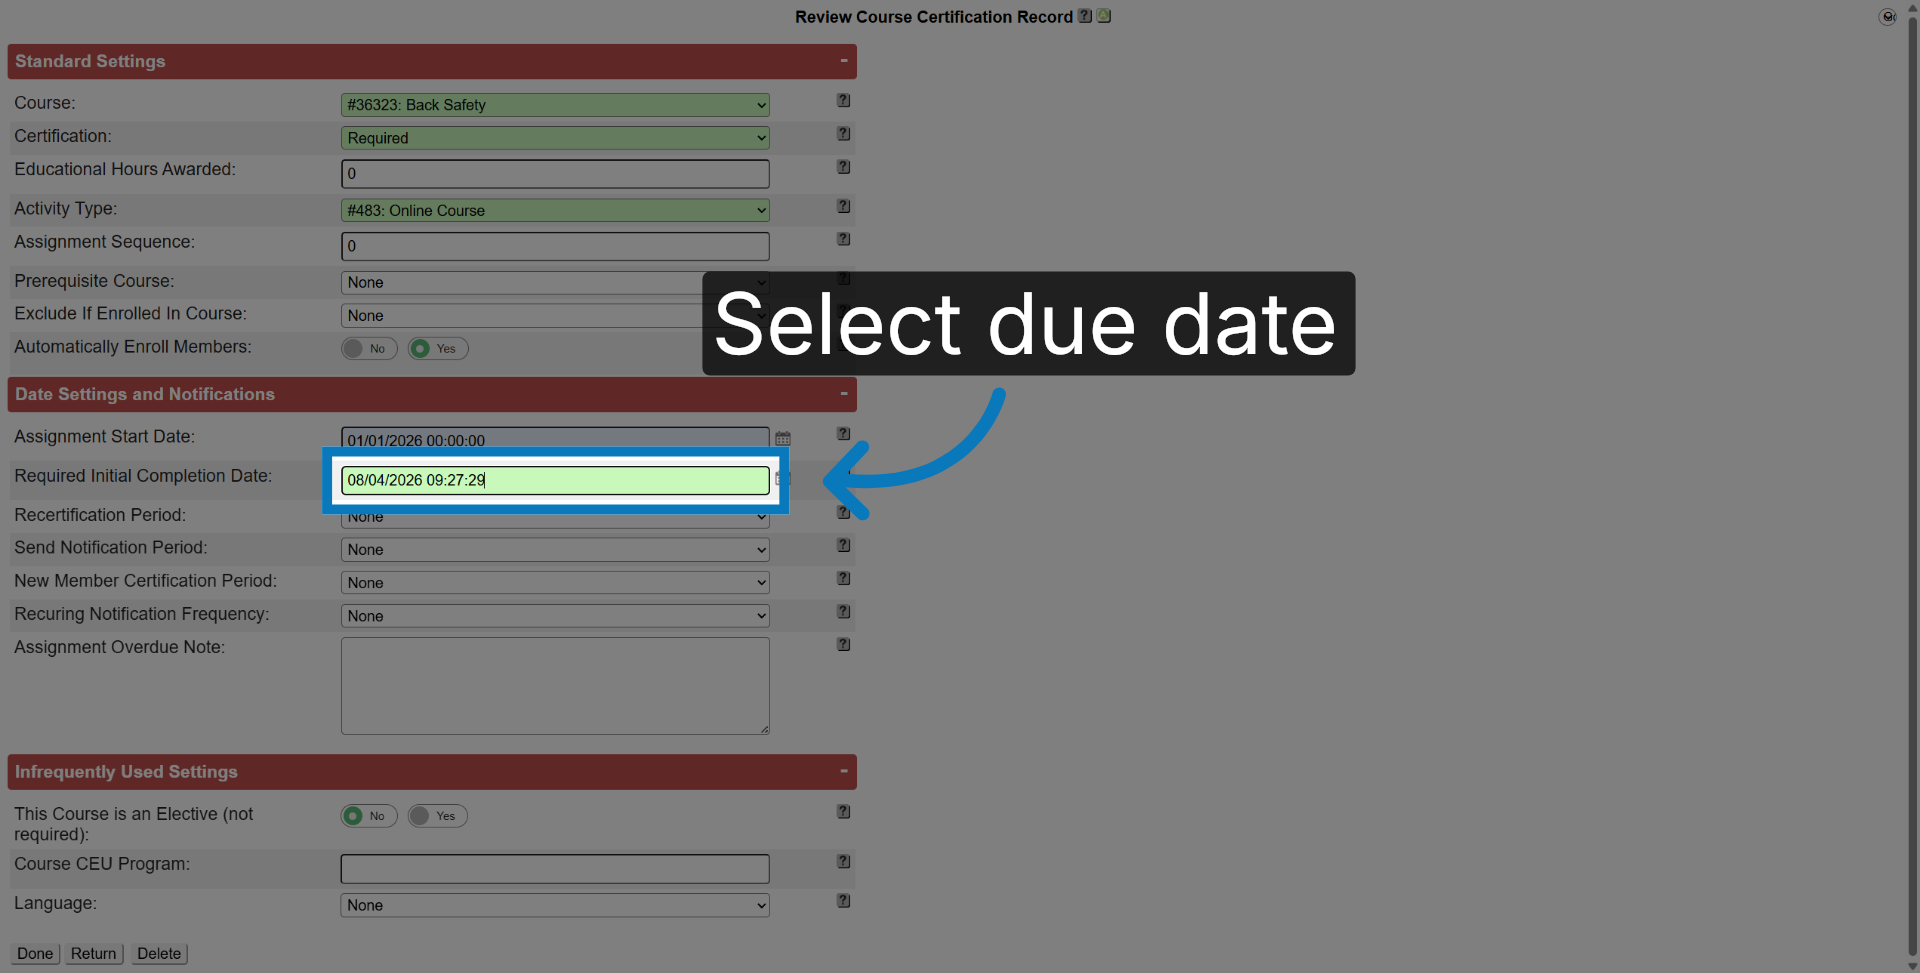
20. Select Due Date
Enter the due date for the course.
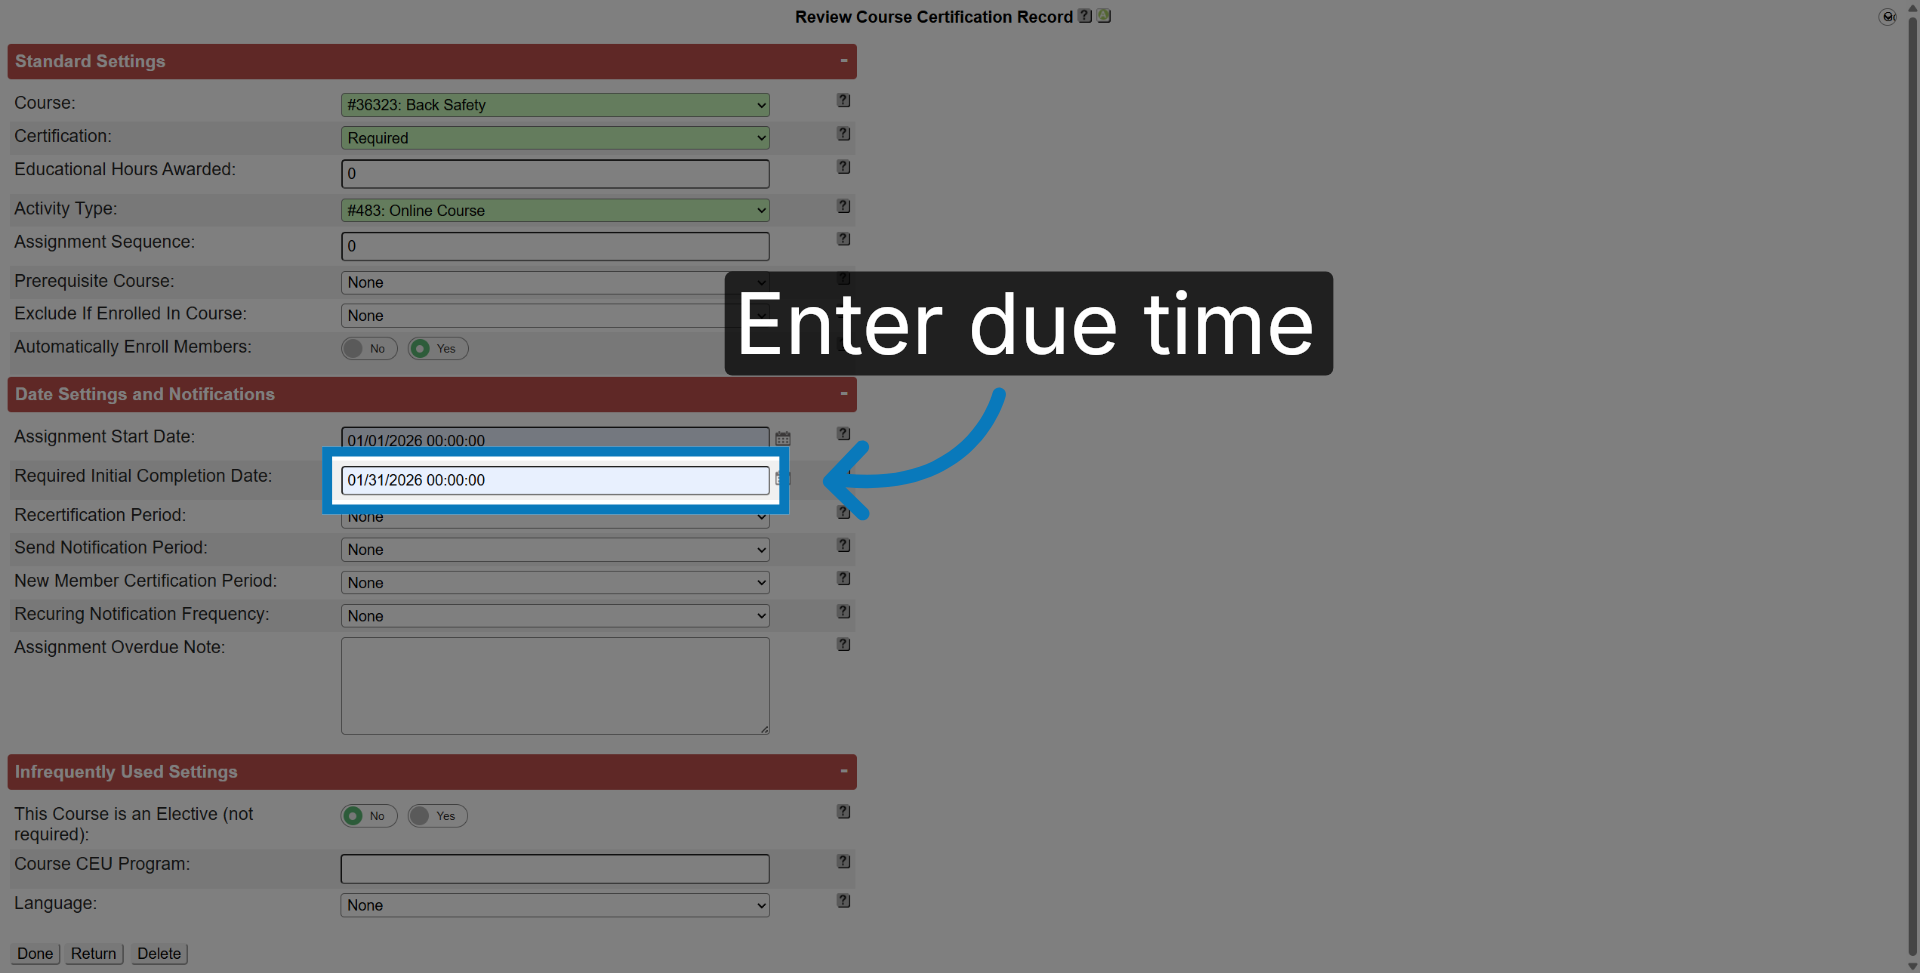
21. Enter Due Date Time
Enter the date you wish the course Due. As a best practice, remove the time.
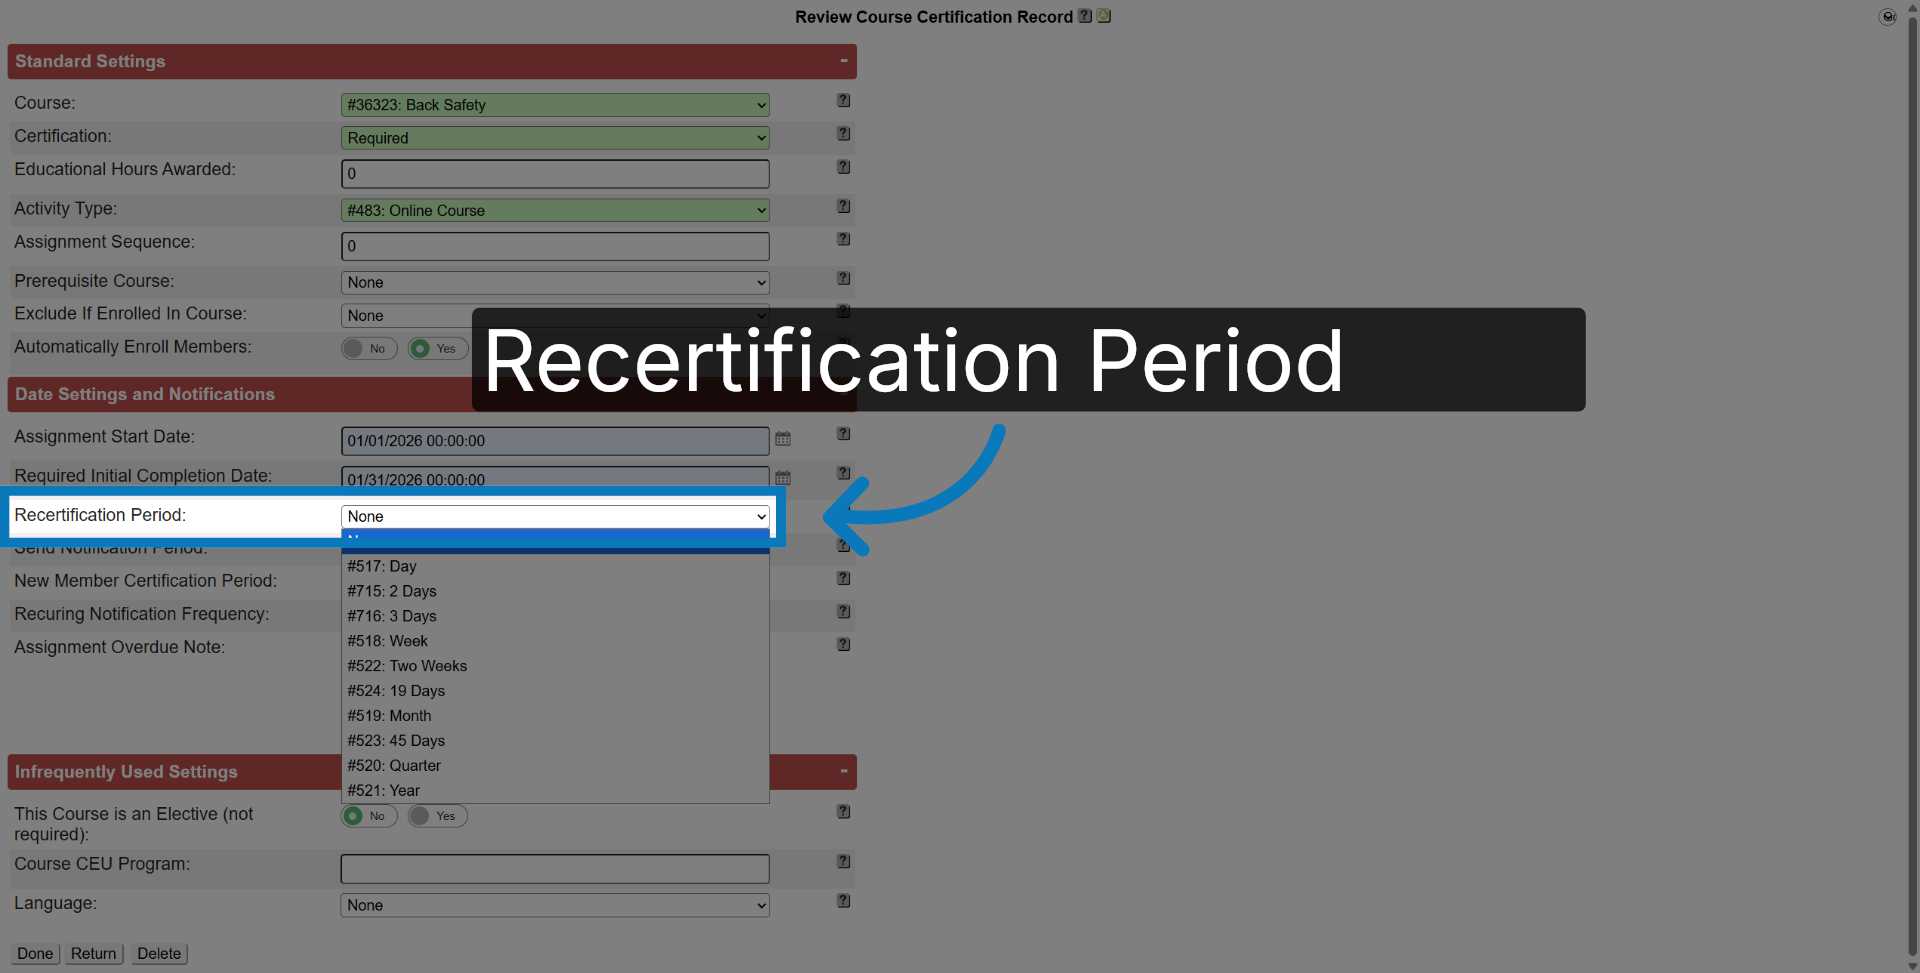
22. Optional - Recertification Period
If you want the course reassigned, select the reassignment timeframe. This will allow the course to be reassigned a specific number of days from the date the employee completed the course. This should only be used in very specific circumstances. Please discuss with Vubiz Support for any questions
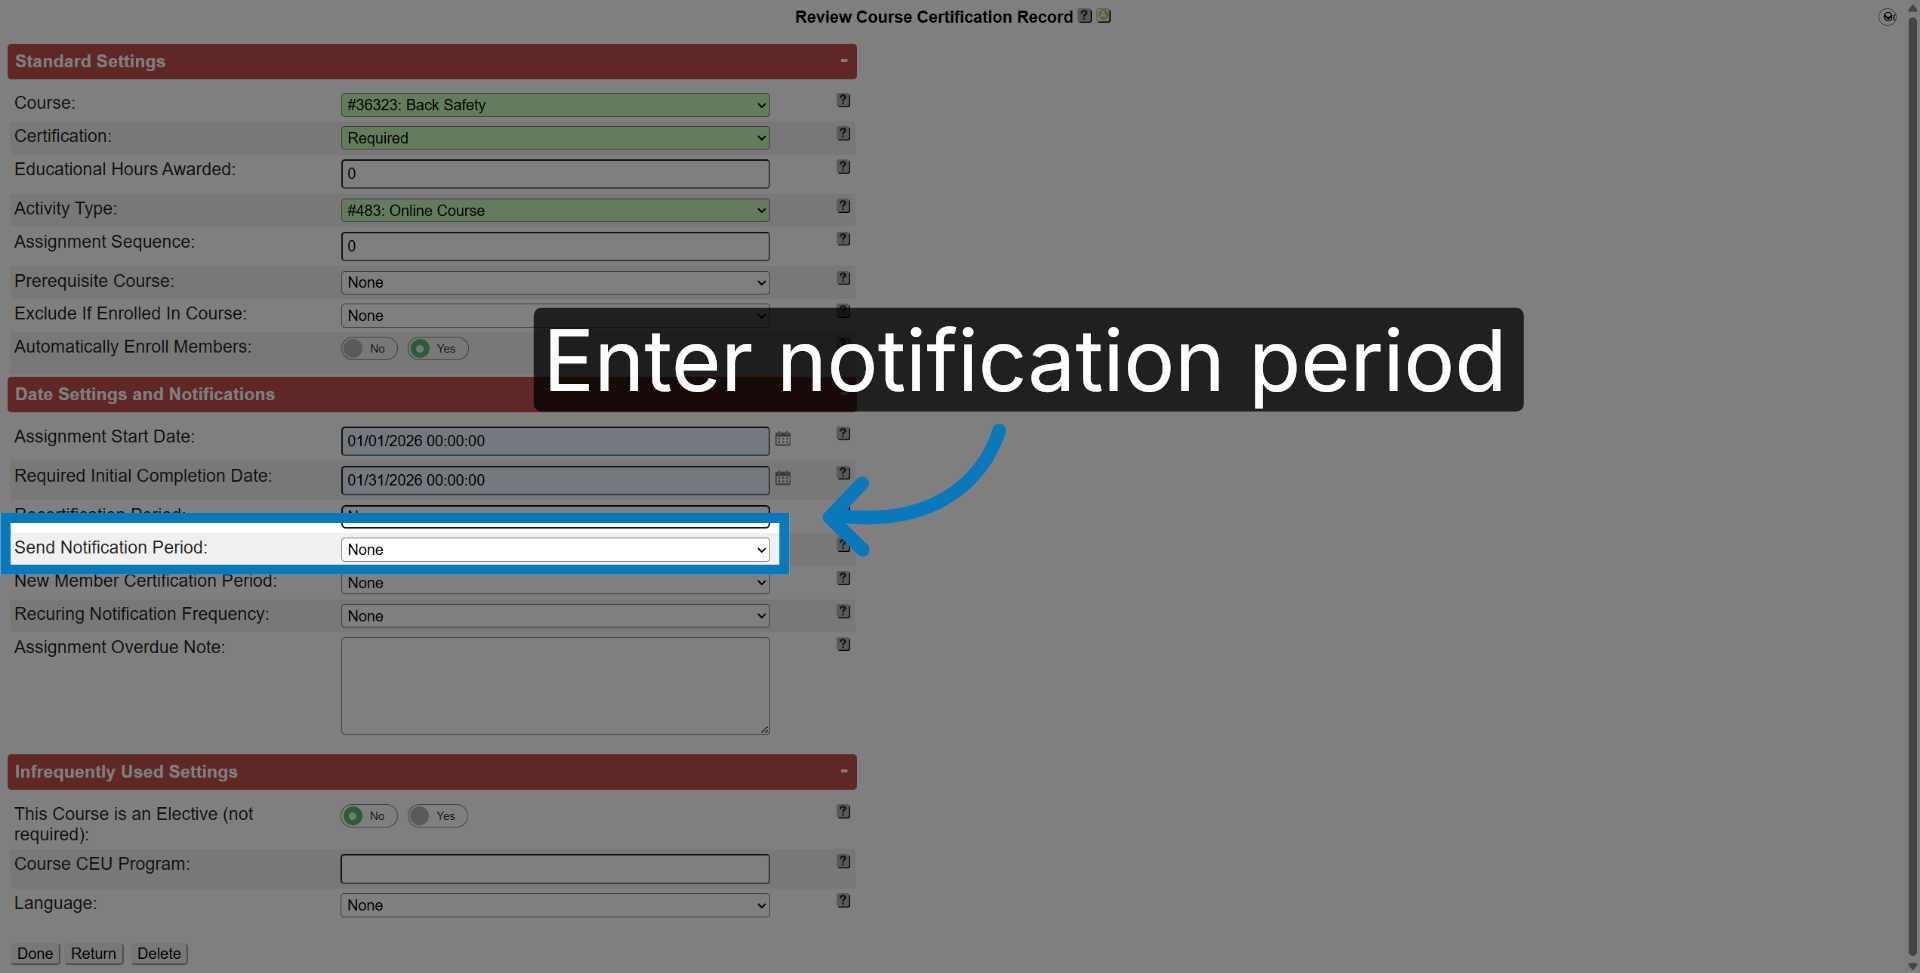
23. Send Notification Period
This setting allows you to send an email pre-notice a set number of days before the due date
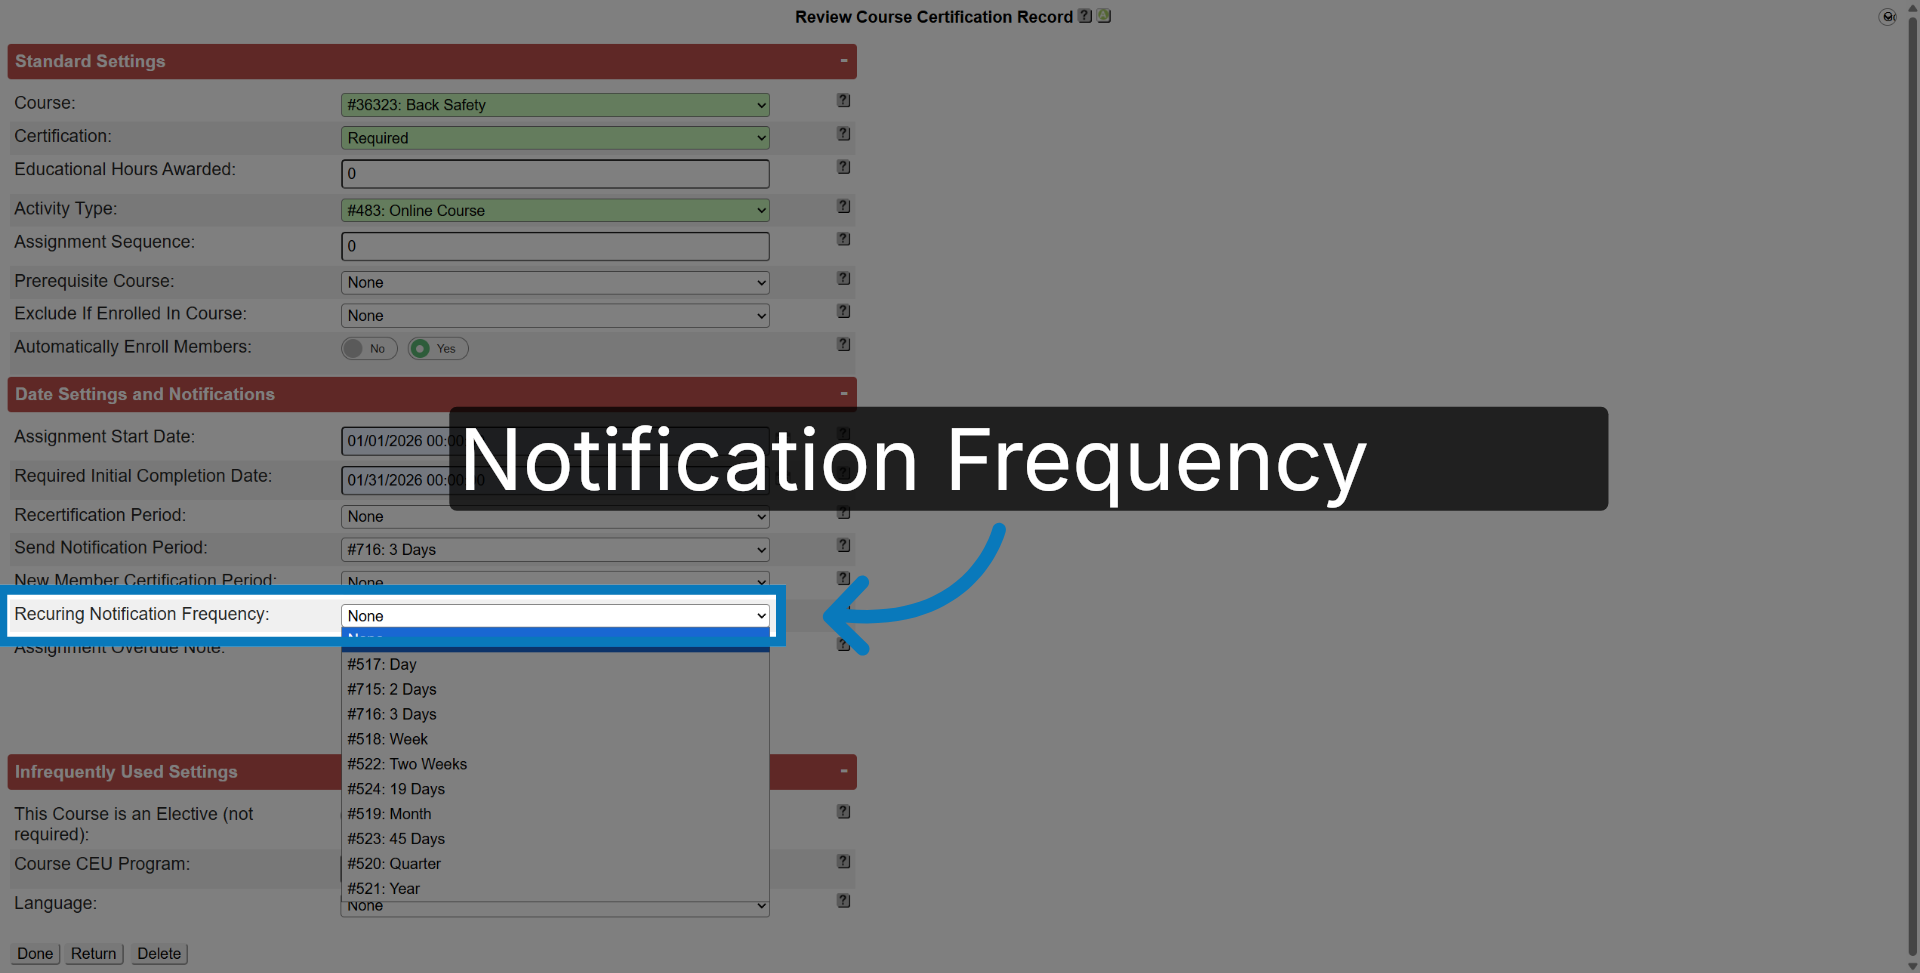
24. Select Notification Frequency
This setting allows you to set a recurring email notification once the due date has passed.
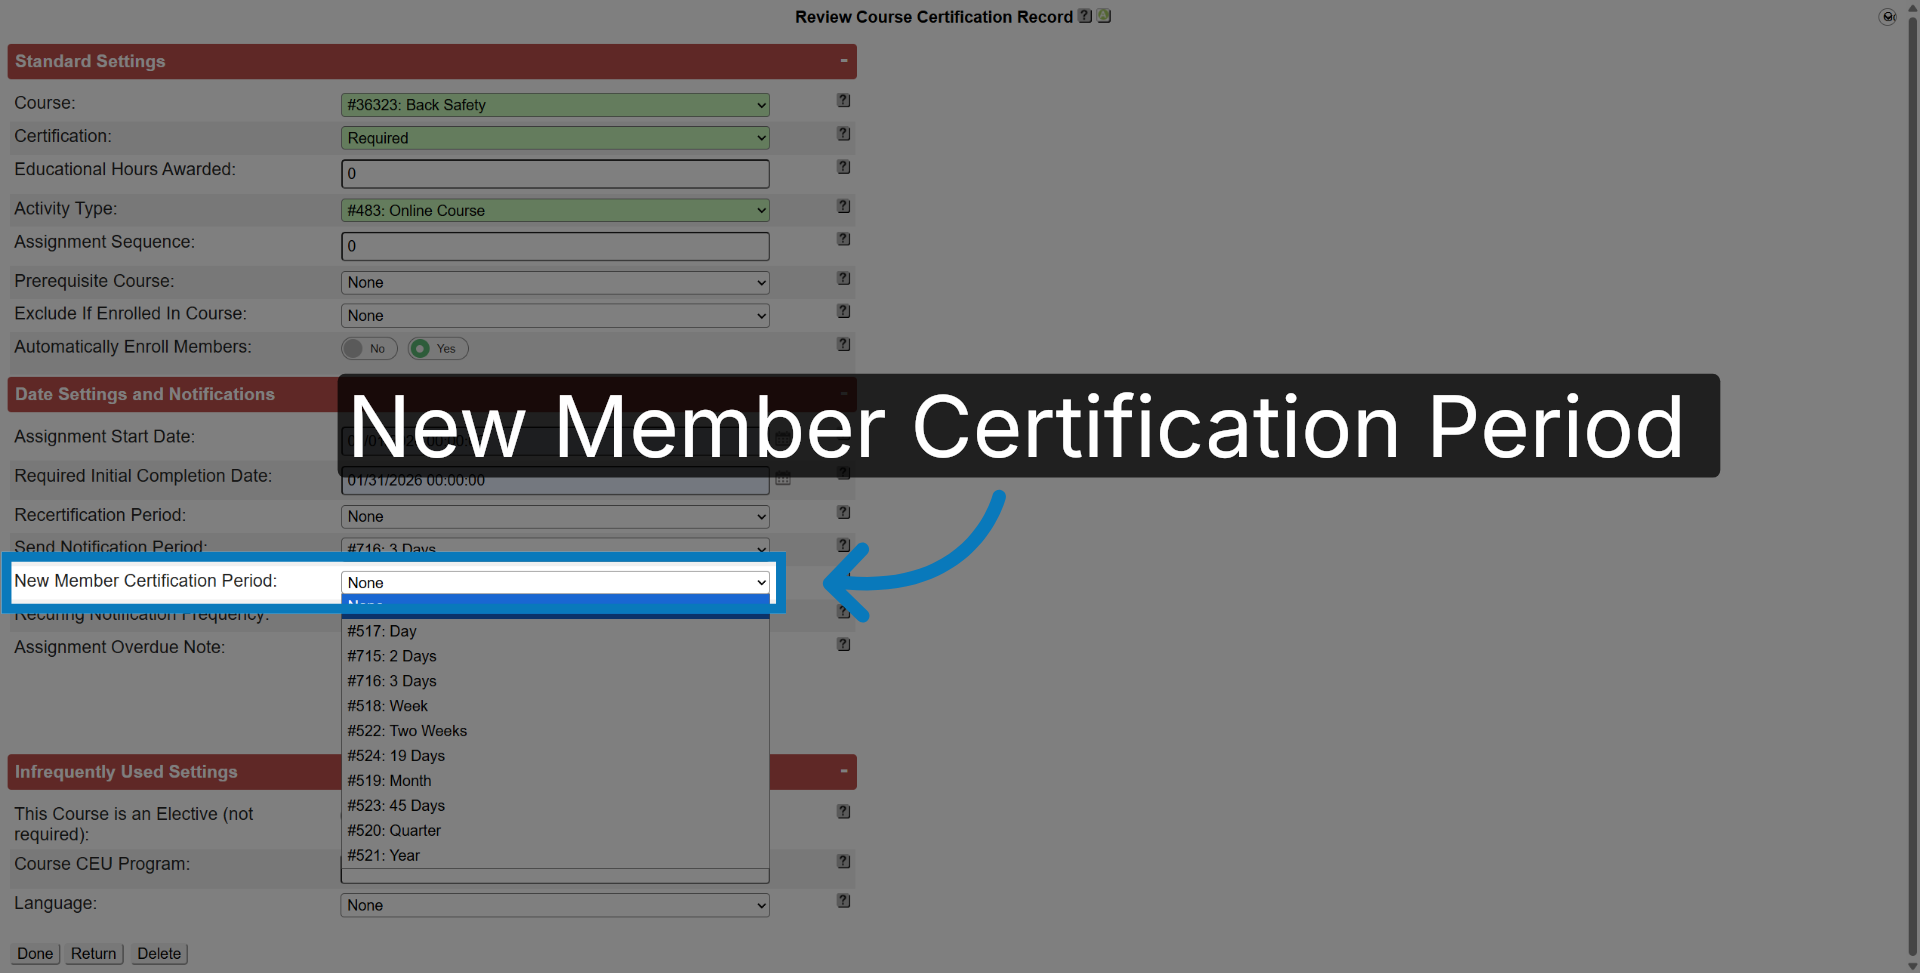
25. New Member Certification Period
This allows you to set a new employee grace period, if the due date has already passed, this will calculate a new due date based on the number of days selected
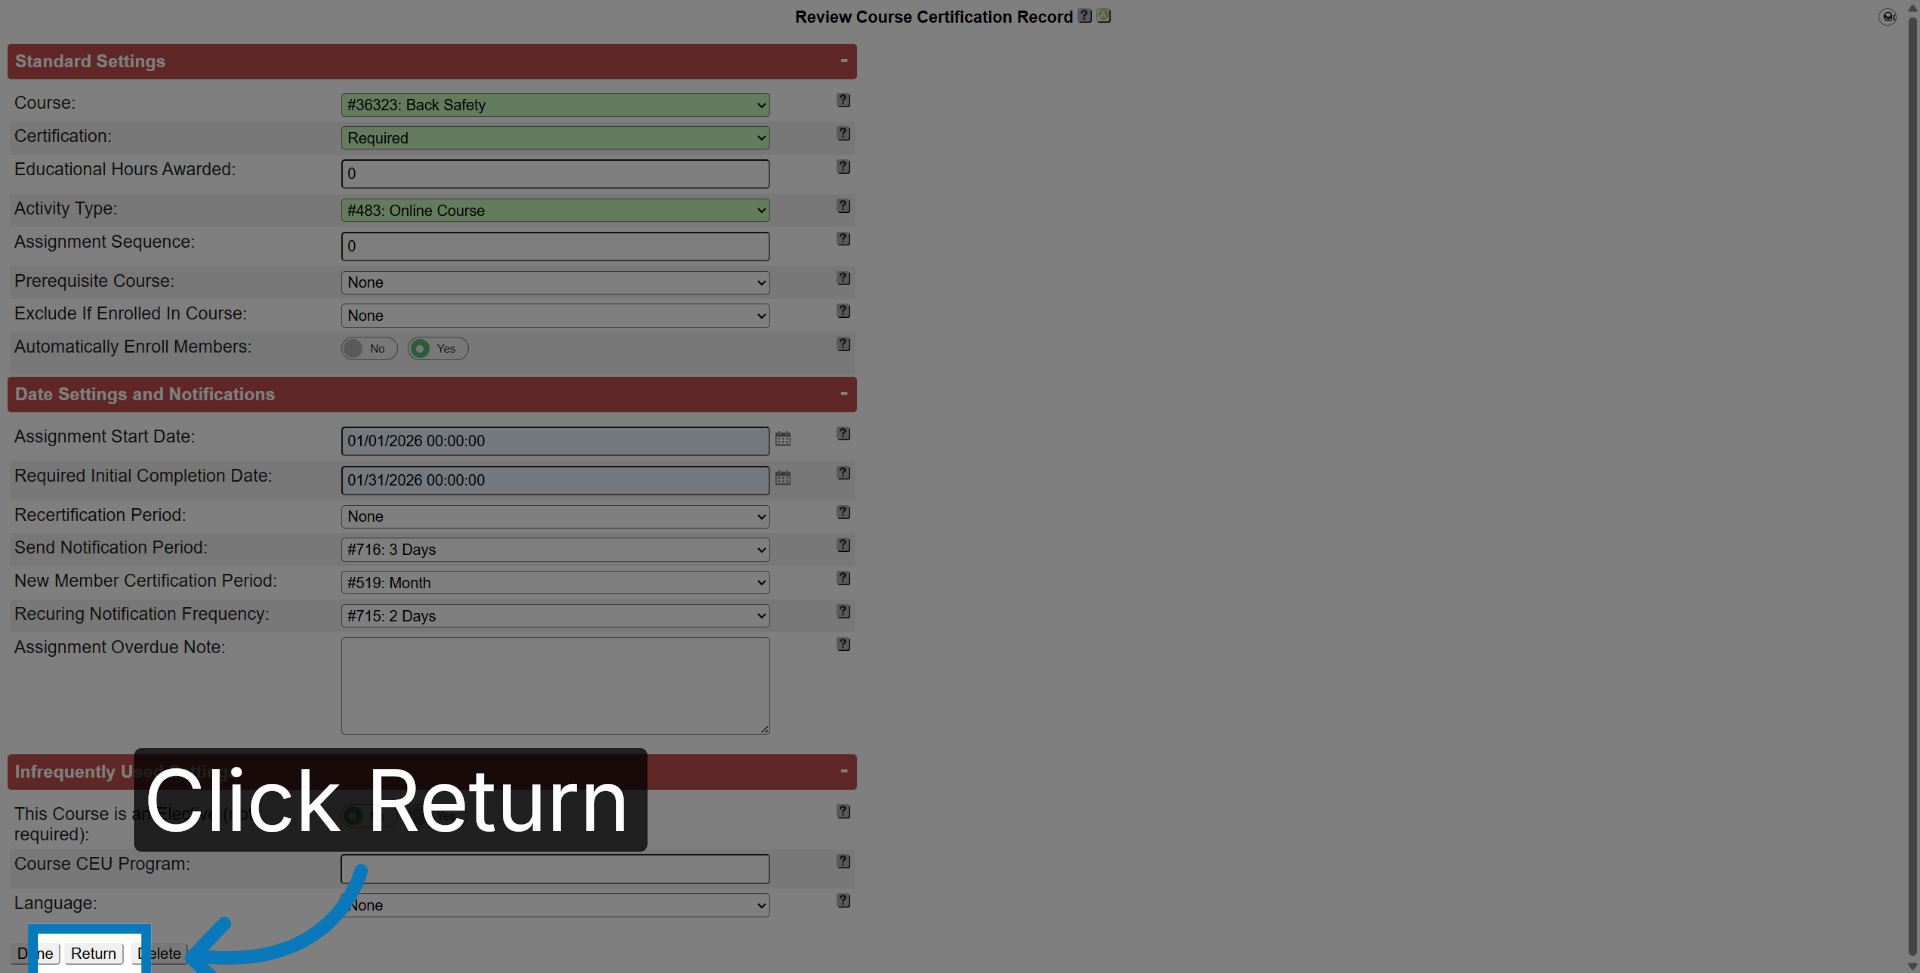
26. Return To Course Screen
Once you have all the course settings completed, click the return button
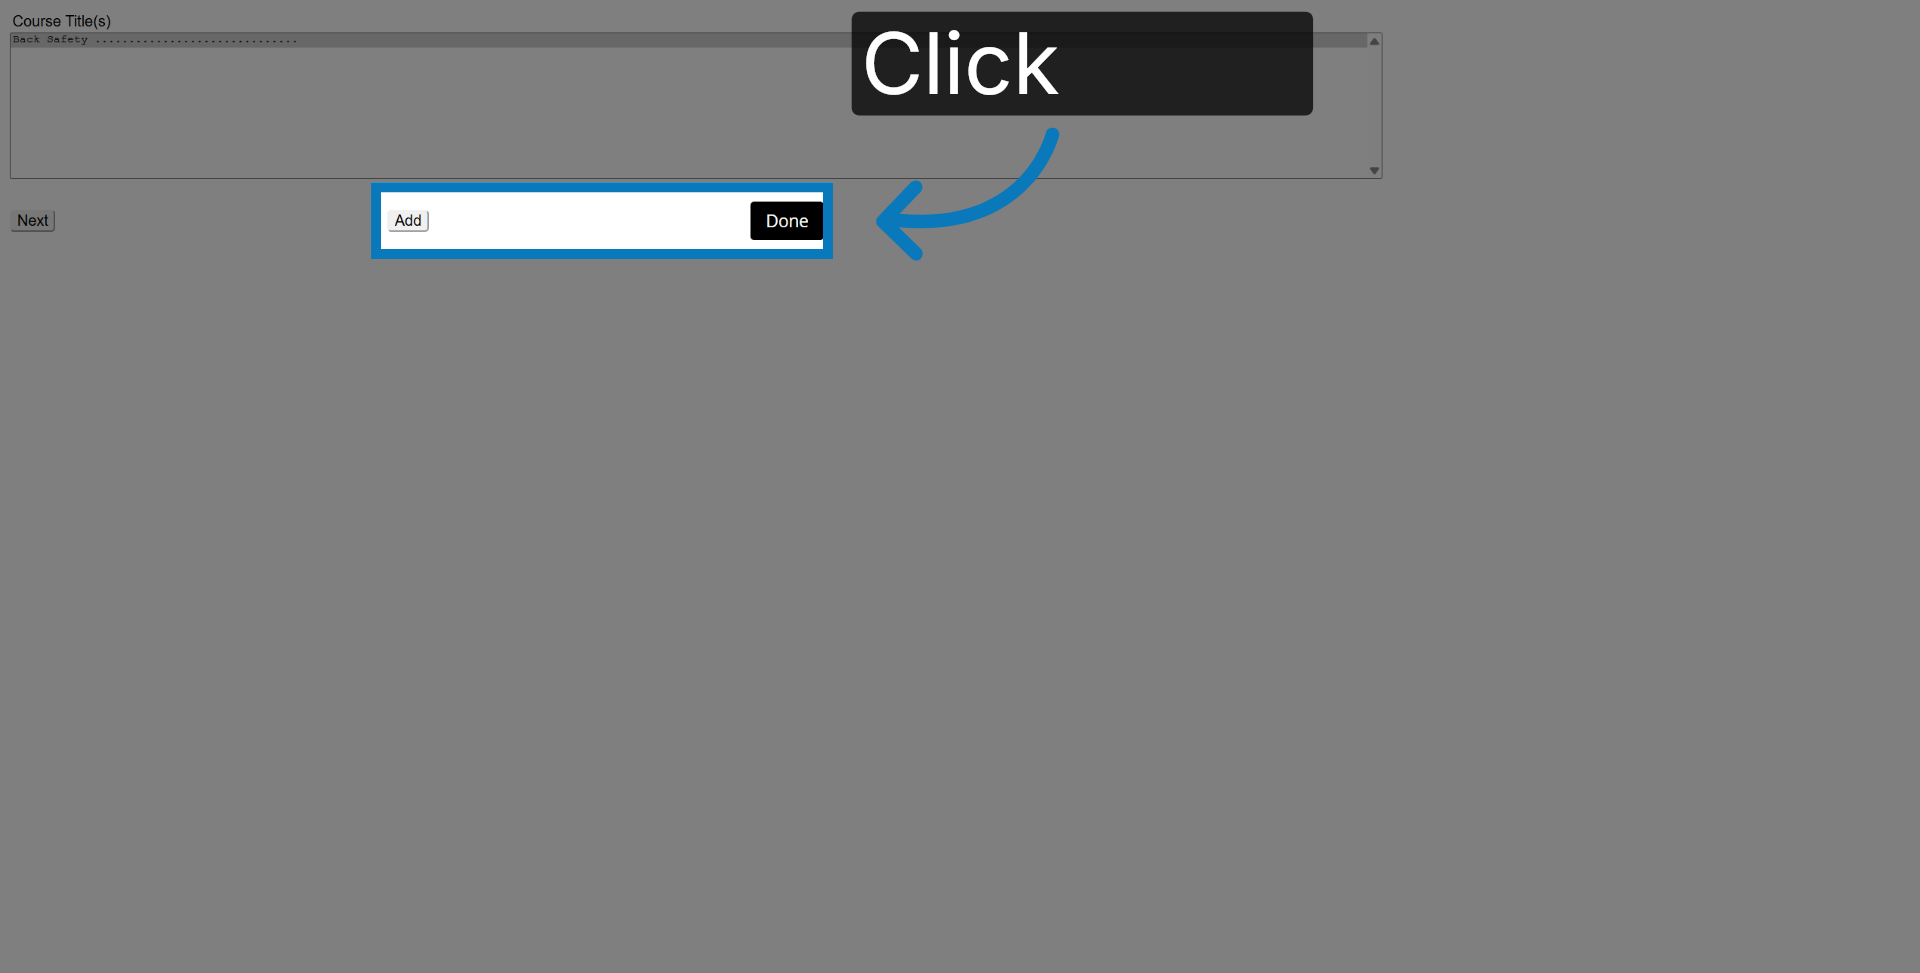
27. Complete Certification Setup
You can now click Add to repeat the process and add more courses, or click Done to complete the certification setup.
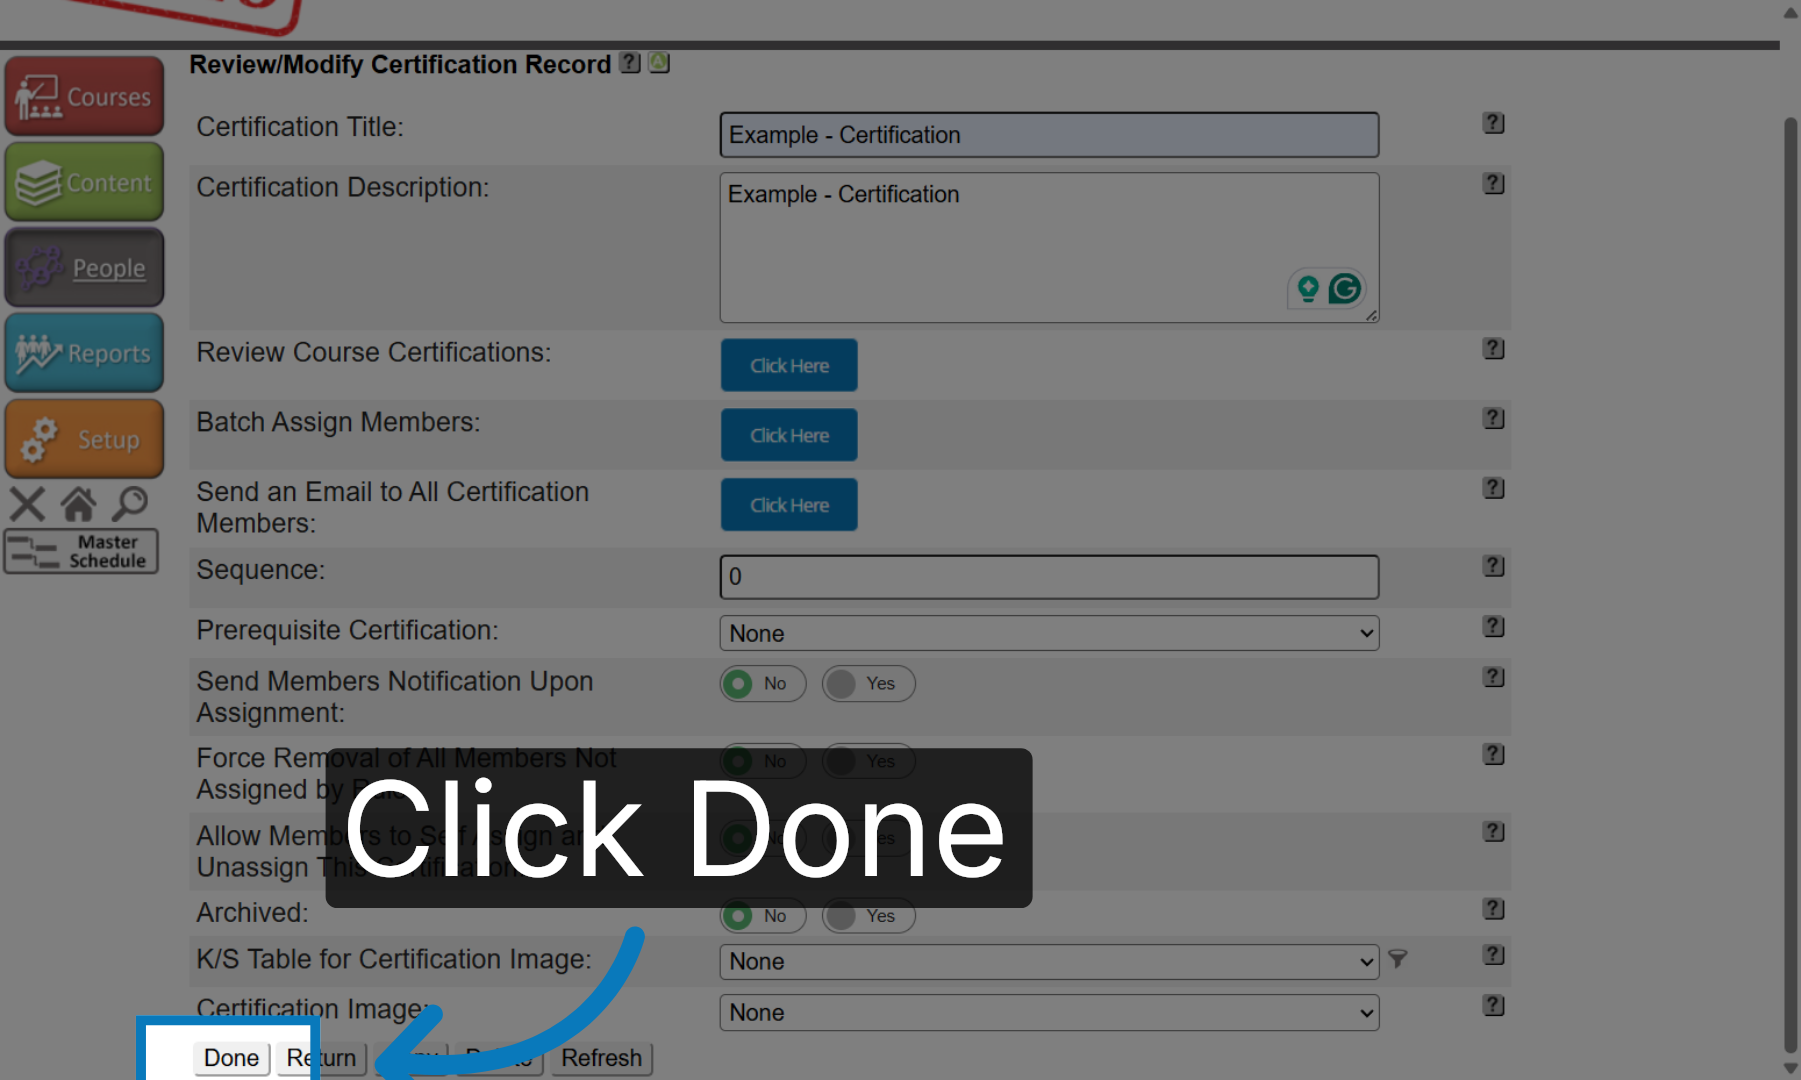
28. Finalize Certification
Click Done again to finalize and save your certification.
You have successfully created and configured a new certification in the KMx system. The certification includes course assignments, notification settings, and recertification periods. You can now manage certifications or add additional courses as needed.