Create and Import Tests Within the KMx Platform
This guide explains how to create a test or exam within the KMx platform.
1. Introduction
You will learn to insert, configure, and import test items to build a complete assessment.
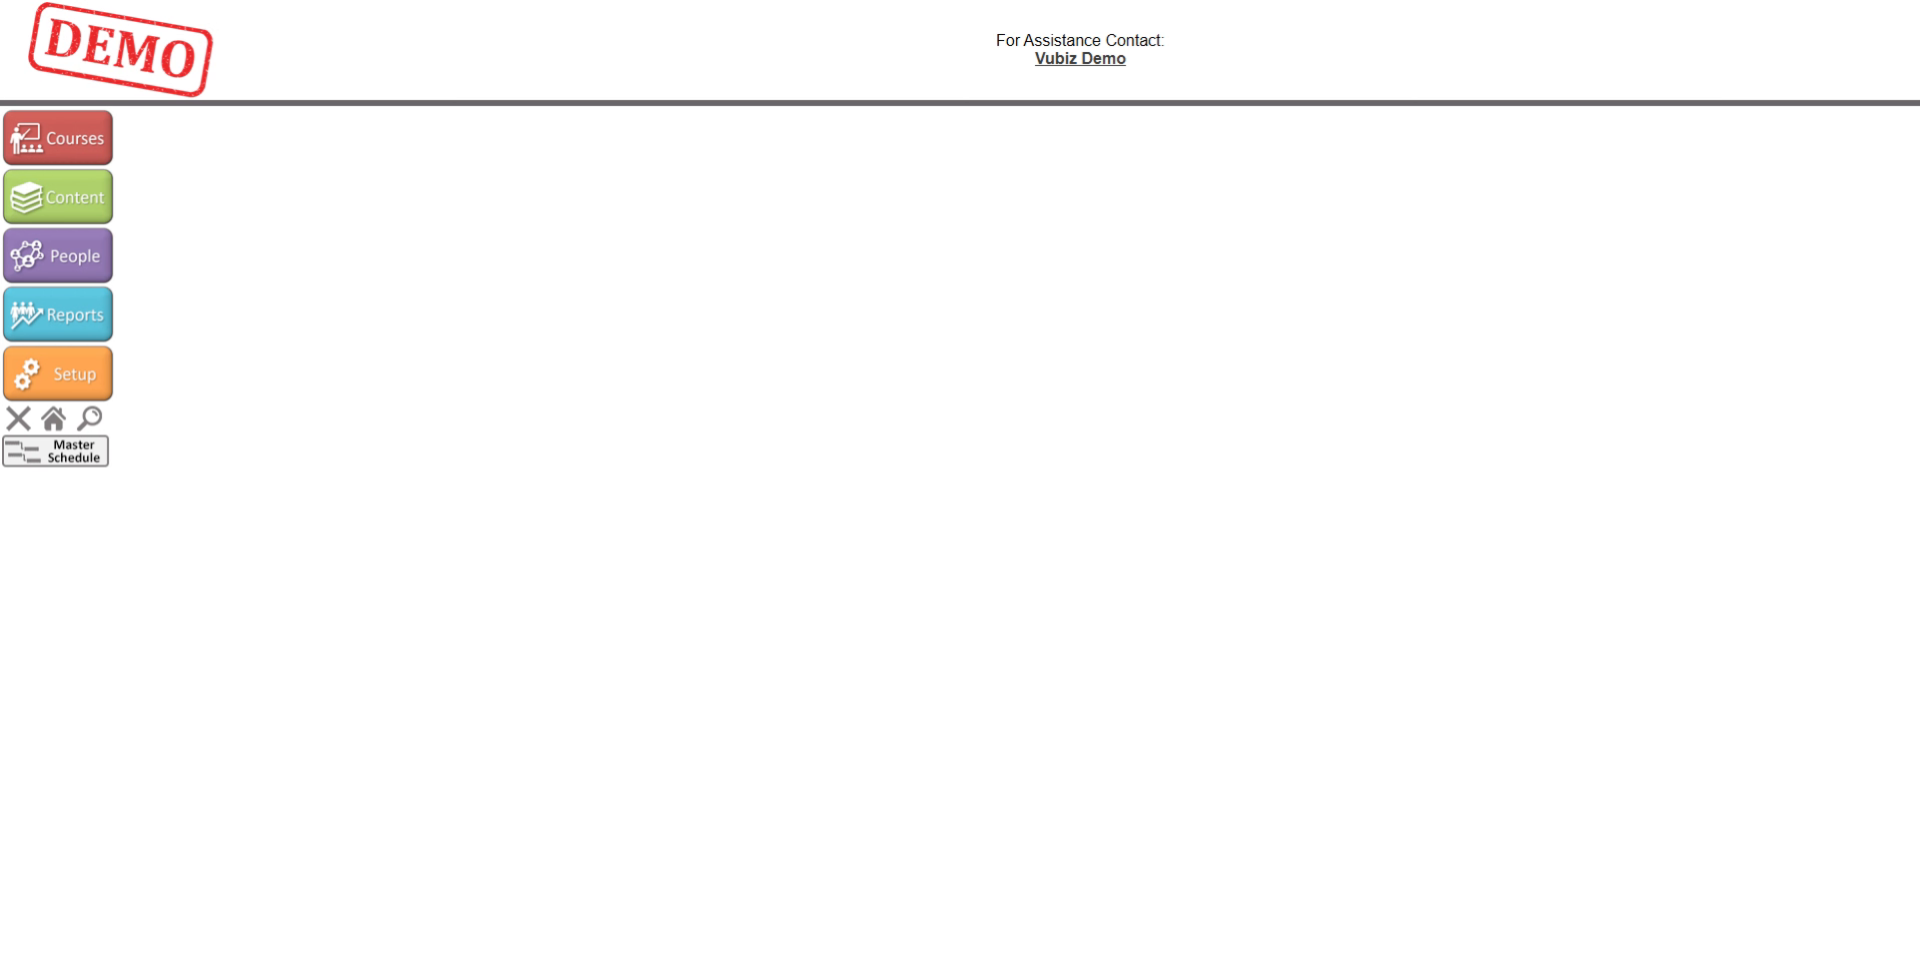
2. Access Content Section
Begin by accessing the content section within the KMx platform to start creating your test or exam.

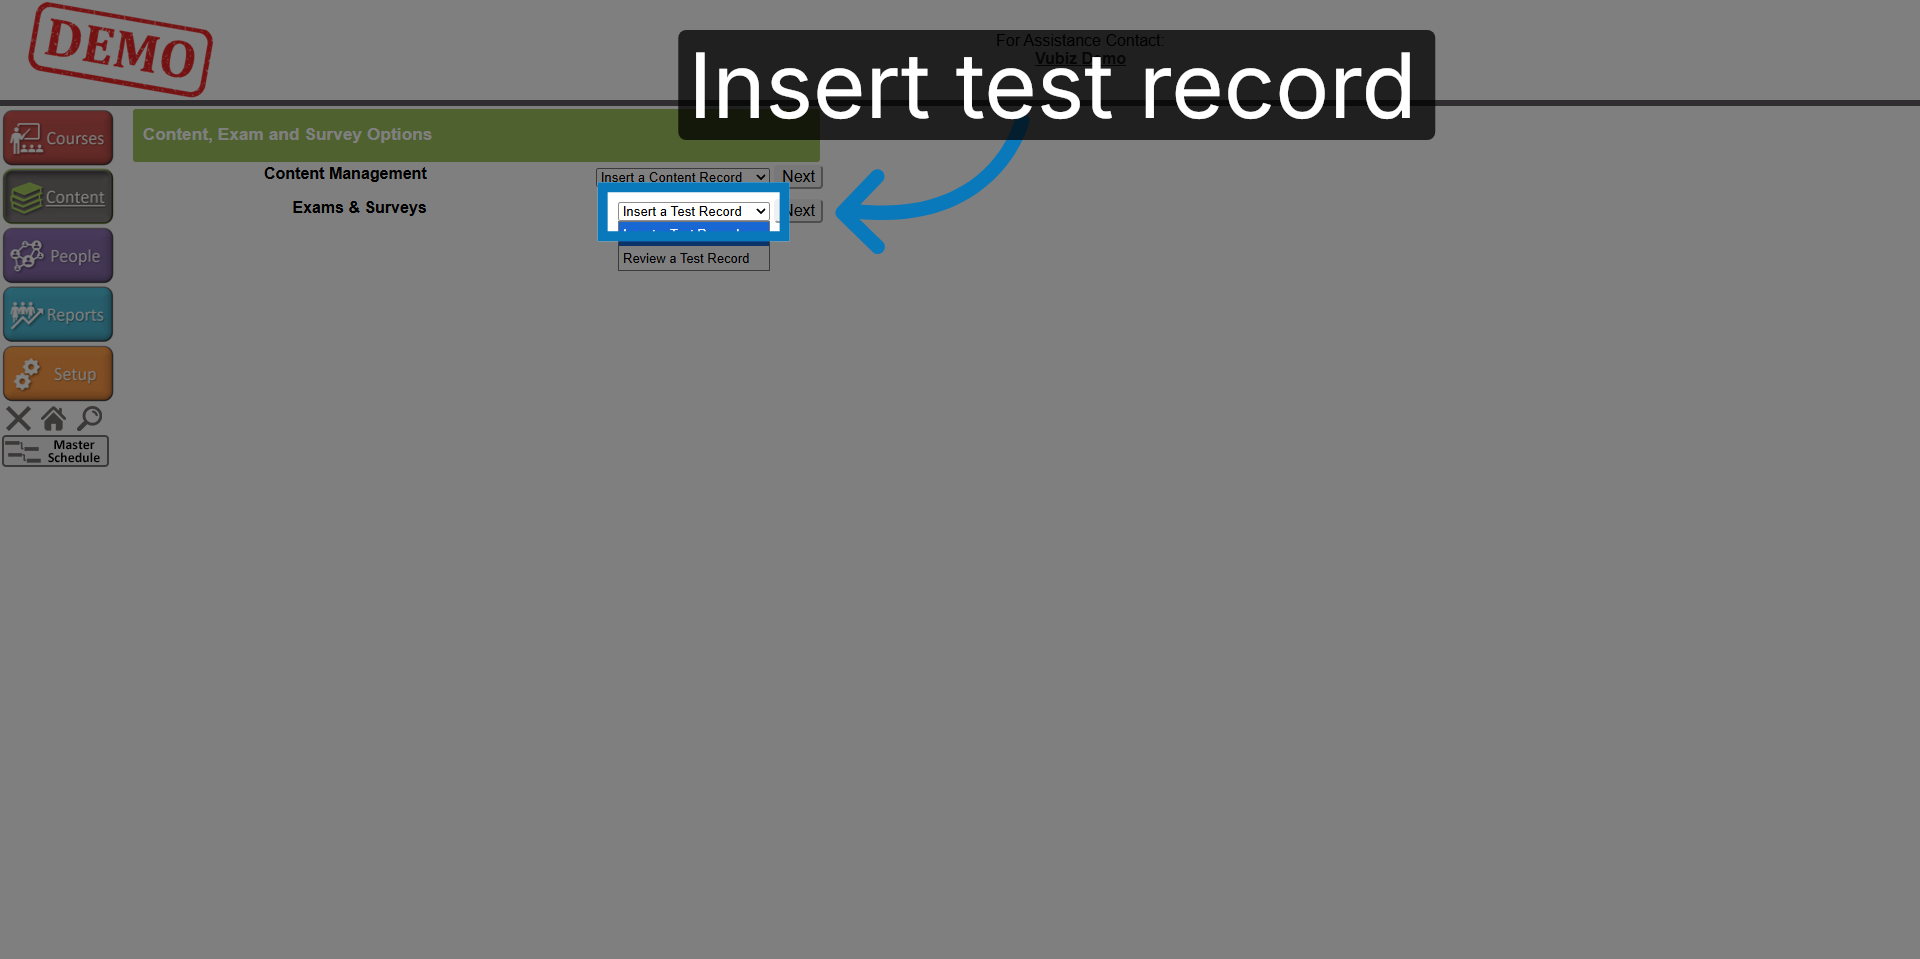
3. Insert Test Record
Insert a new test record to begin setting up your exam within the system.
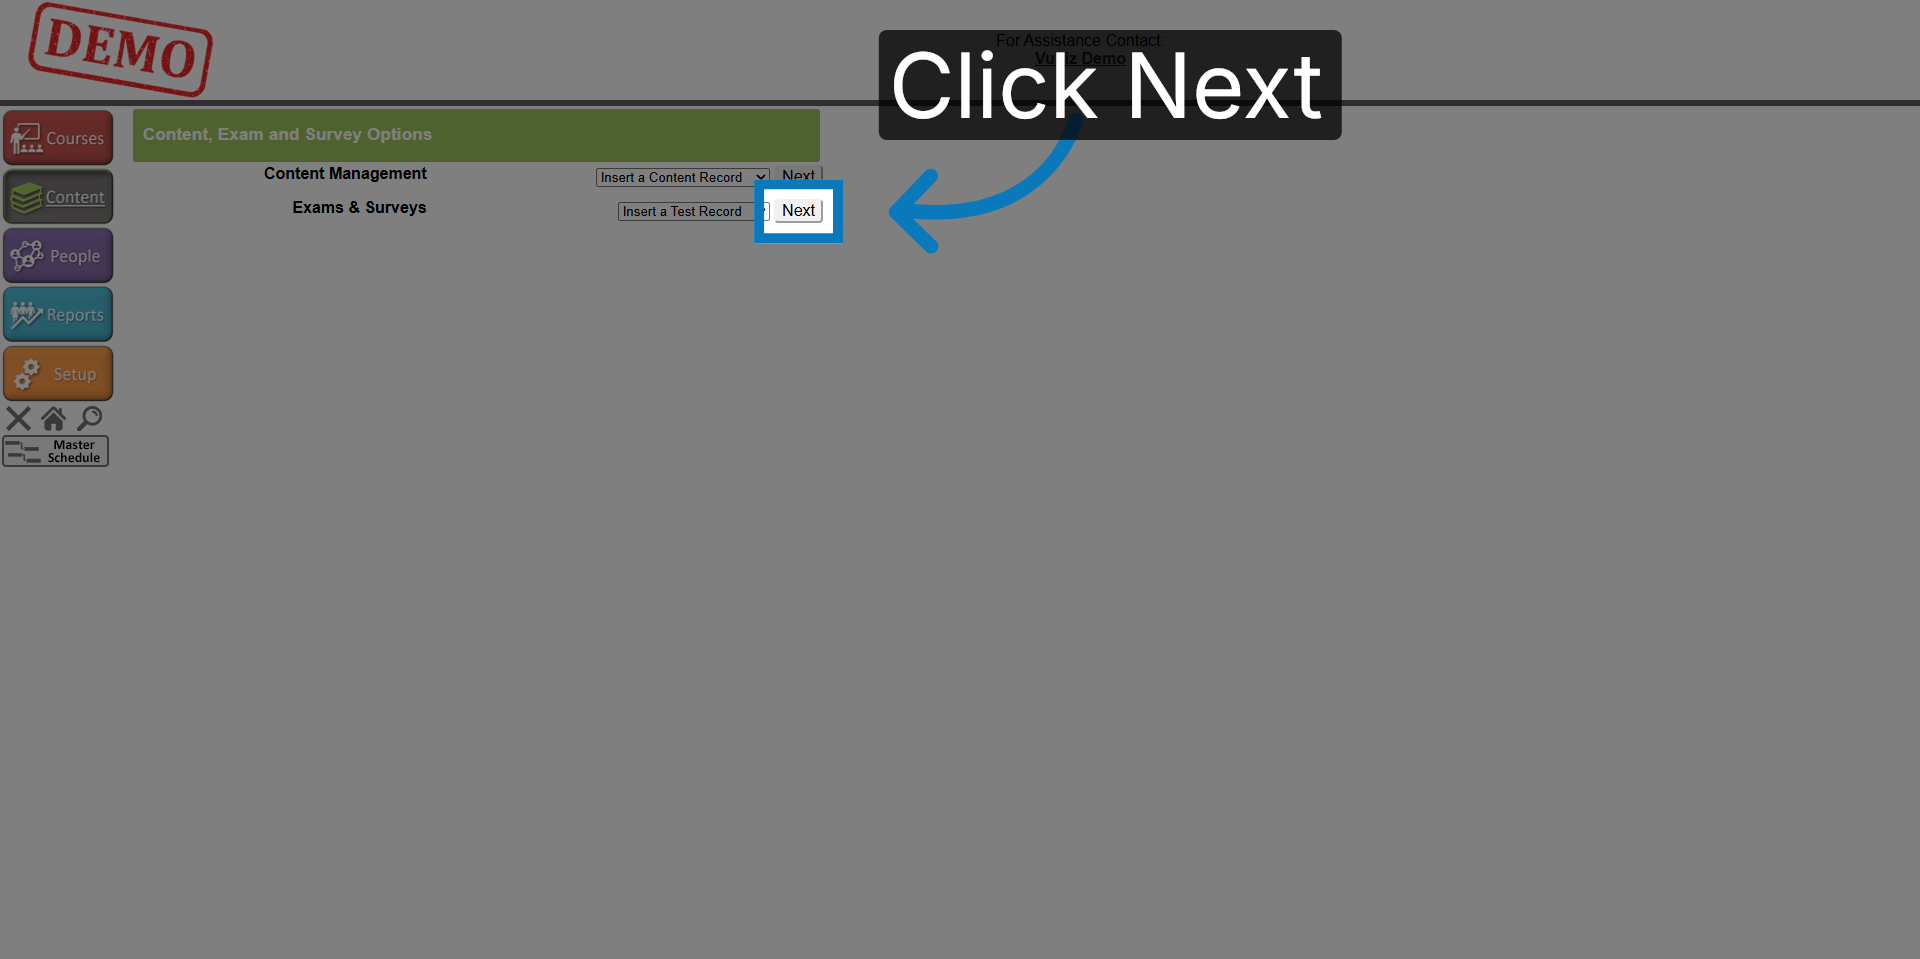
4. Proceed to Next Step
Click Next
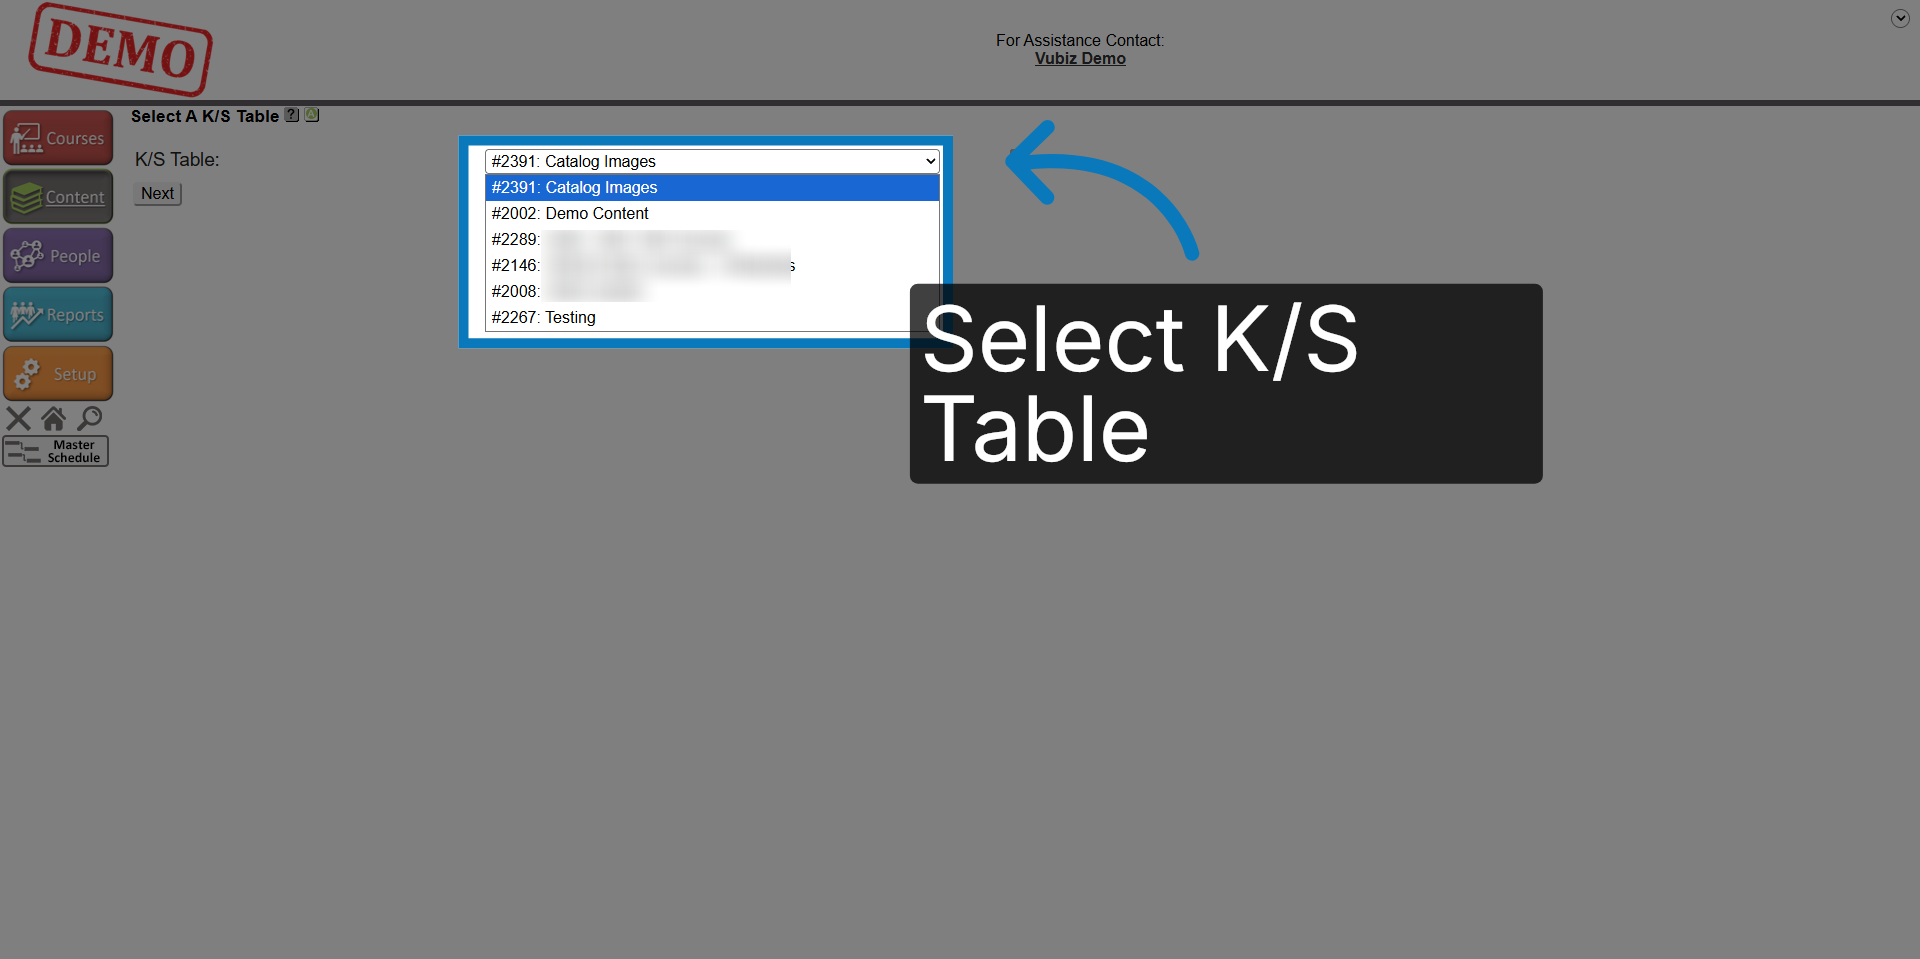
5. Select K/S table
Choose the K/S table where you want to save the new test record for proper organization. Think of this like a folder on your computer.
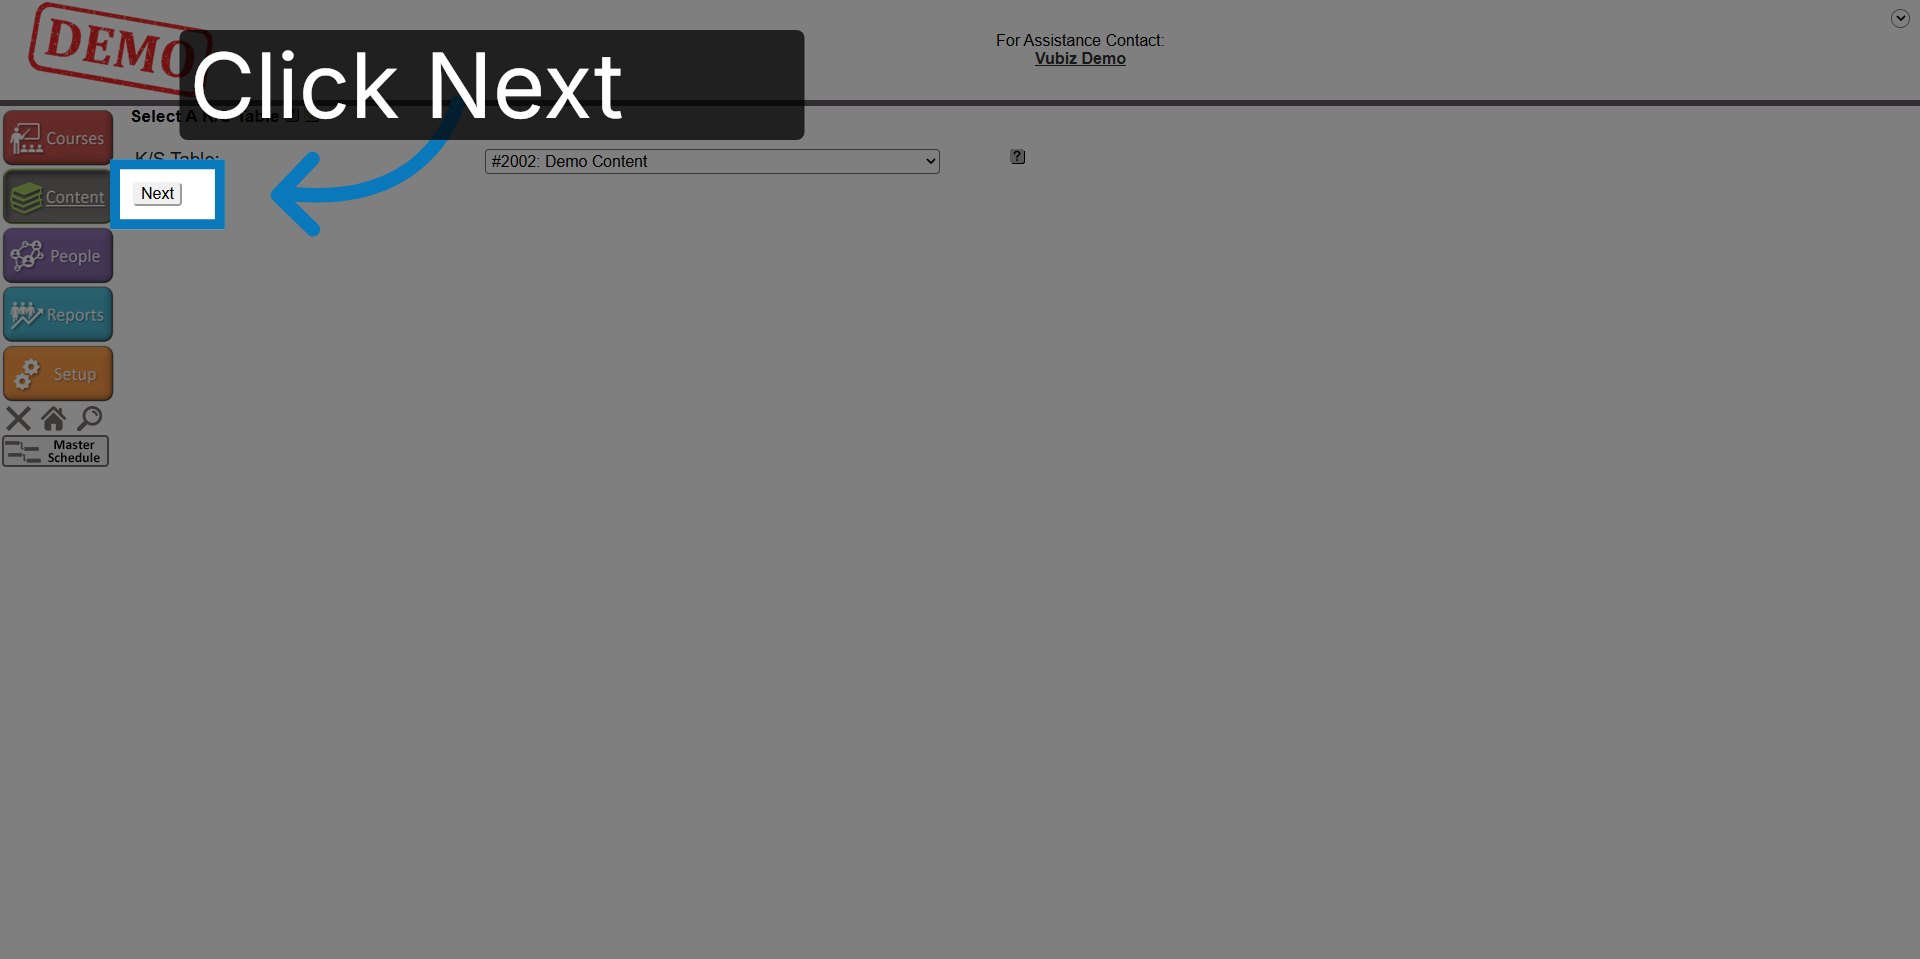
6. Click Next
Click Next to proceed with the test setup process.
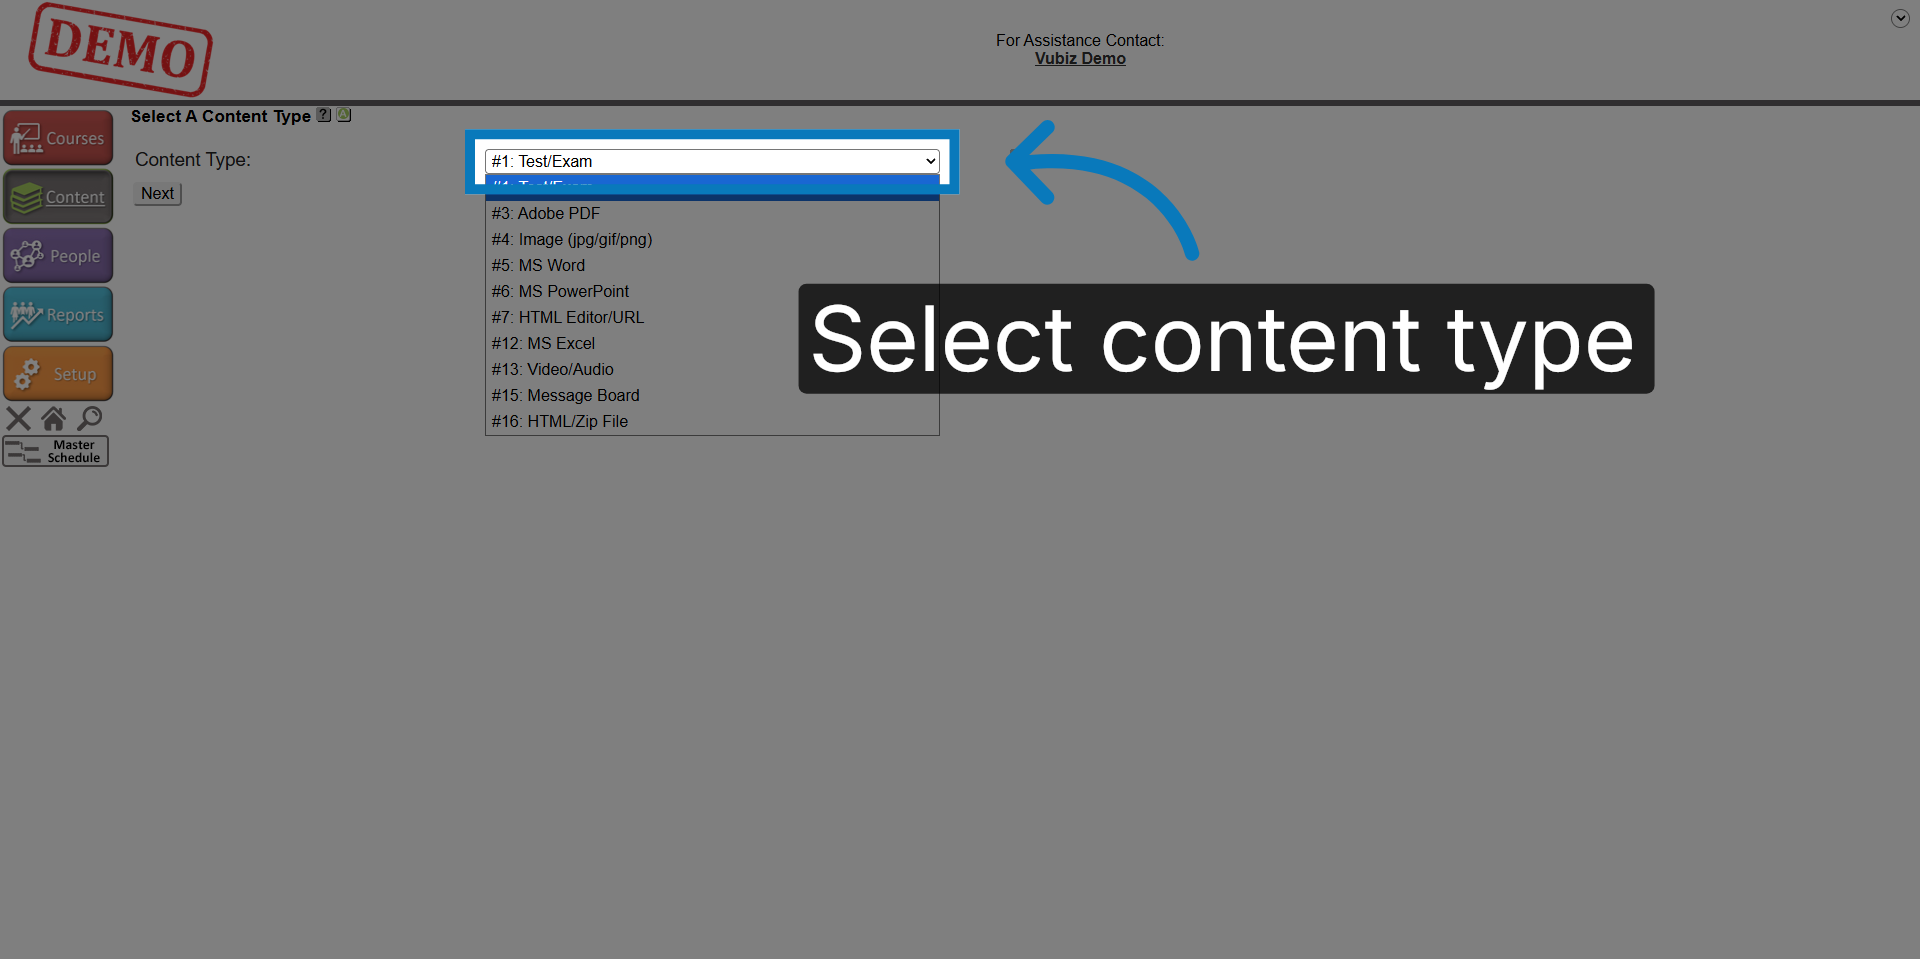
7. Choose Content Type
Select the content type test or exam.
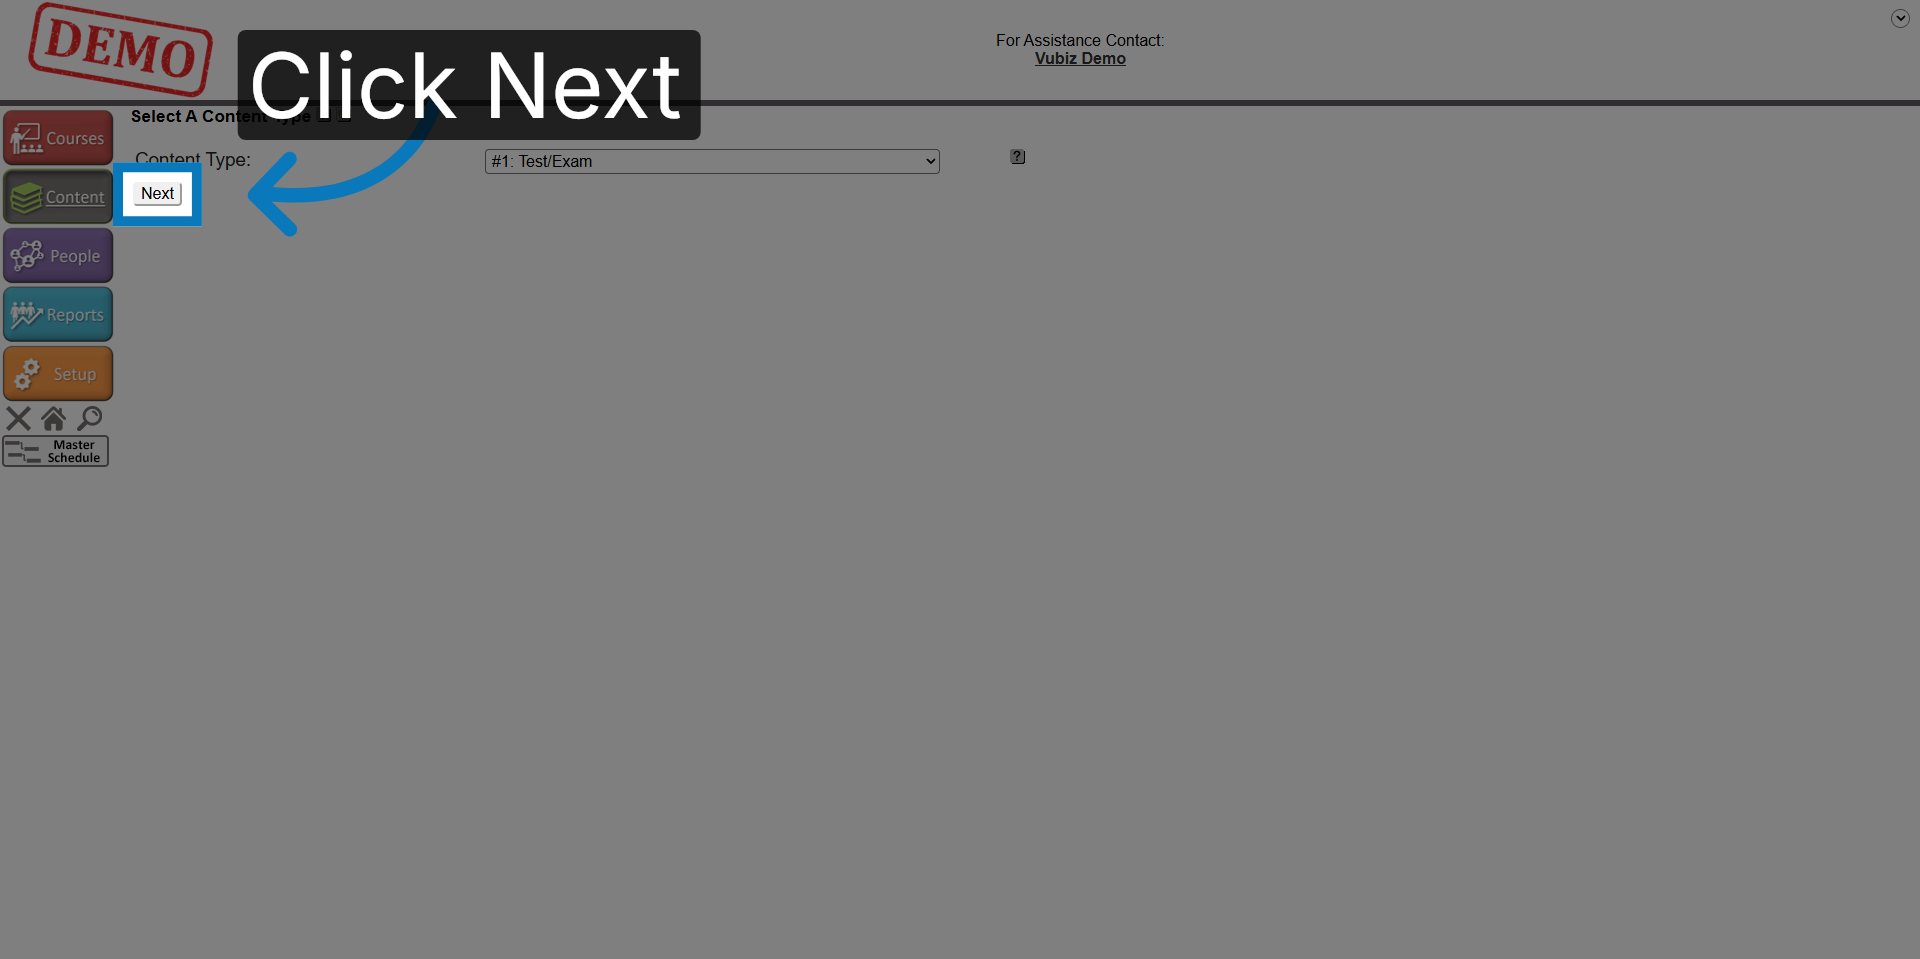
8. Advance to Next Step
Move forward to the next step to enter test-specific information.
9. Enter a Title for your Exam
Enter a title for your exam
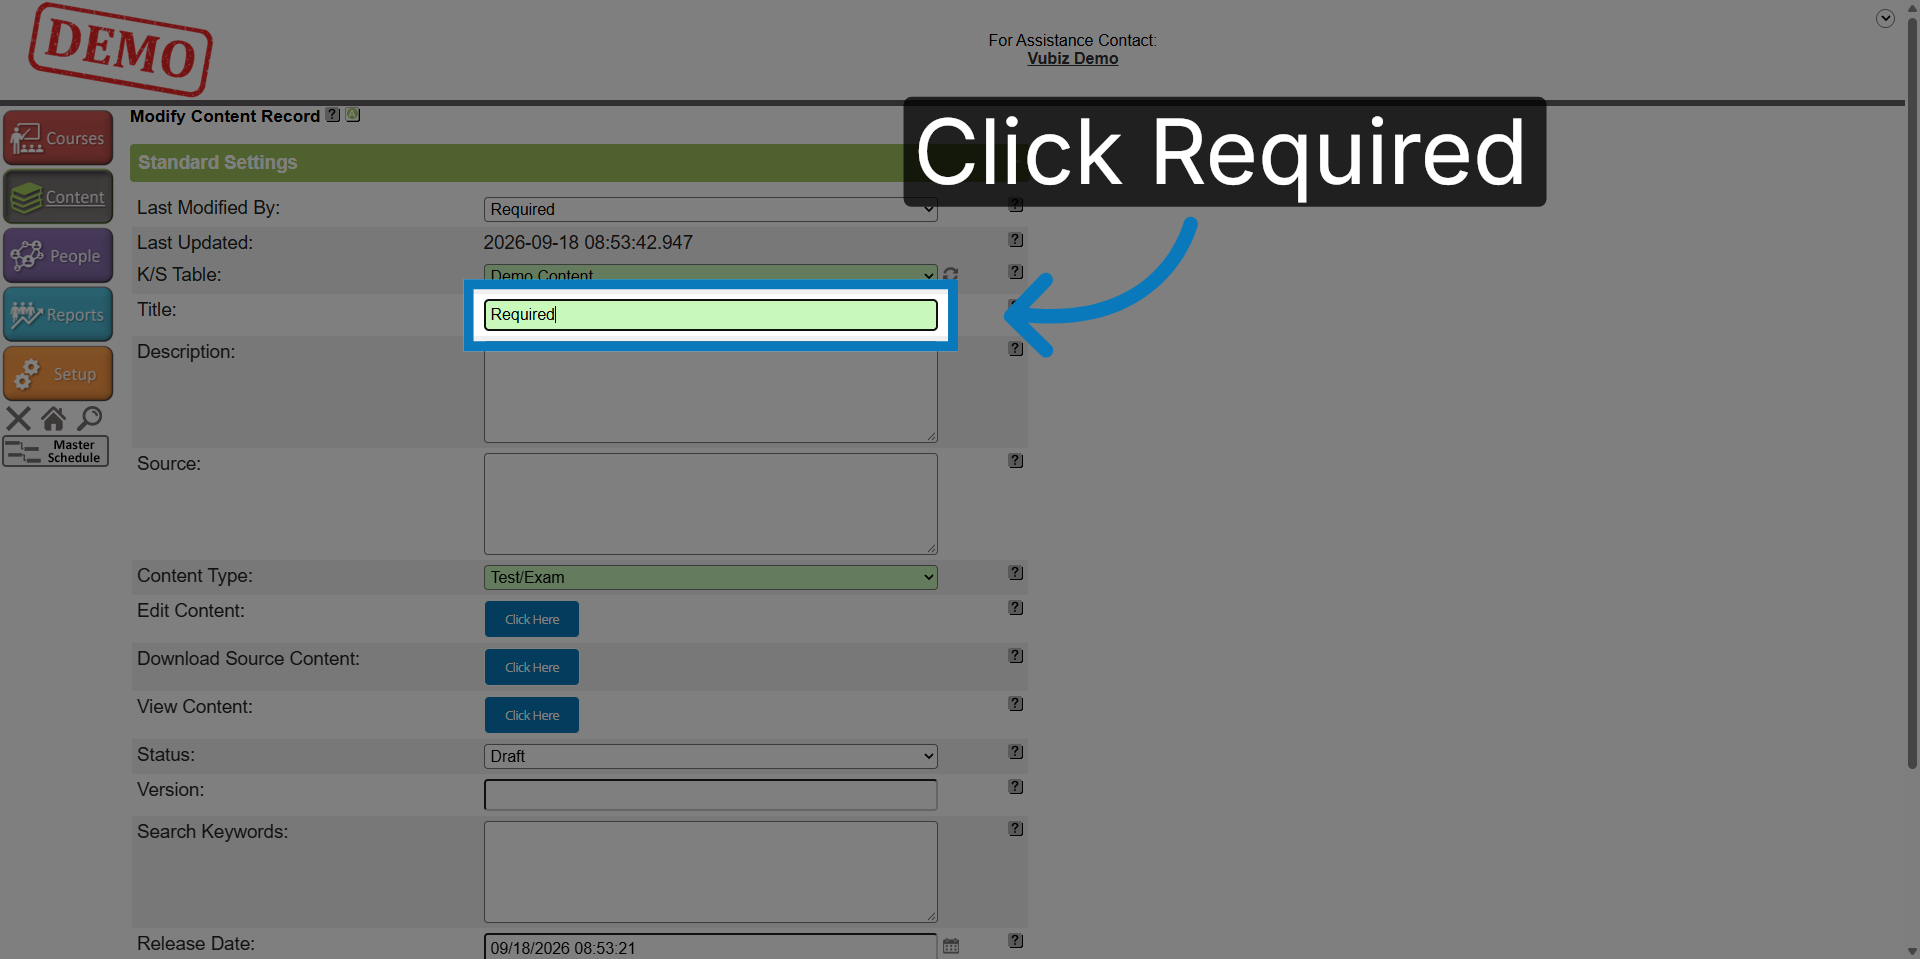
10. Enter Test Title
Enter a descriptive title for your test to identify it clearly within the system.
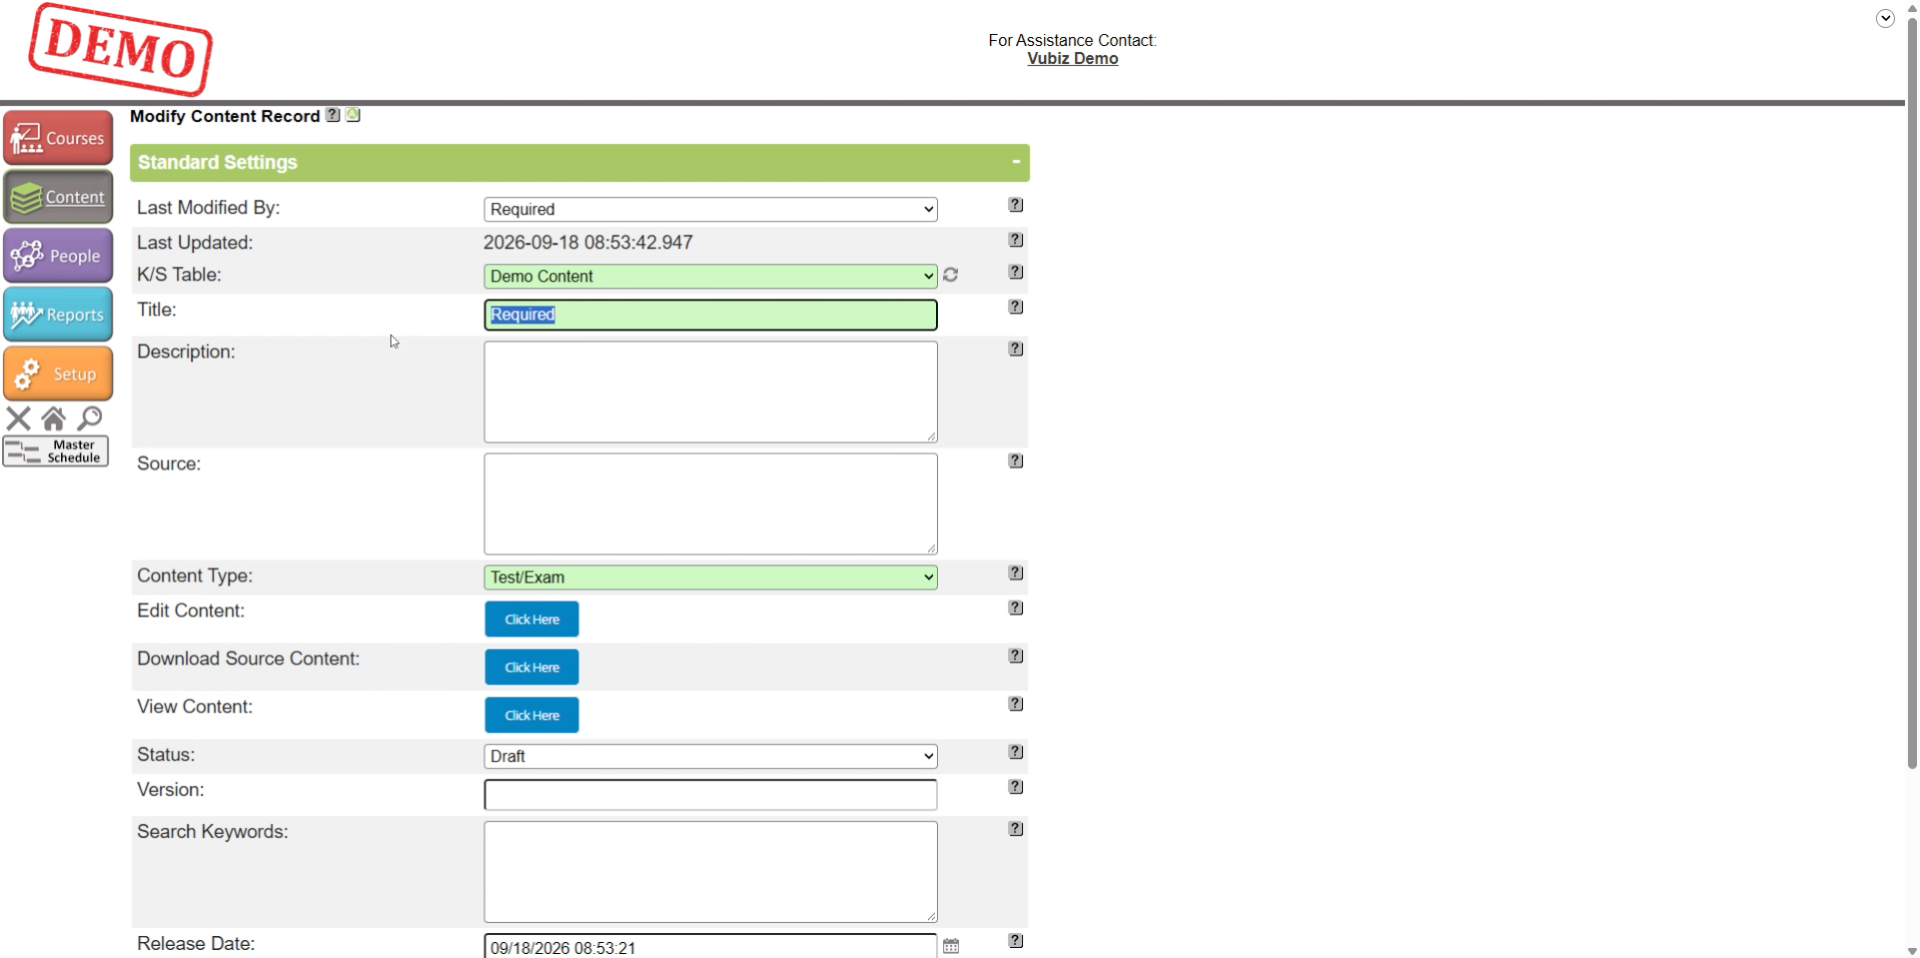
11. Expand Test Settings
Scroll down and expand the test record settings area to configure detailed options.
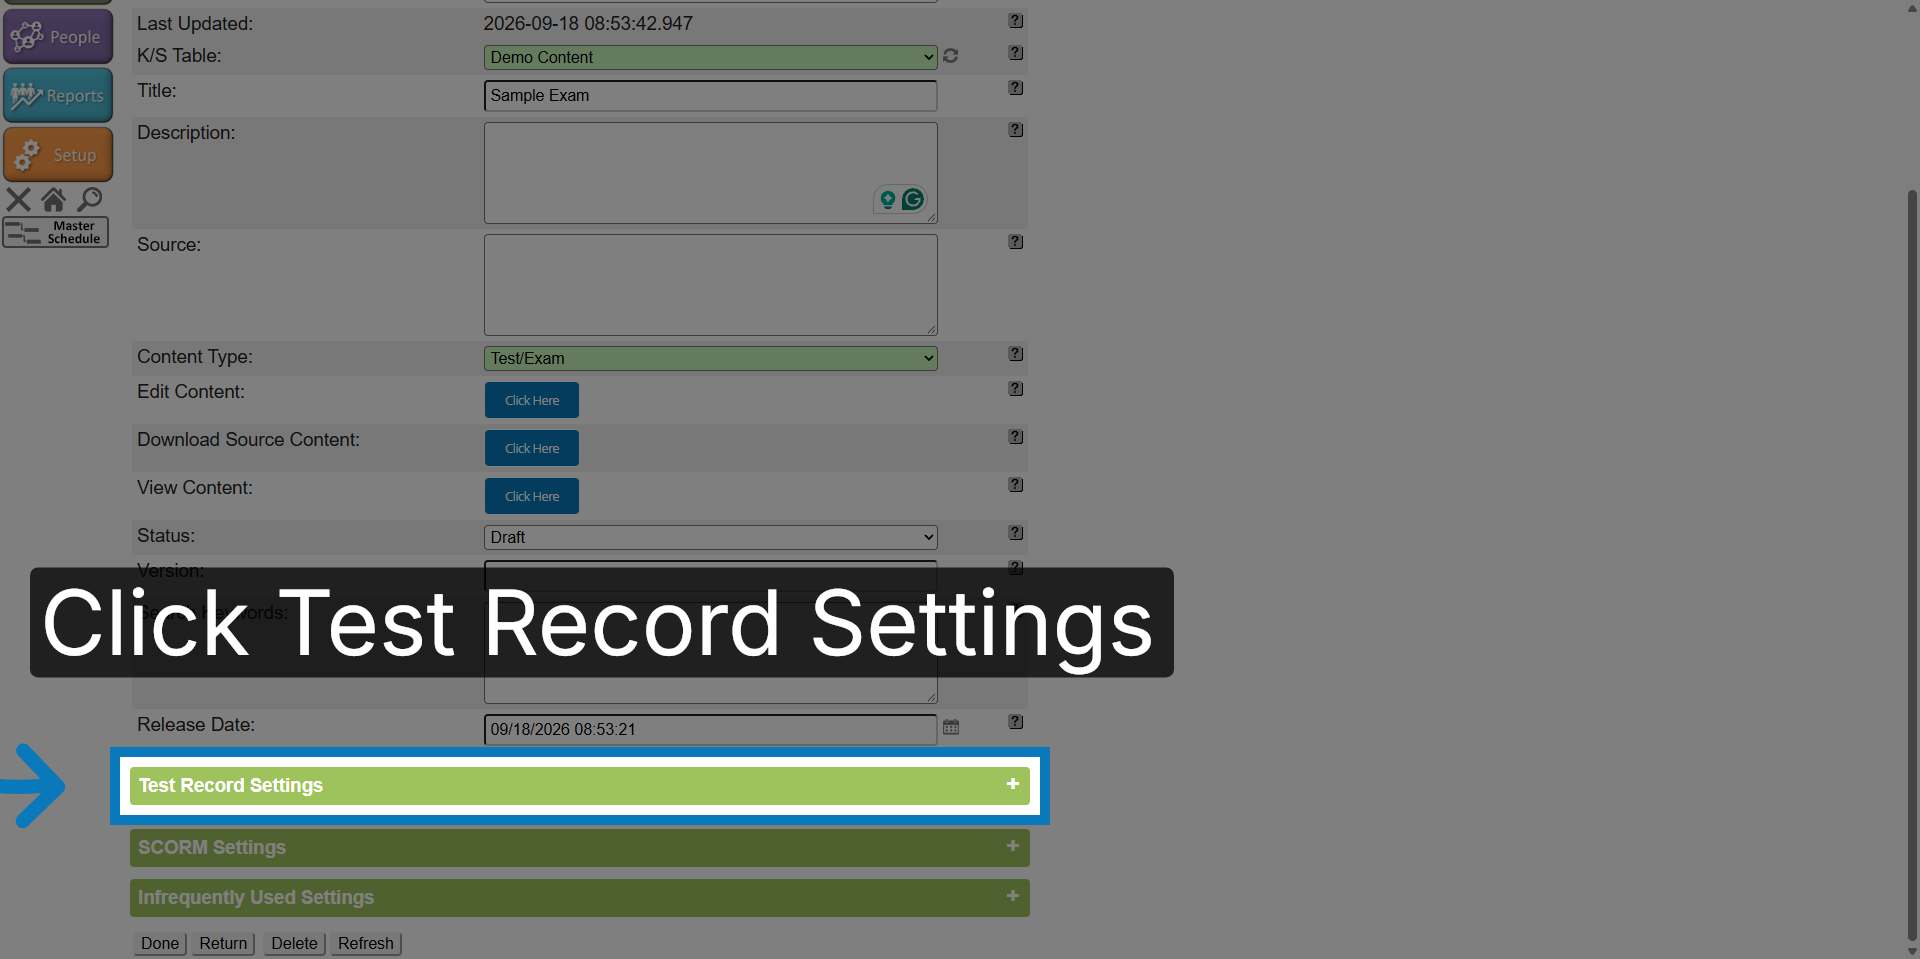
12. Instructions for Test Import
The instructions for completing the Excel test template can be found here. Refer to these instruction if your have any questions about a column on the Excel Template
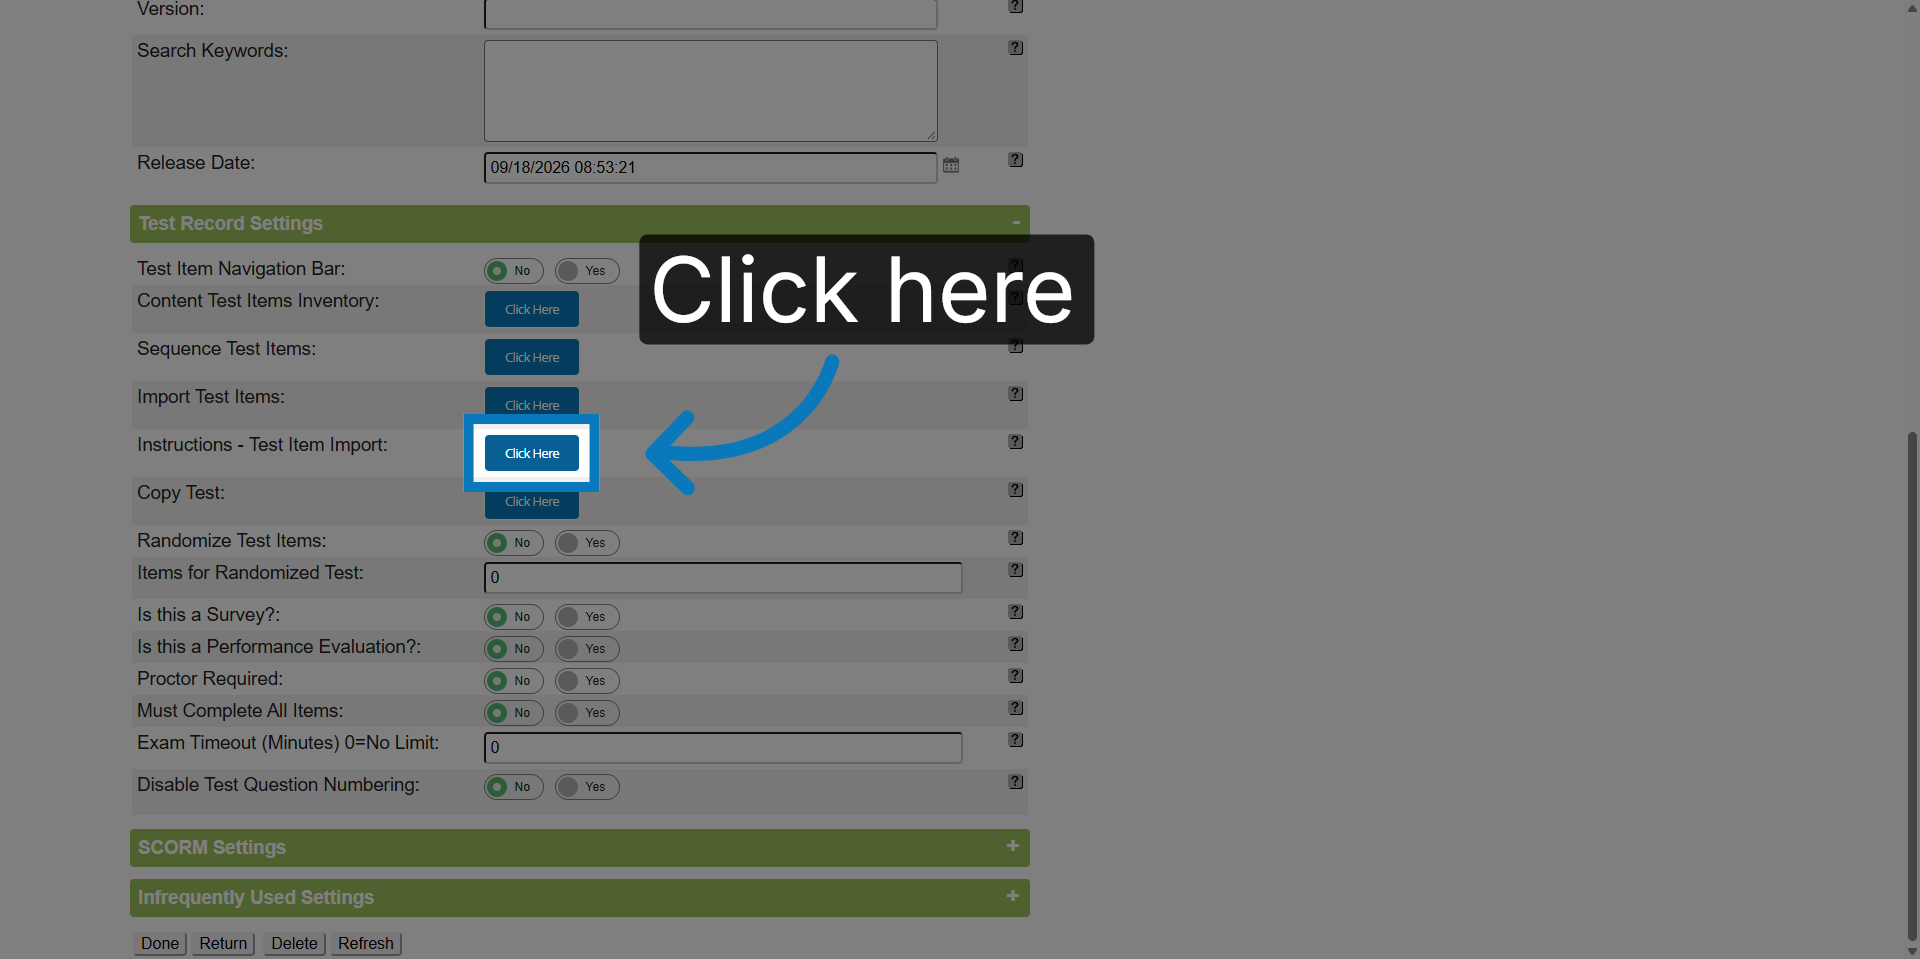
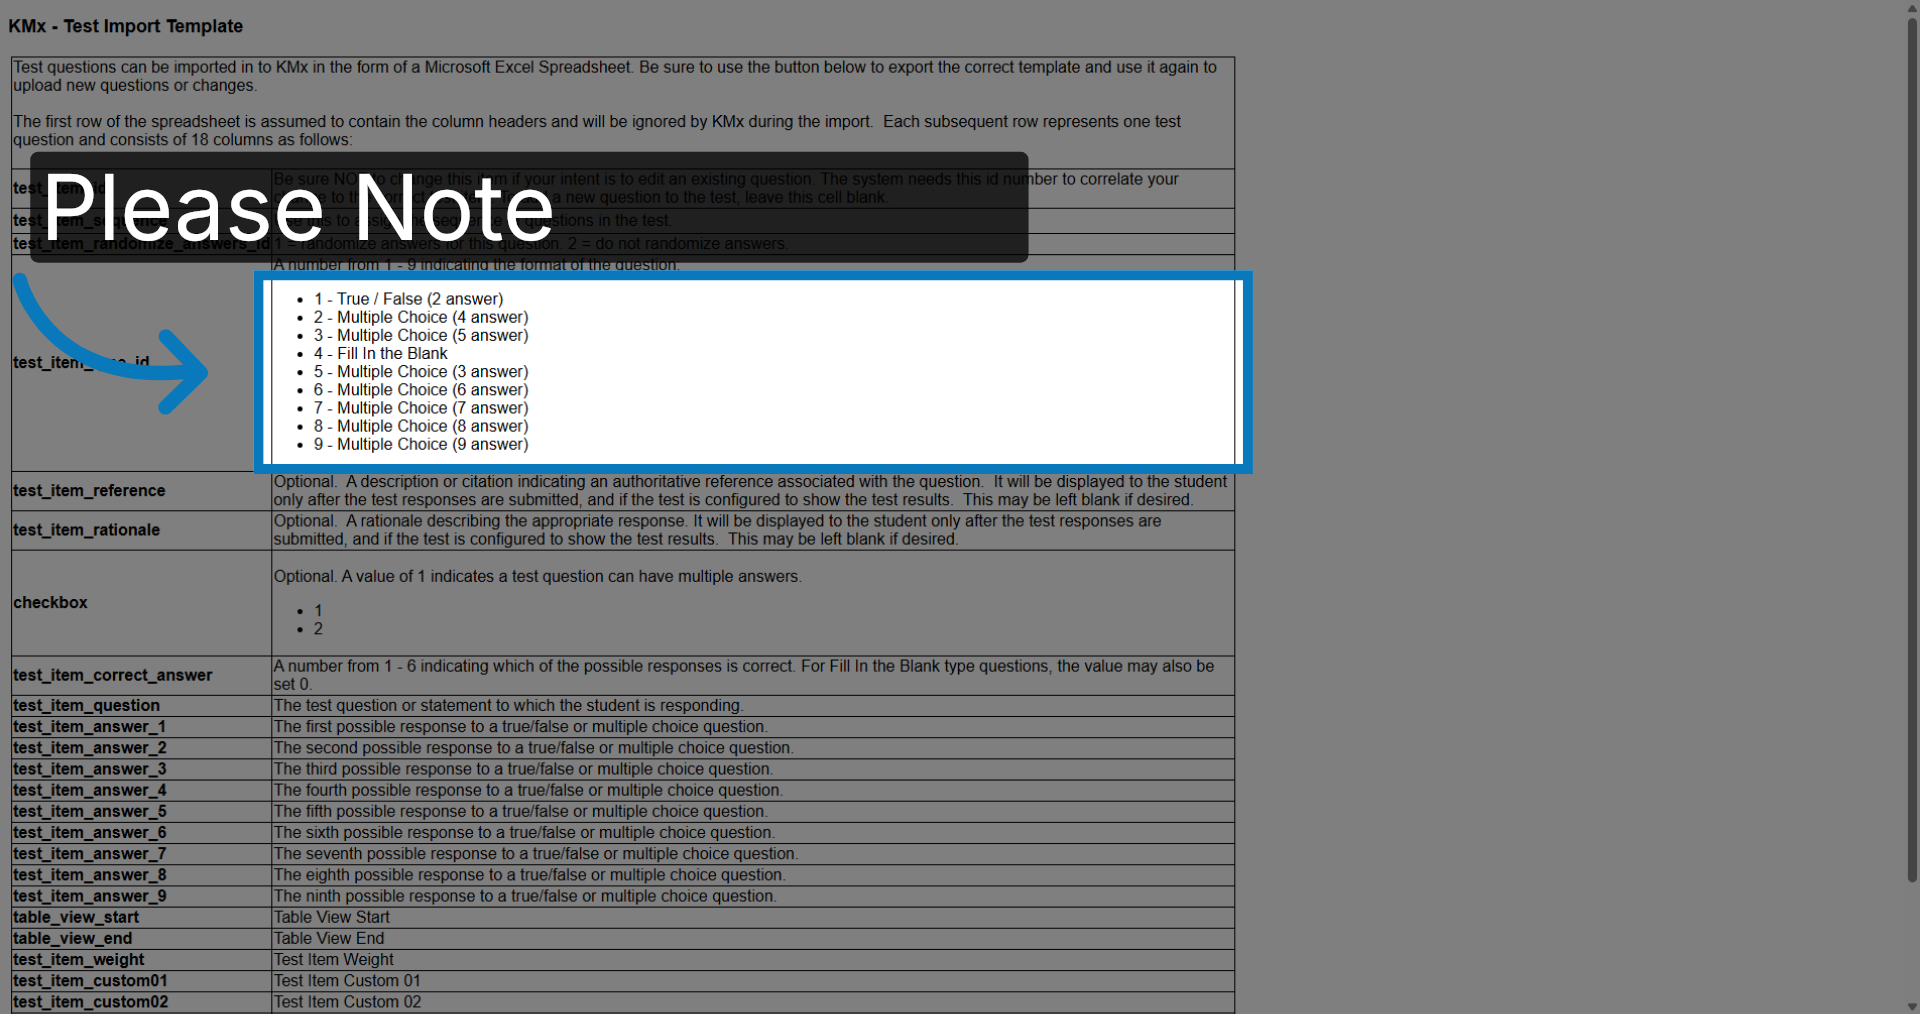
13. Test Item Type
The test Item type is required when creating a test
14. Please Note
Choose the number value based on the number of responses in your question. If your question has 2 answers, enter a value of 1; if your question has four answers, enter a 2.
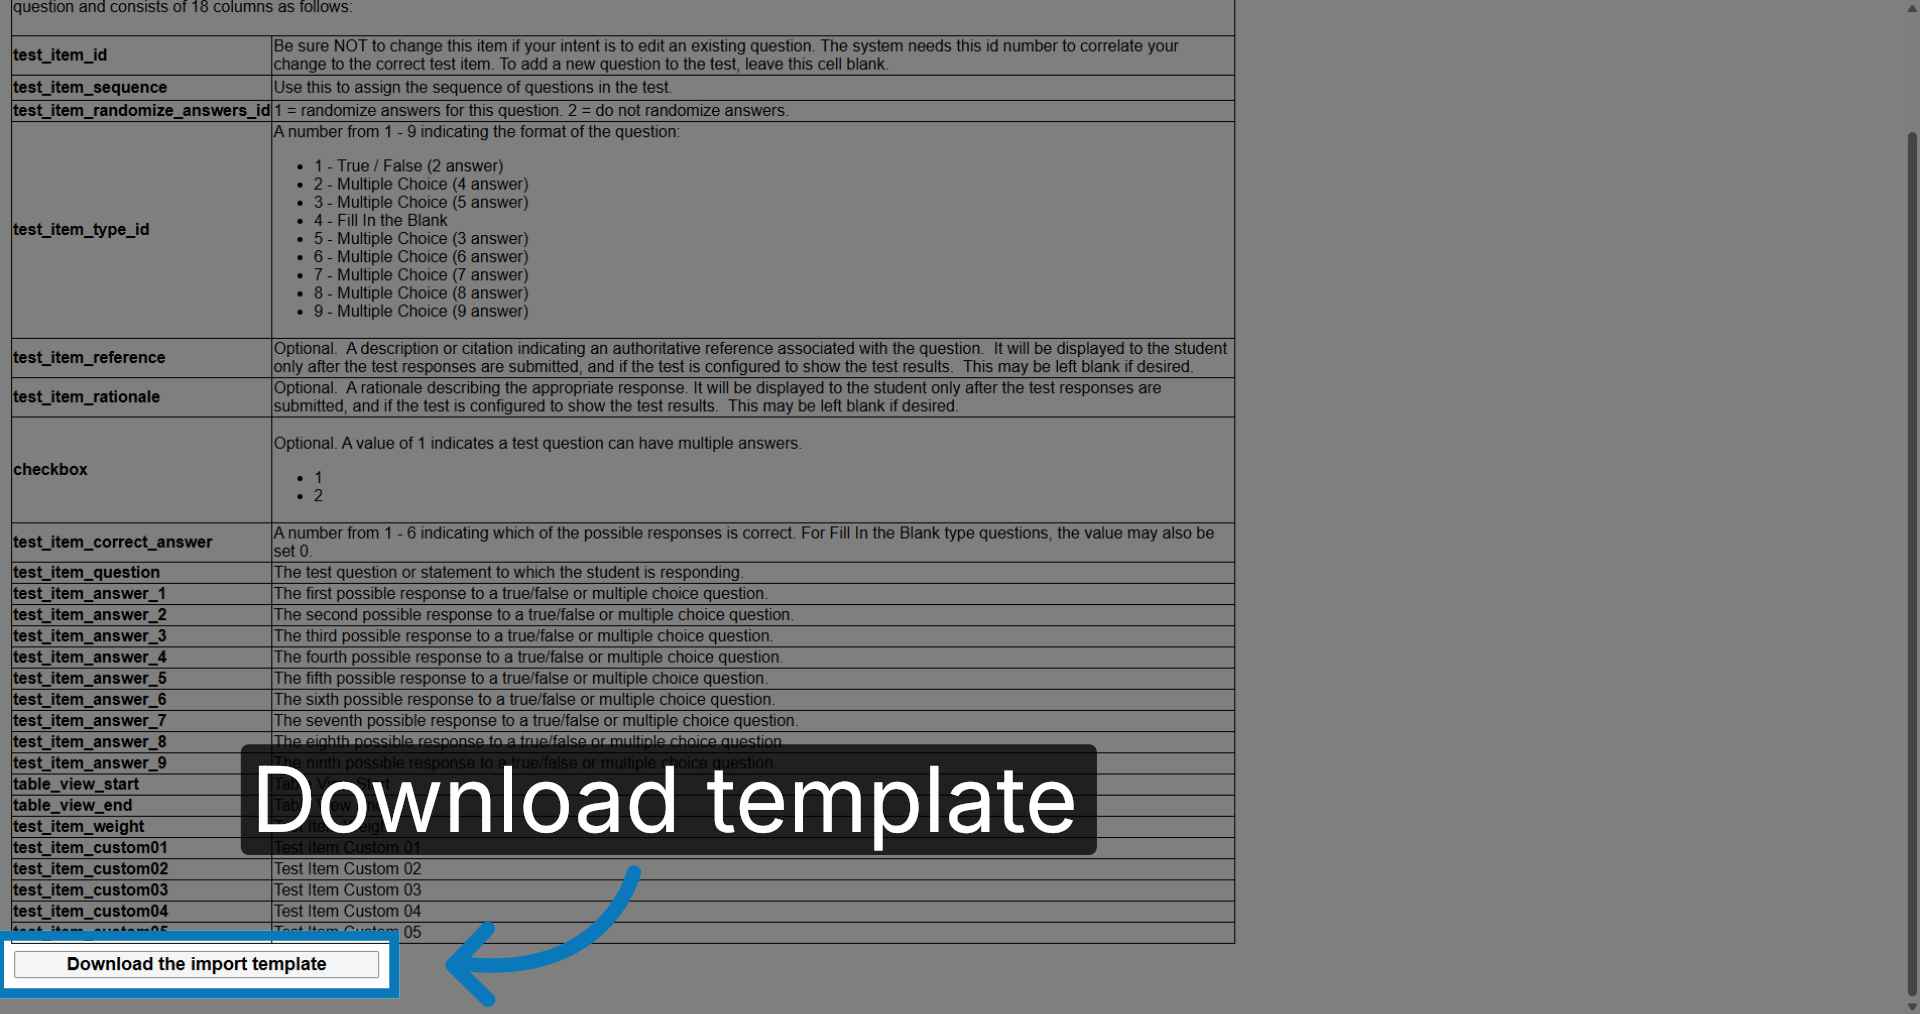
15. Download Import Template
At the bottom of the page you can download the Excel import template to prepare your test questions for upload.
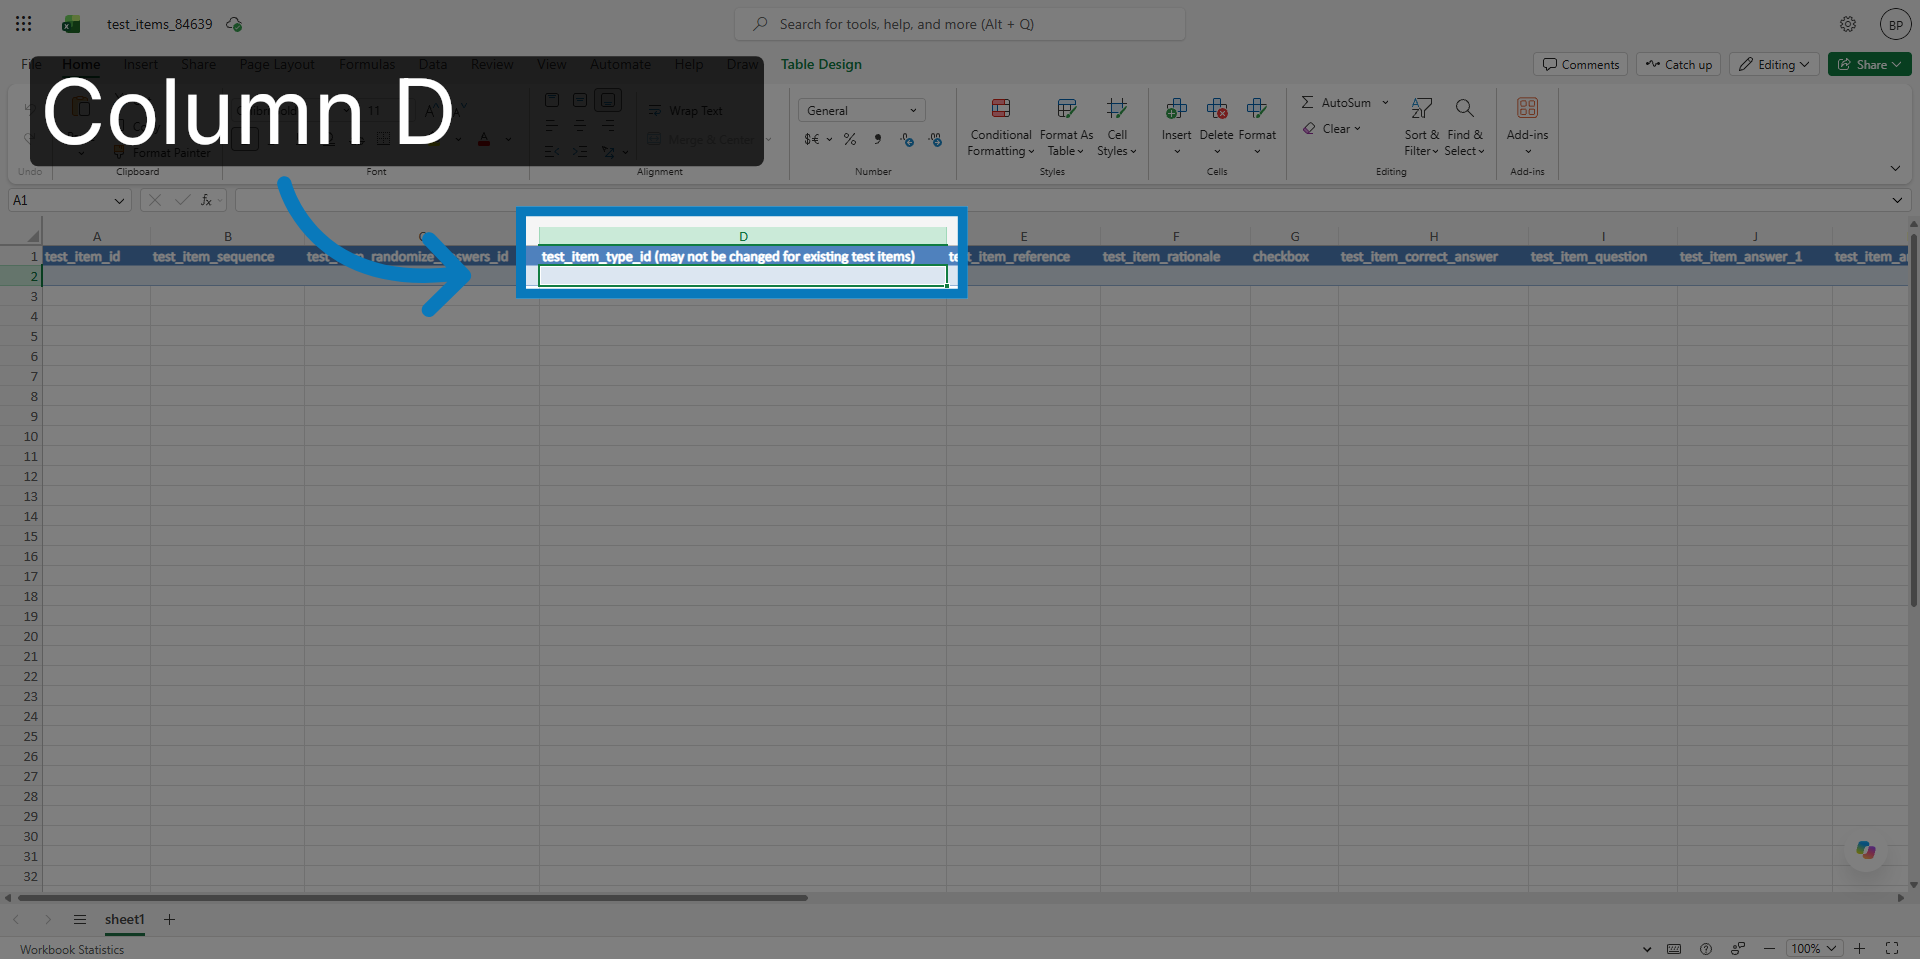
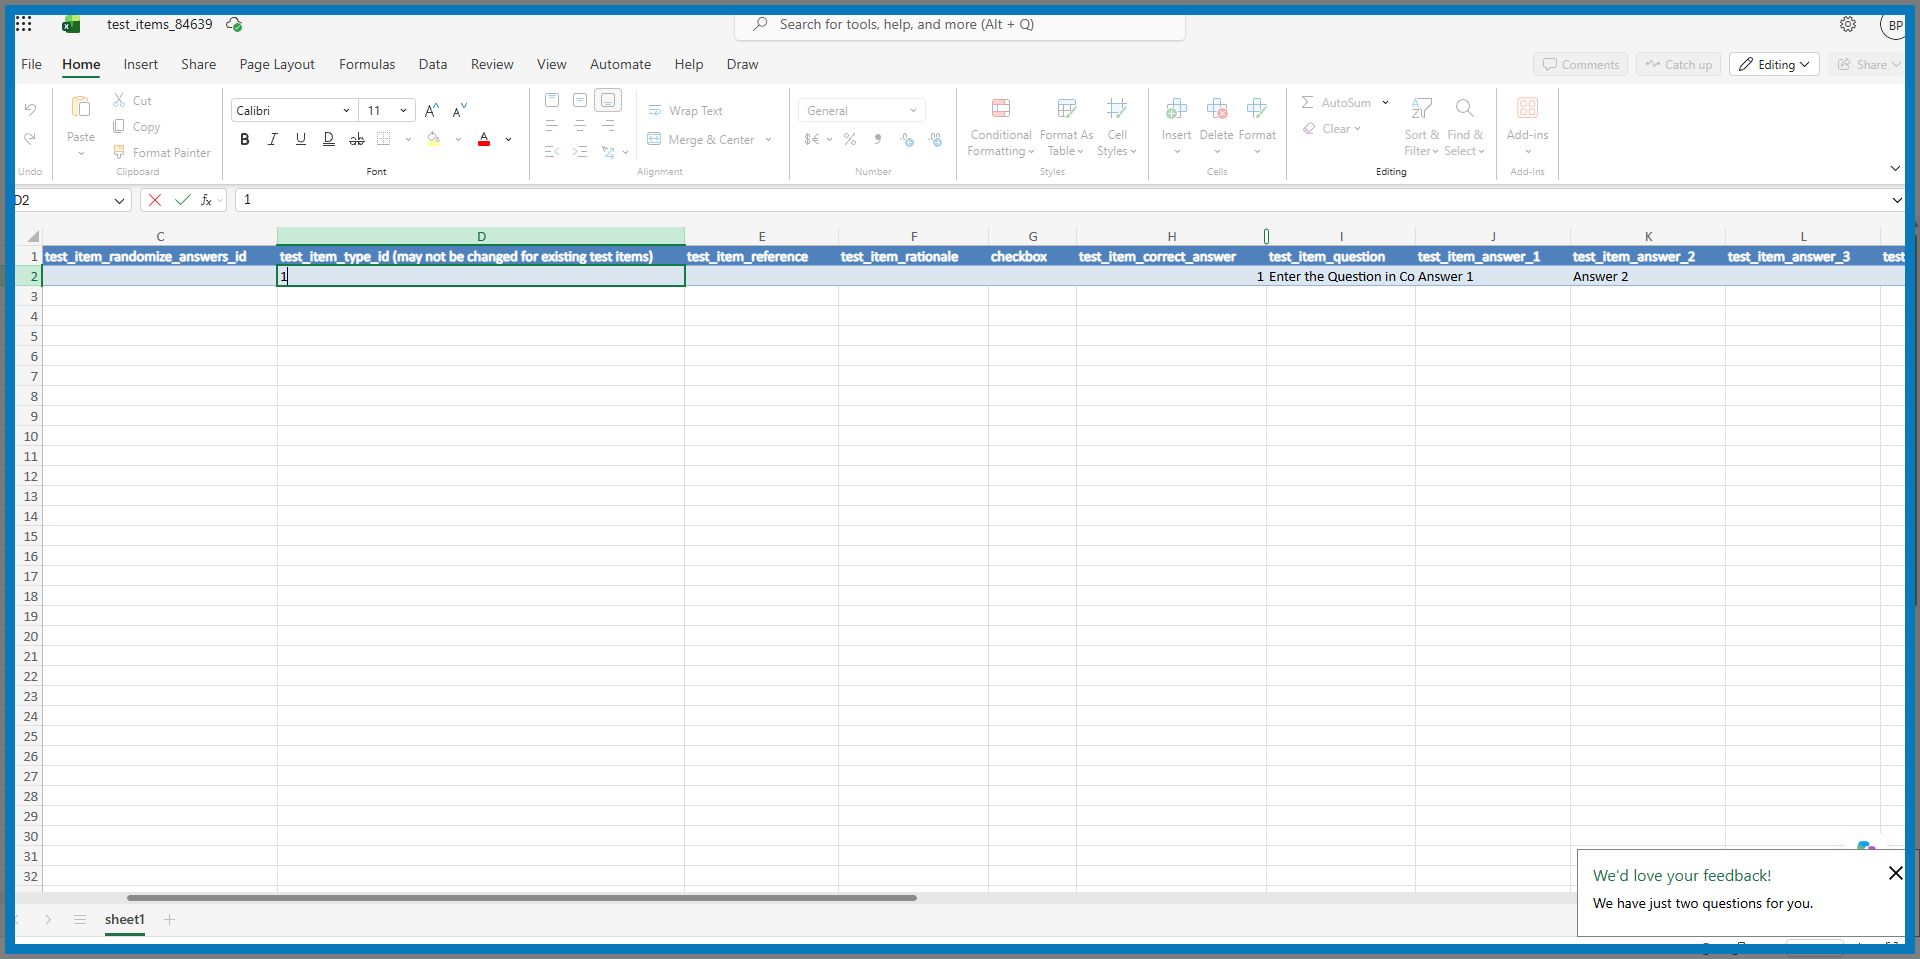
16. Column D
This is the column where you enter the test item type ID that was mentioned above
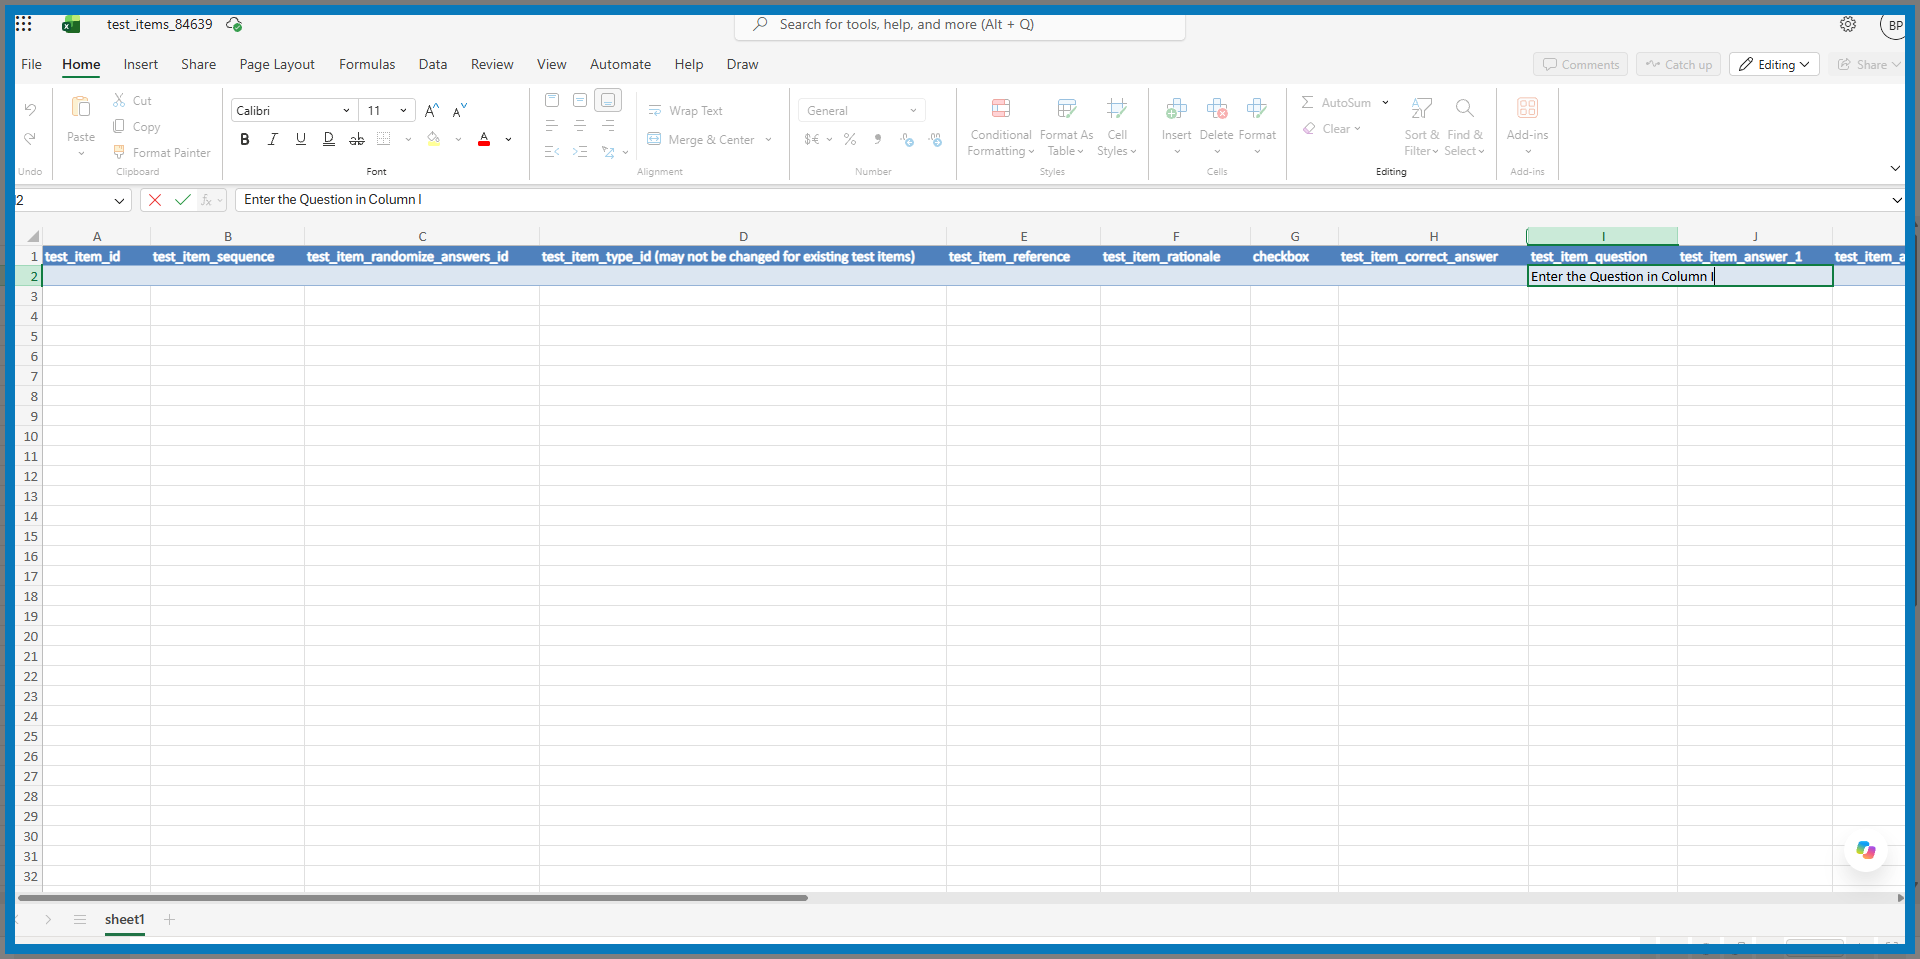
17. Enter your first Question
Enter your first question in Column I row 1
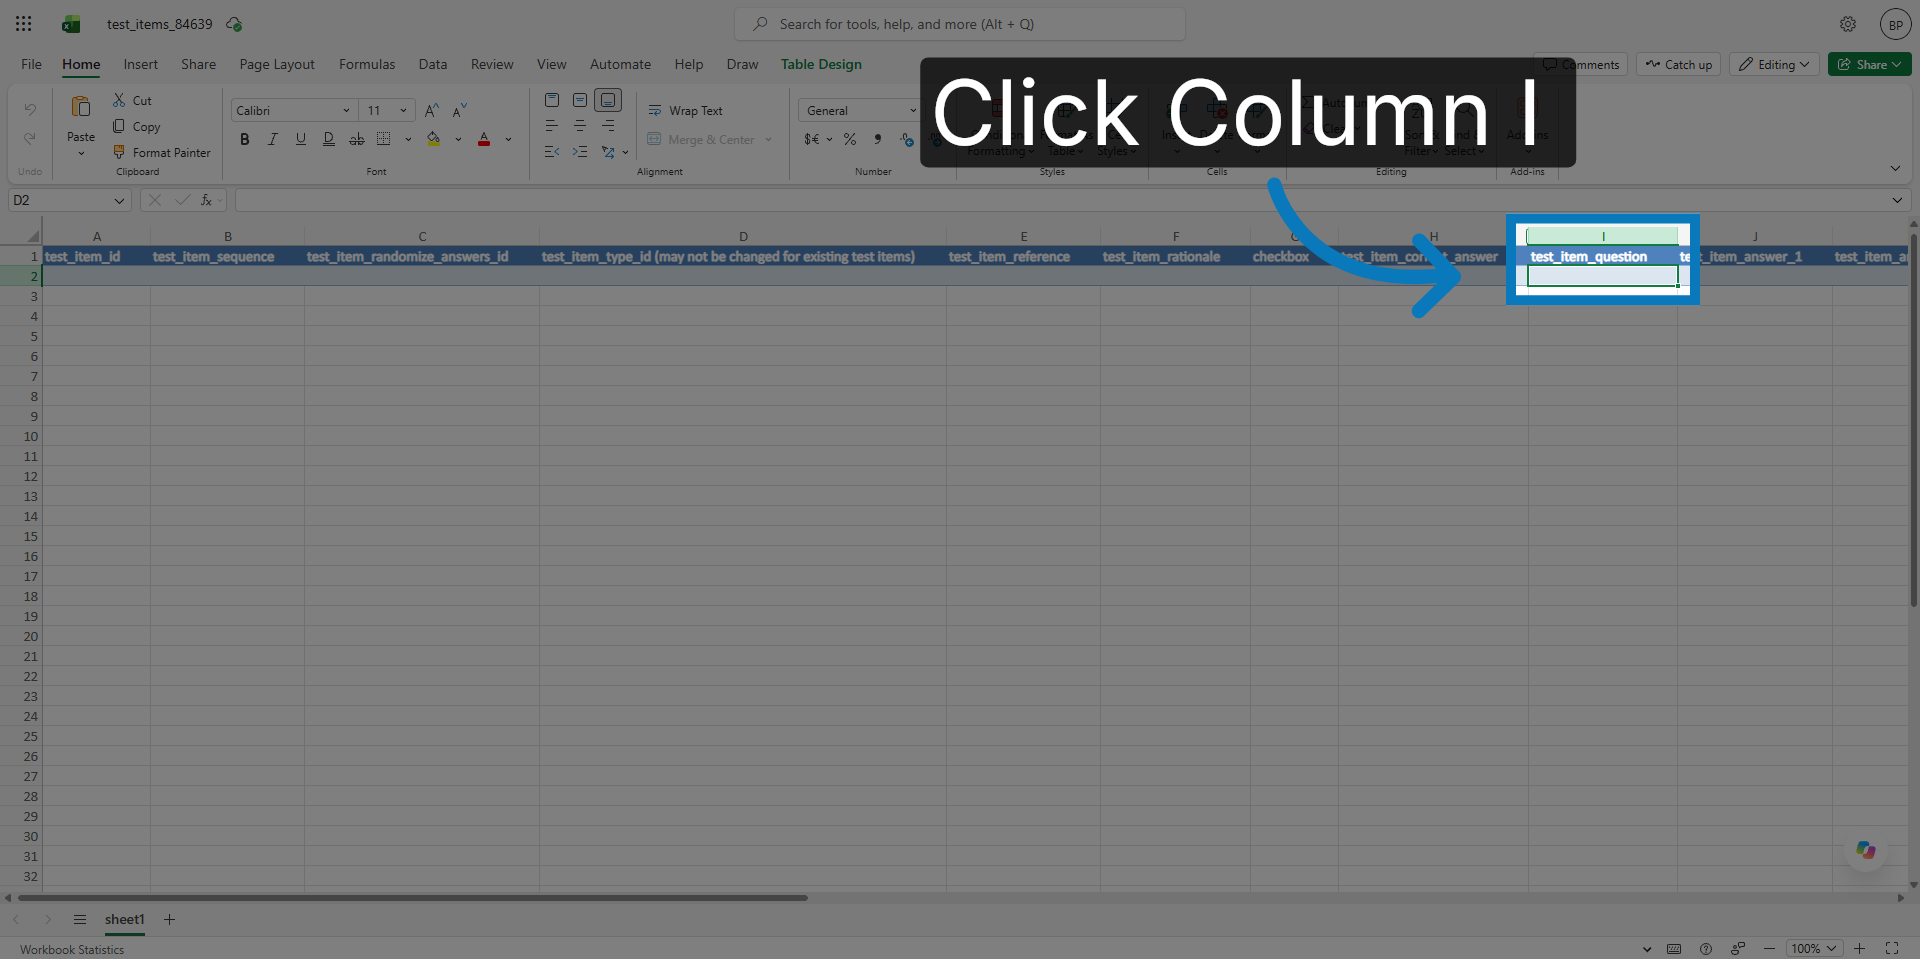
18. Enter Question Text
Enter the test question text in the designated column within the Excel template.
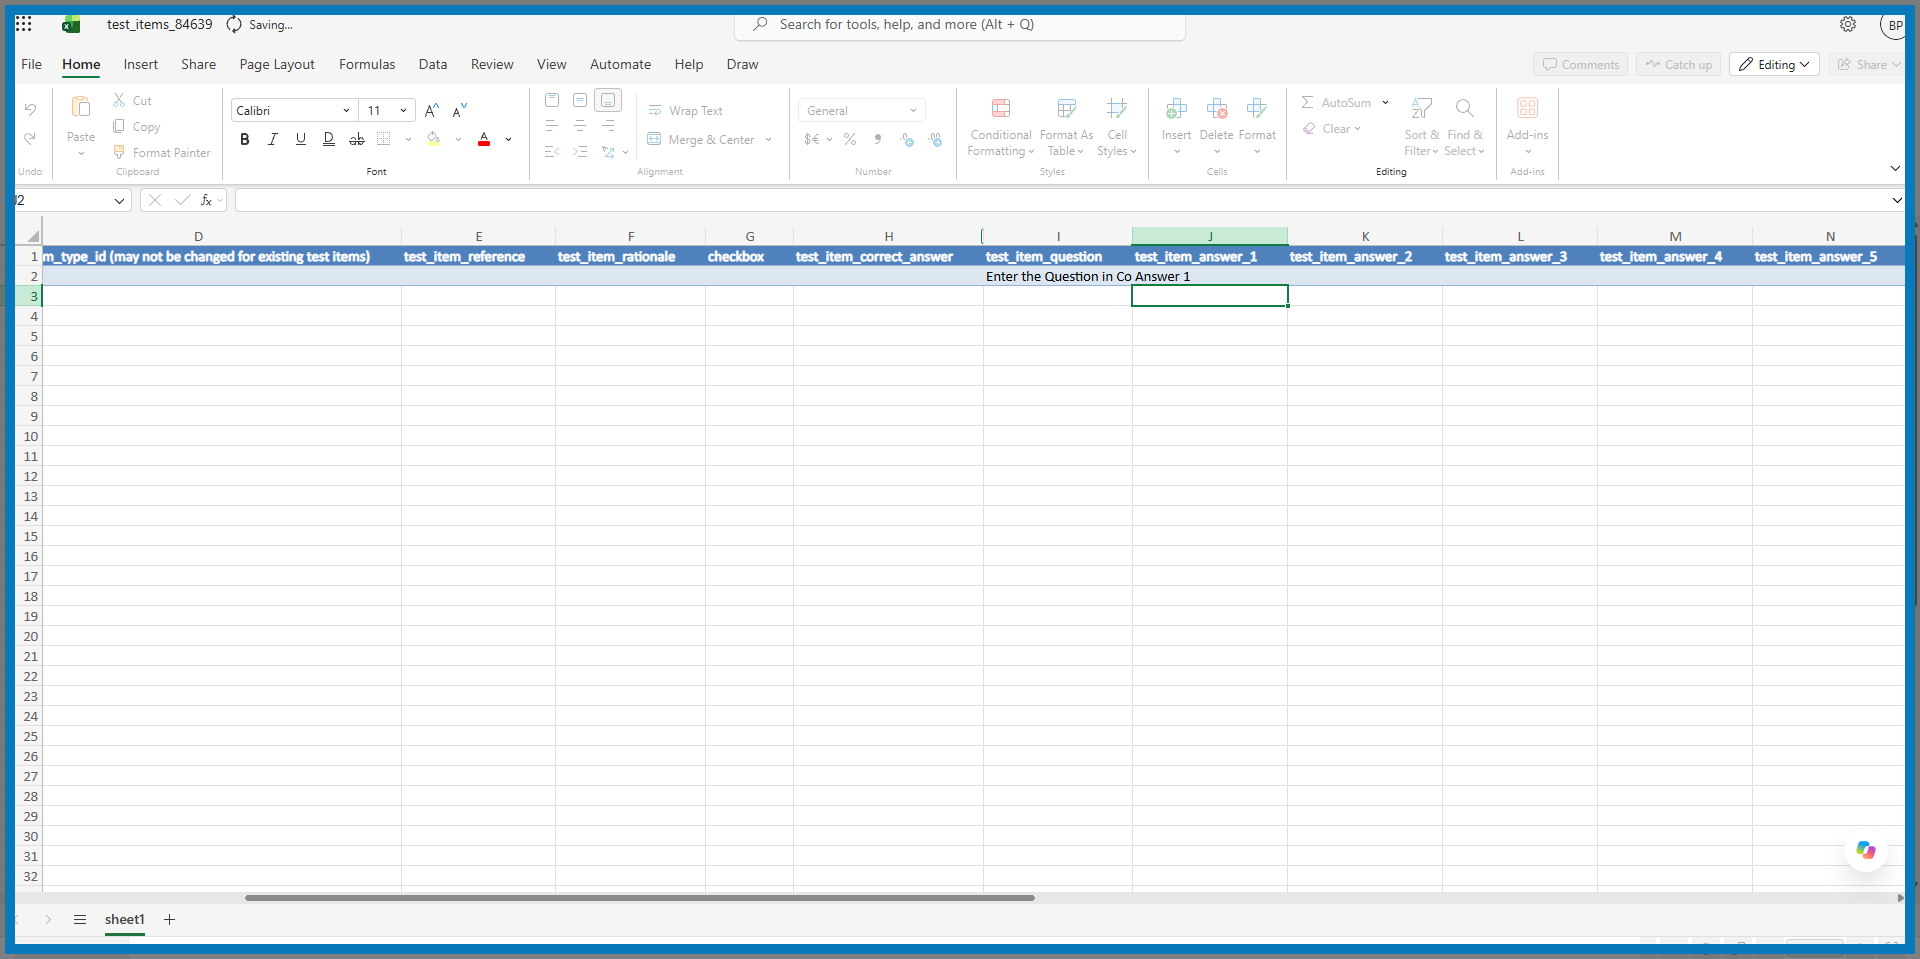
19. Fill Answer Fields
Fill in the answer fields corresponding to each question in the Excel template. Enter 1 Answer per column
20. Test Item Type ID
Enter the Test Item Type ID: Enter the number value based on the number of responses in your question. If your question has 2 answers, enter a value of 1; if your question has four answers, enter a 2.
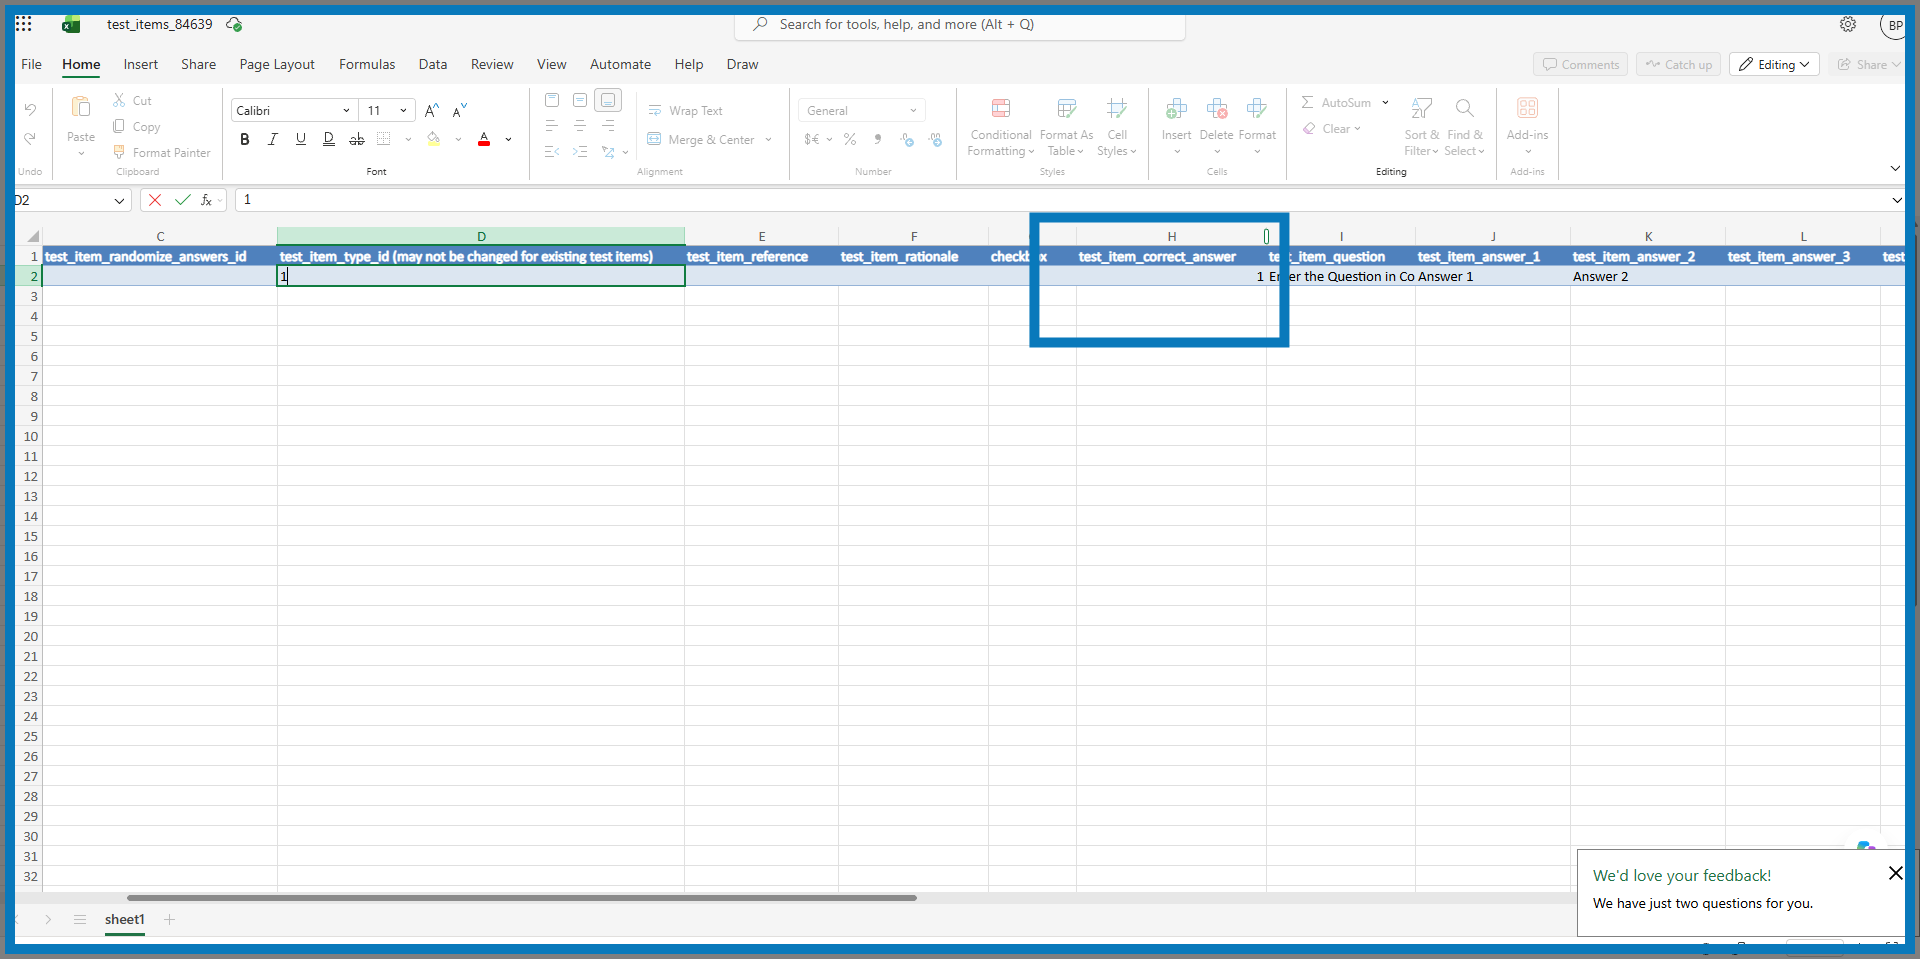
21. Enter the Correct Answer in Column H
Enter the correct Answer in Column H, if the correct answer is the first response enter a 1, if it is the second response enter a 2
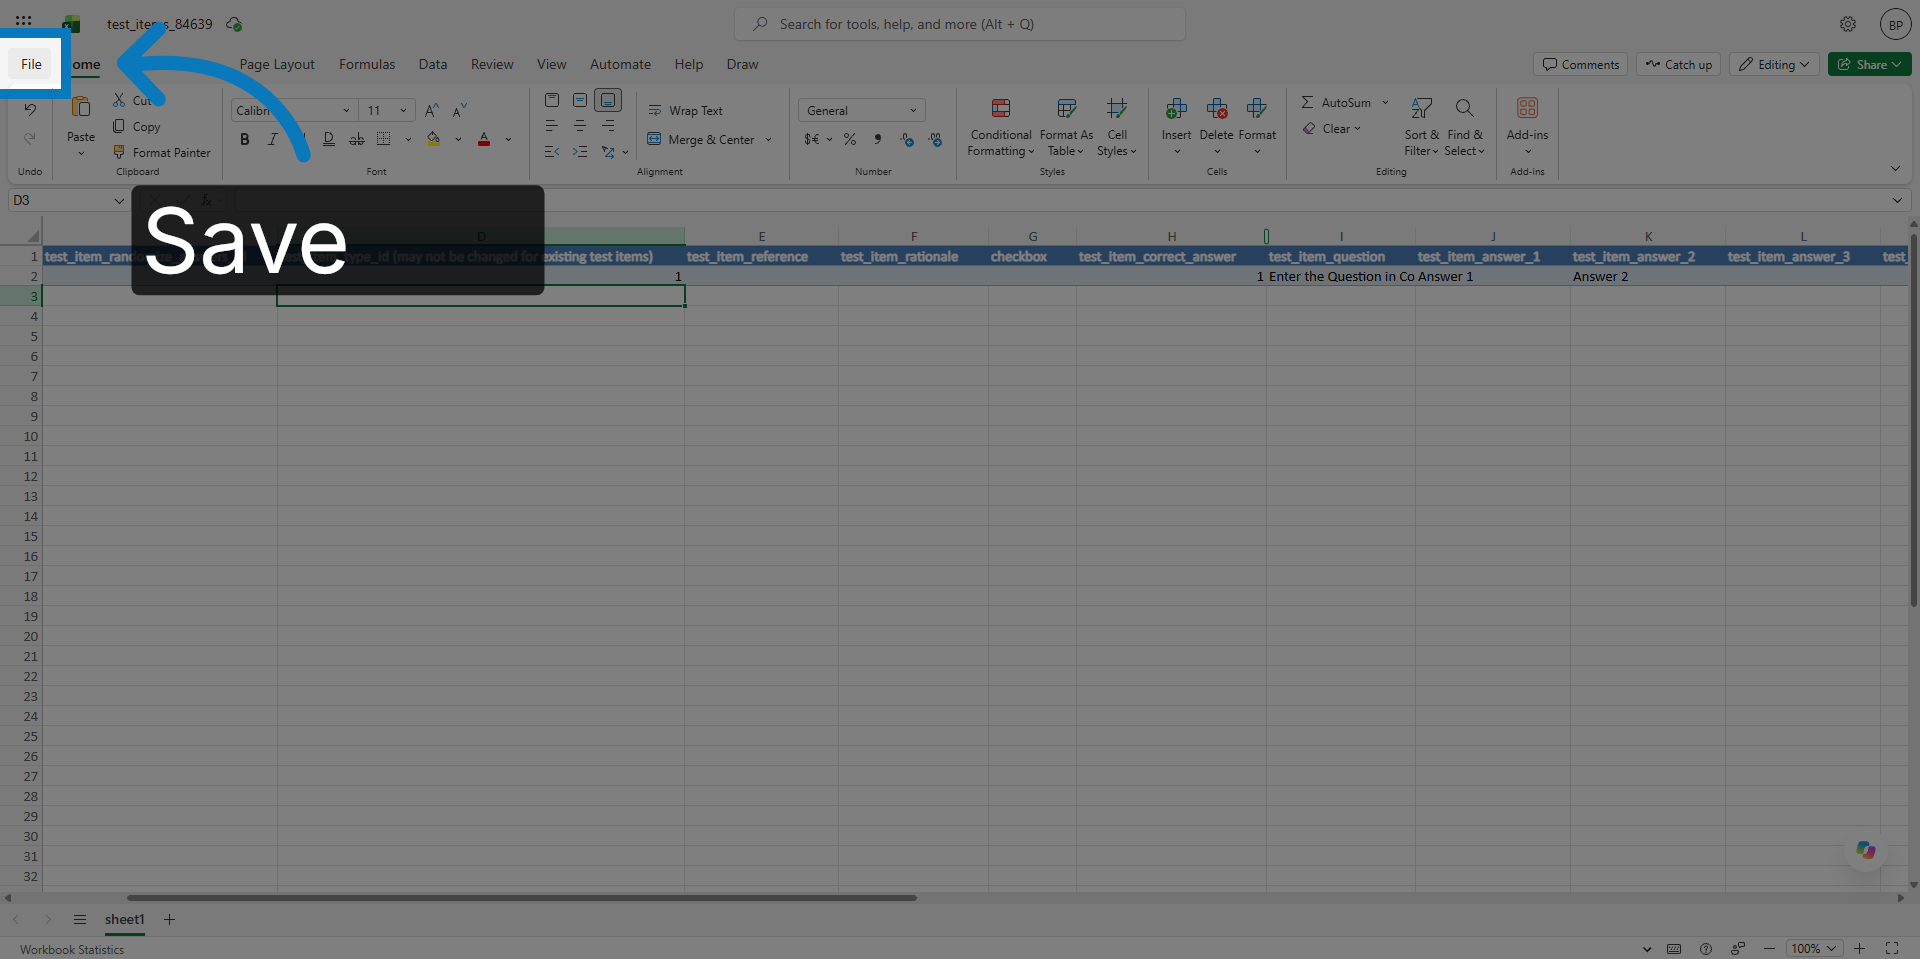
22. Save the Template
Once you have entered all the questions in each of the rows, save the Excel File.
23. Return to KMx Platform
Switch back to the KMx platform to continue the test item import process.
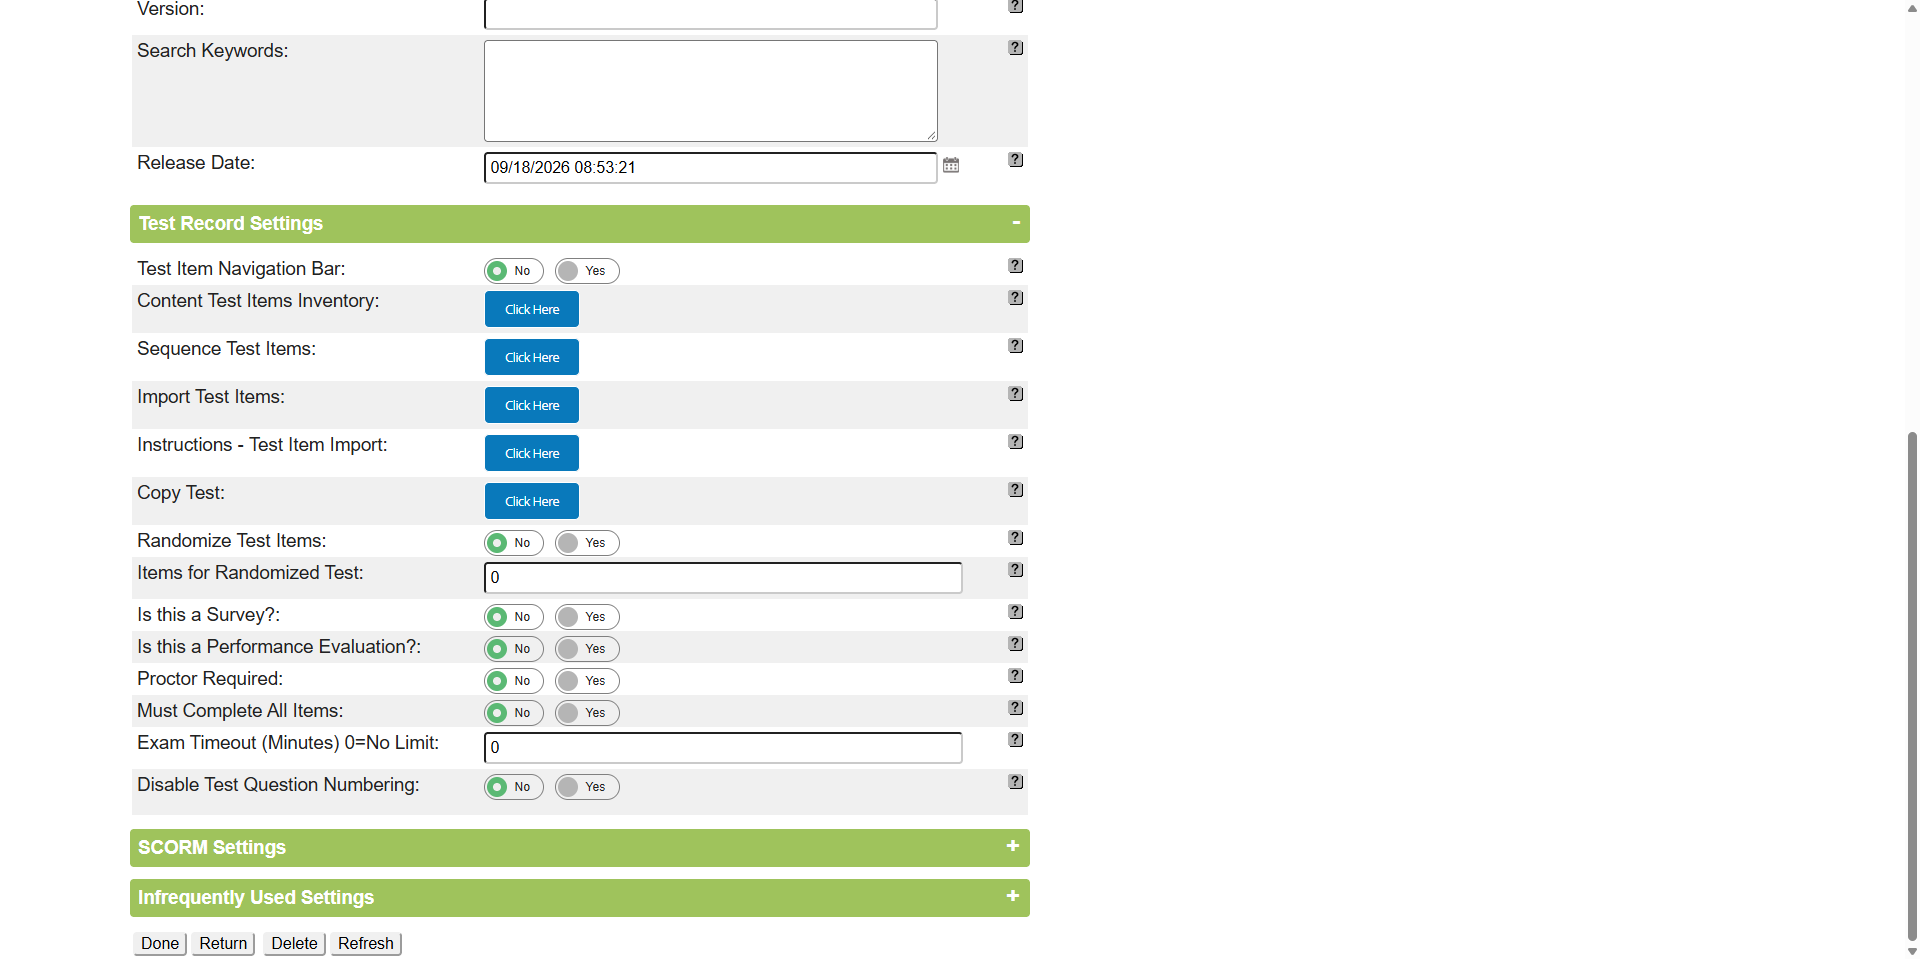
24. Open Import Test Items
Open the import test items section to upload your completed test questions.
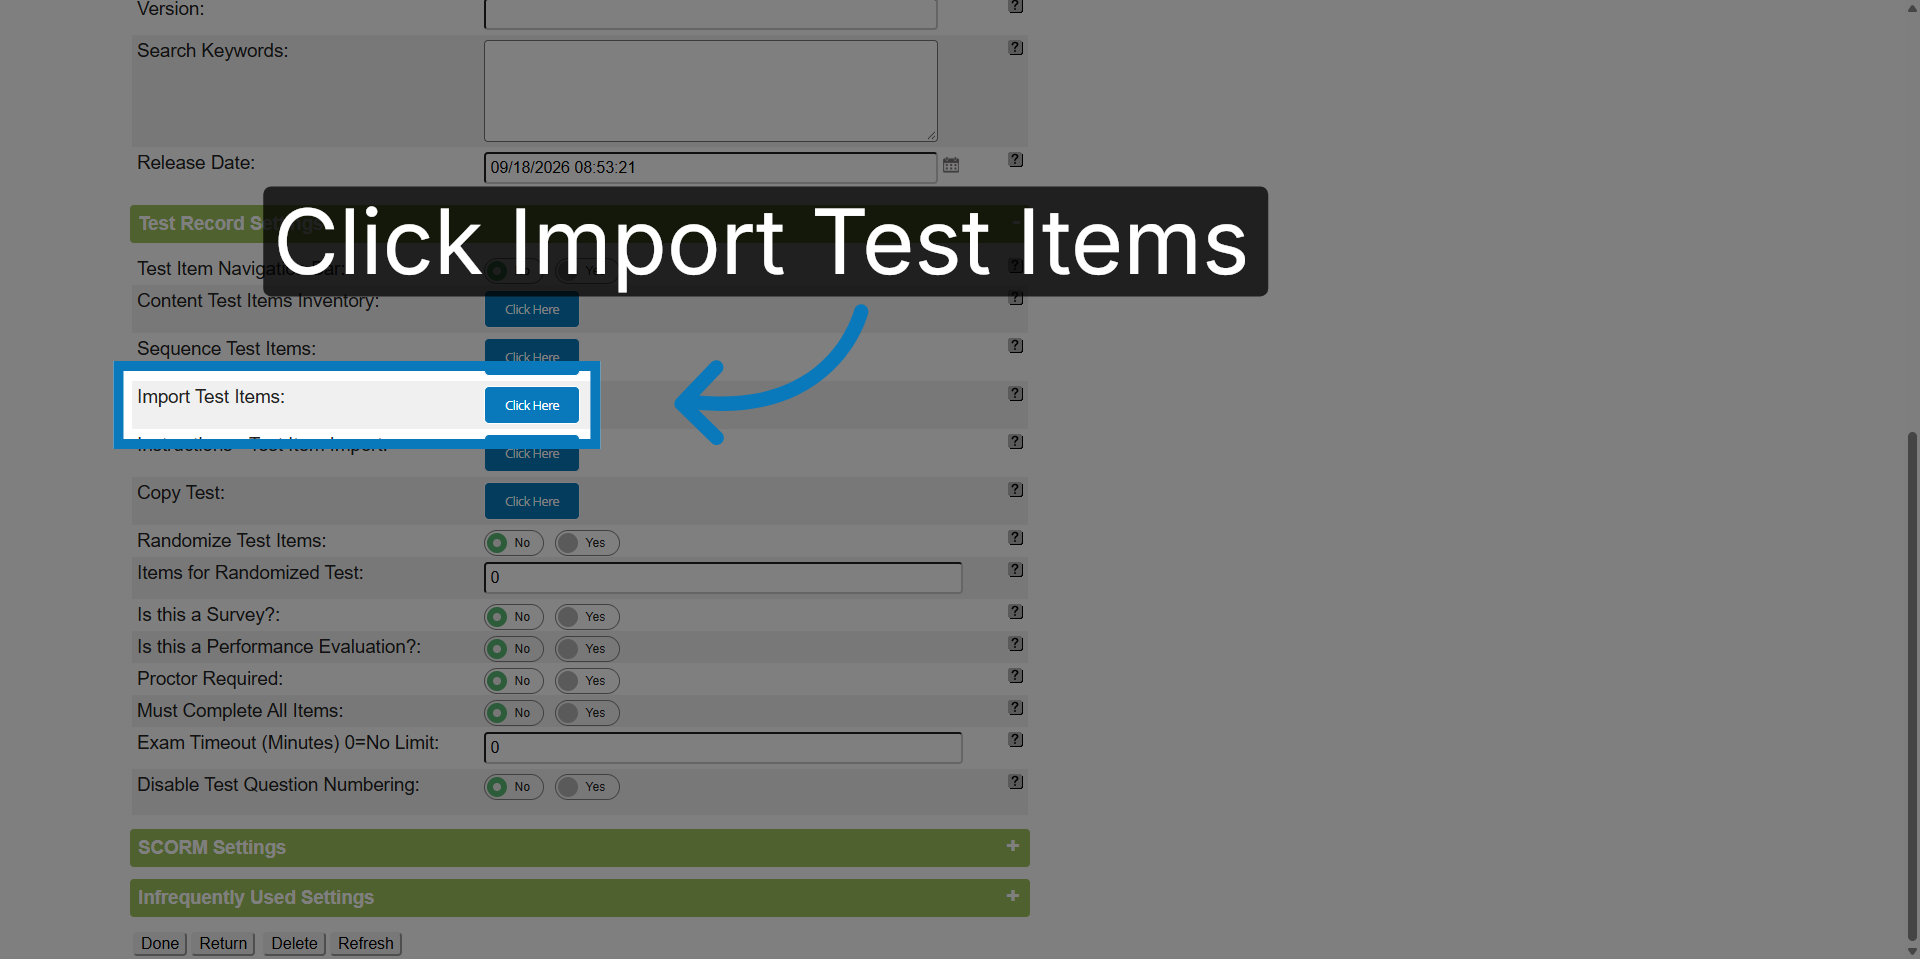
25. Access Import Options
Access the import options to select the file you want to upload for the test.
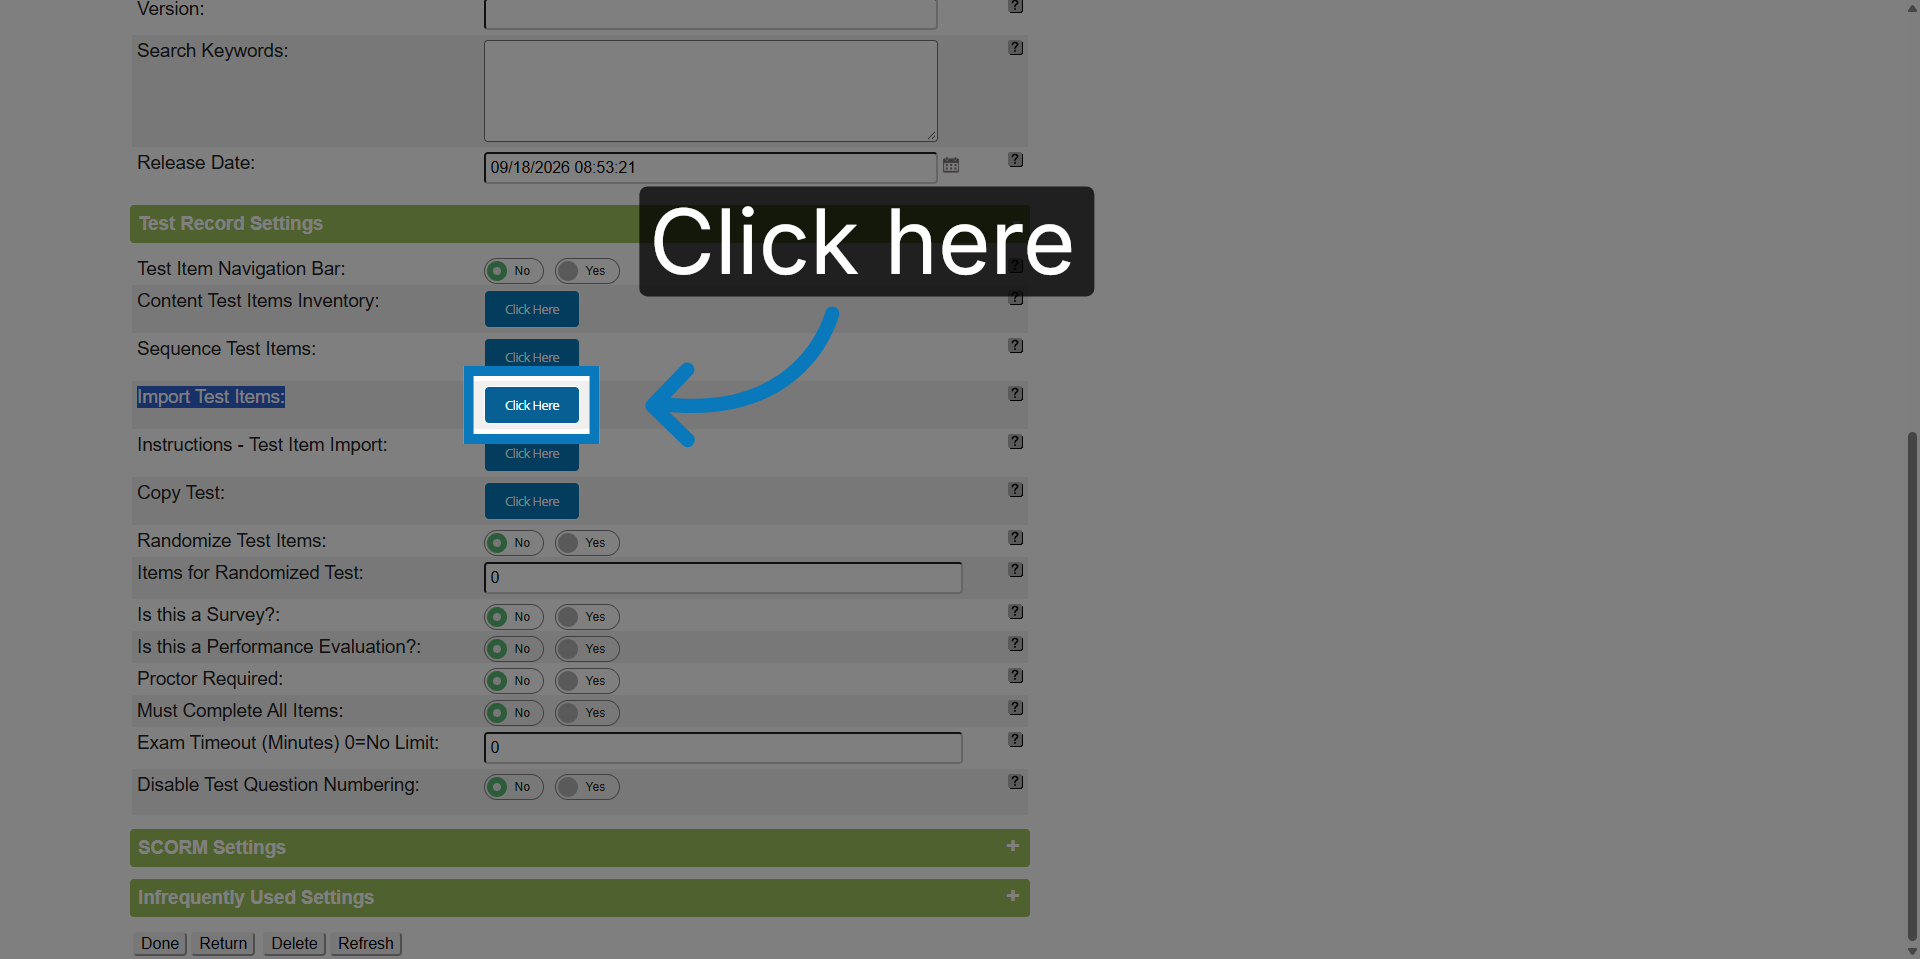
26. Open File Selection
Open the file selection dialog to choose your test items Excel file for import.

27. Upload Test Items
Upload the selected Excel file to import the test questions into the KMx system.

28. Close Import Window
Close the import window after the upload completes to return to the main interface.

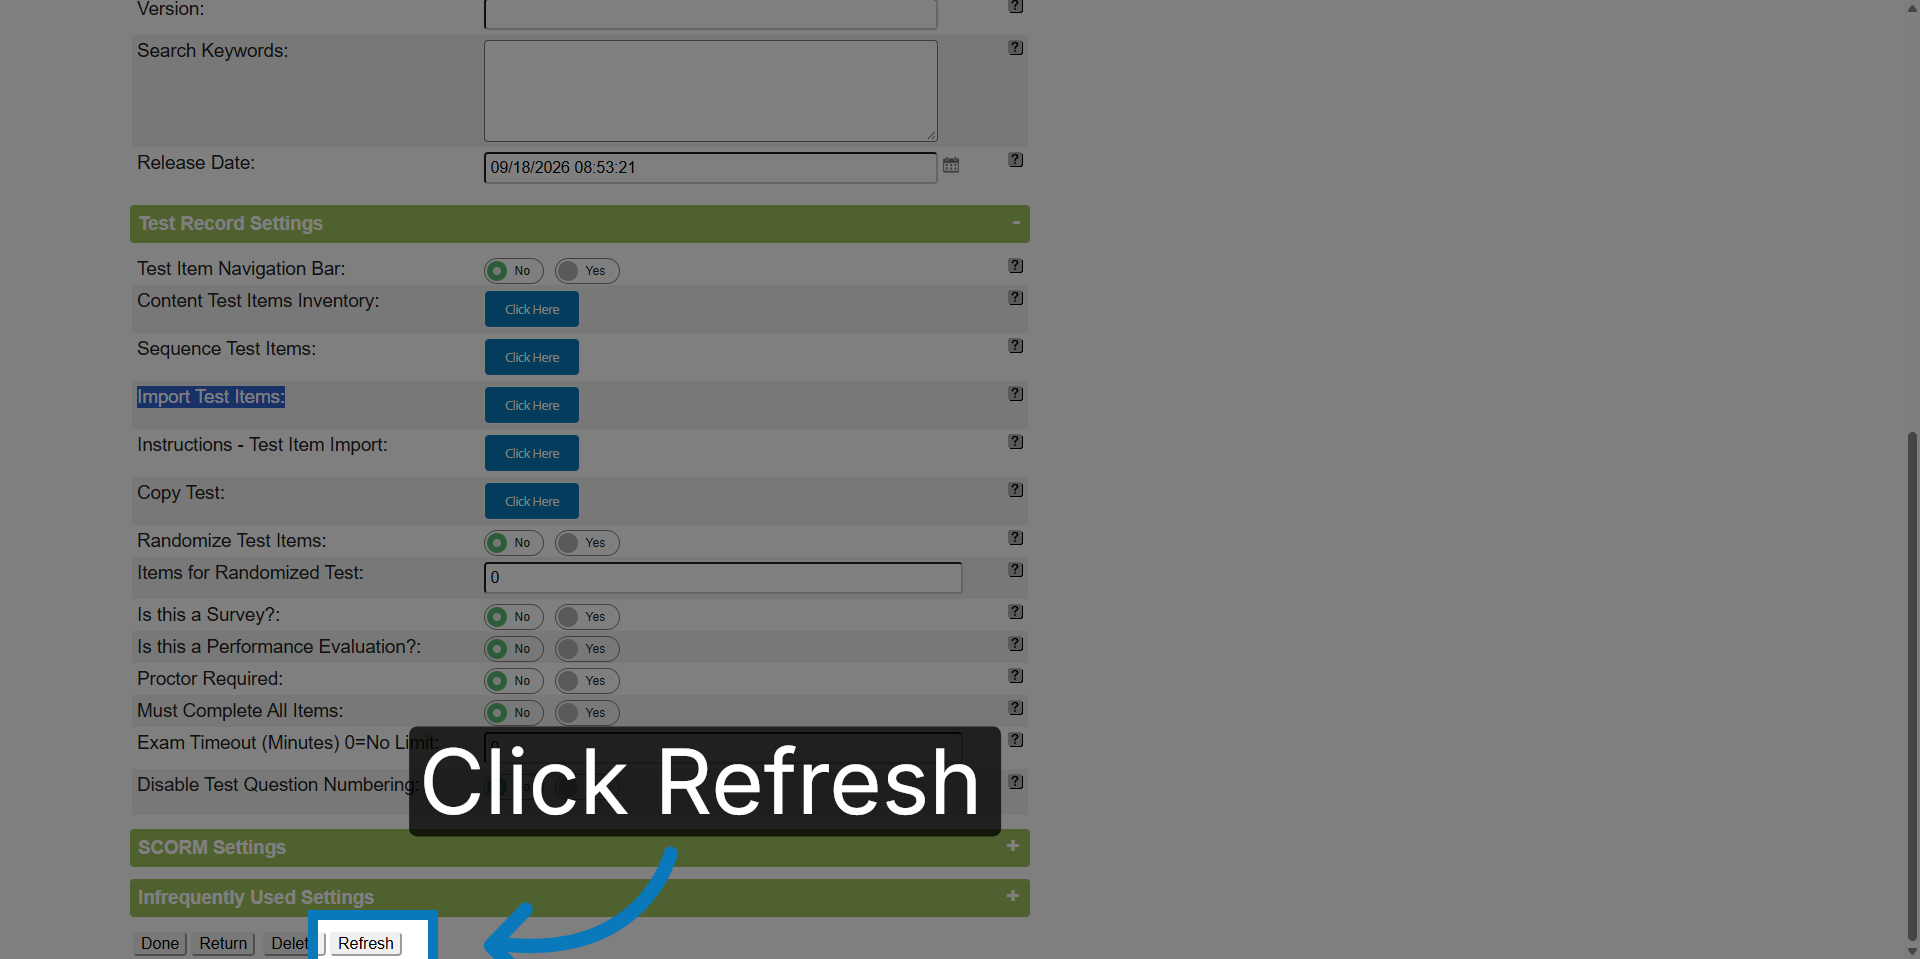
29. Refresh to save your current progress
Click Refresh to save the test records
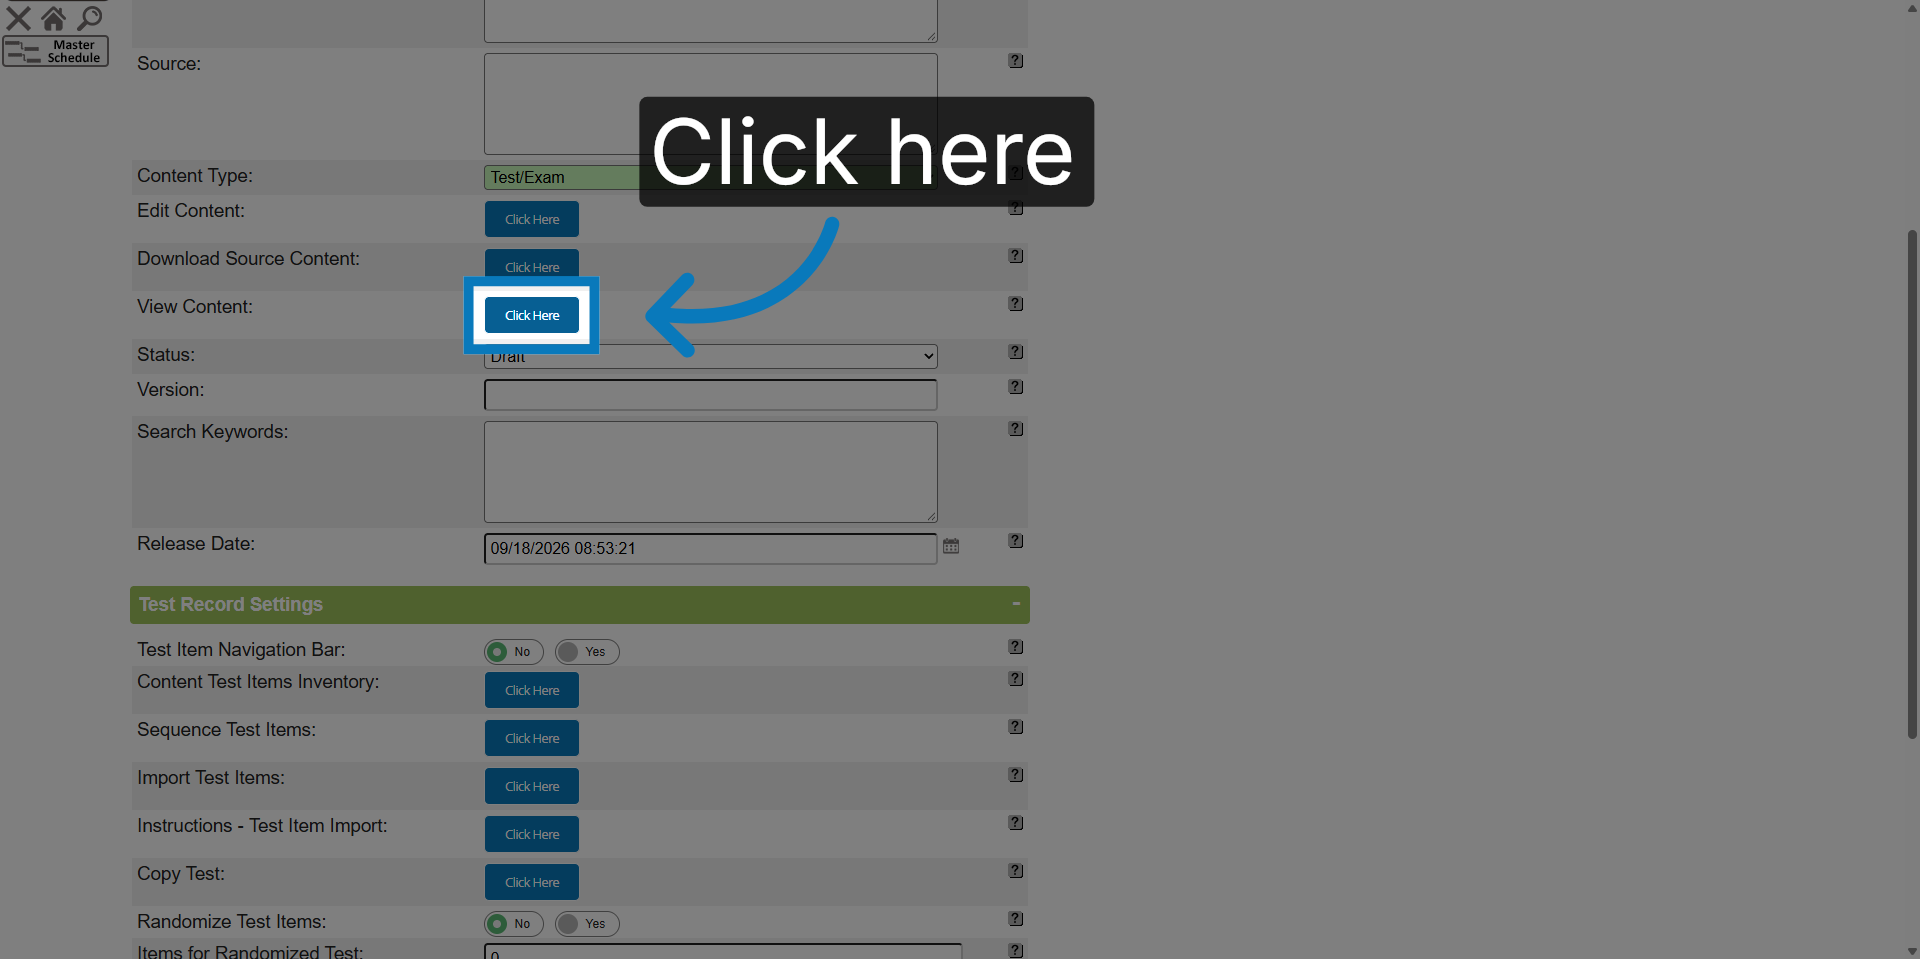
30. Review your Test
Use the View Content button to review your test
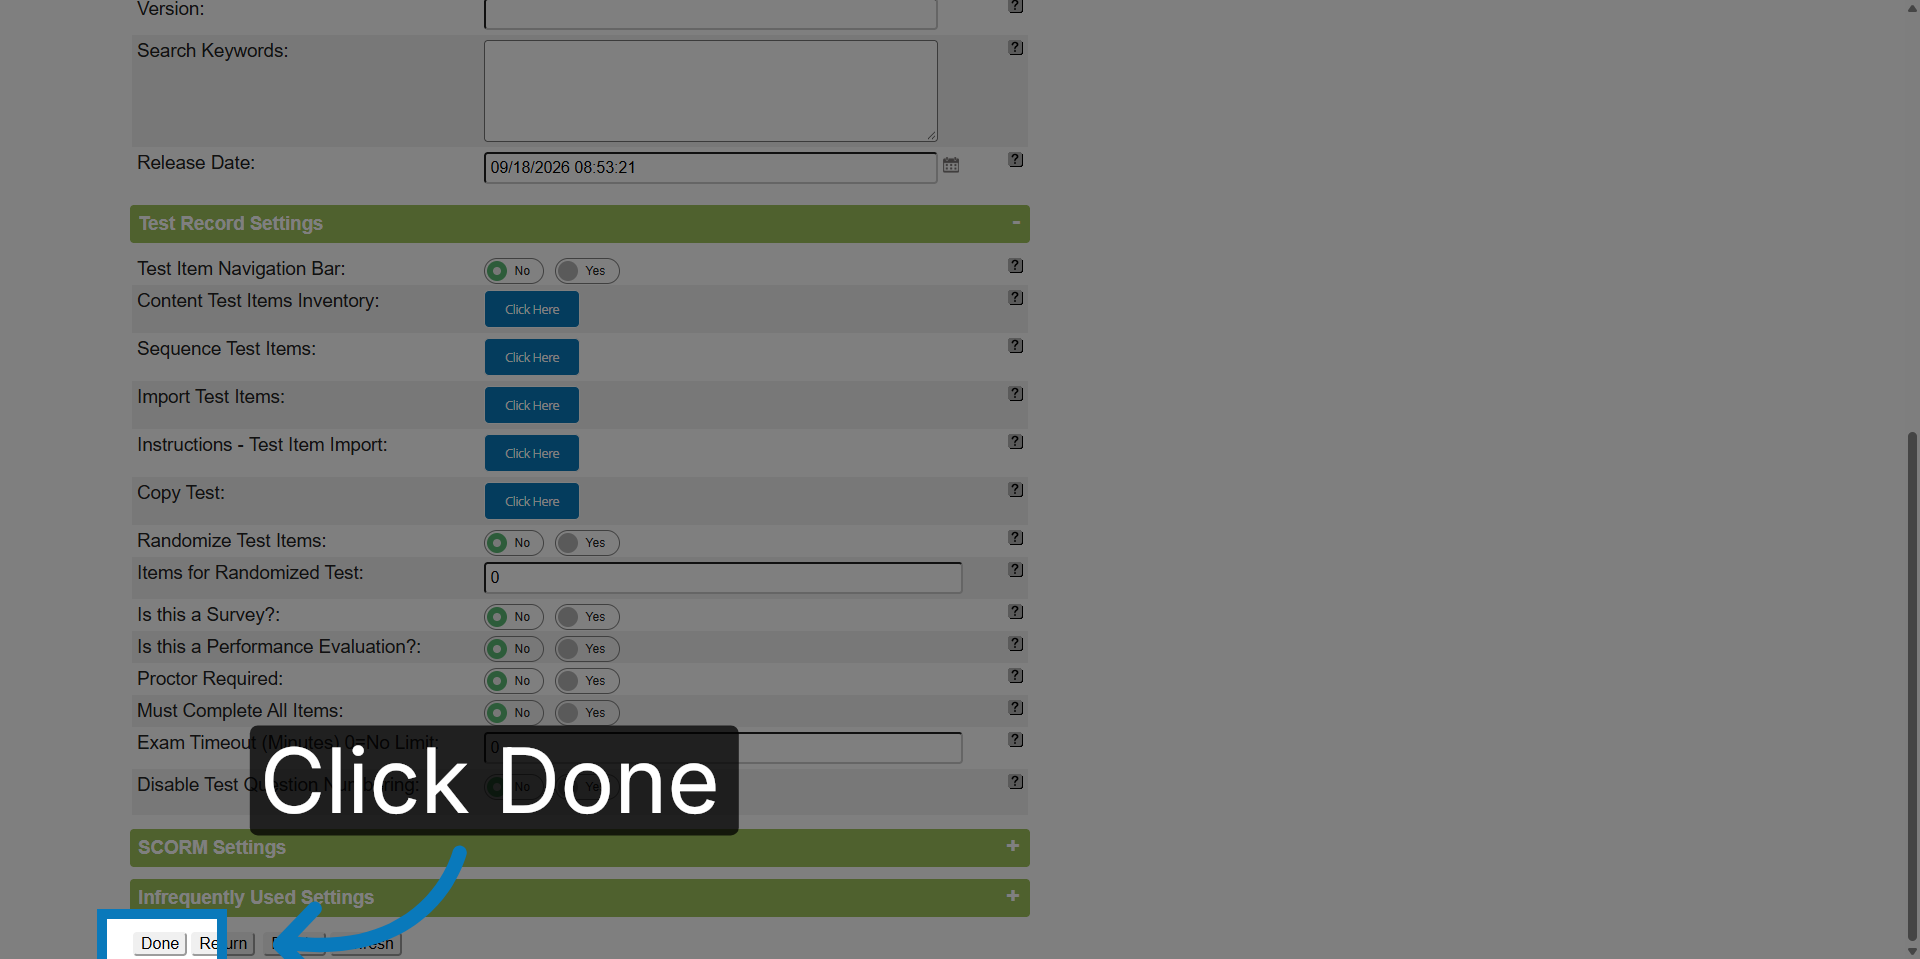
31. Complete Test Creation
Complete the test creation process by clicking the Done button to save all changes.
You have successfully created the test or exam within the KMx platform.